


Hardware components | ||||||
 |
| × | 1 | |||
Hand tools and fabrication machines | ||||||
| ||||||
Make sure that you follow all of the Qtechknow Creator Kit projects in order! - they progressively teach you more complicated skills. To start on the first project, click here: https://www.hackster.io/qtechknow/creator-kit-project-1-blink
Open up the Arduino IDE with the Circuit 5 - TempSensor.ino sketch, which should look like the photo below:
Click Tools > Boards > Qduino Mini.
Then click Tools > Port > /dev/cu.usbmodemXXXX where XXXX is any string of numbers - make sure that it is not anything similar to /dev/cu.Bluetooth
Hit the right arrow at the upper-left hand corner of your screen, to upload the program to your Qduino Mini!
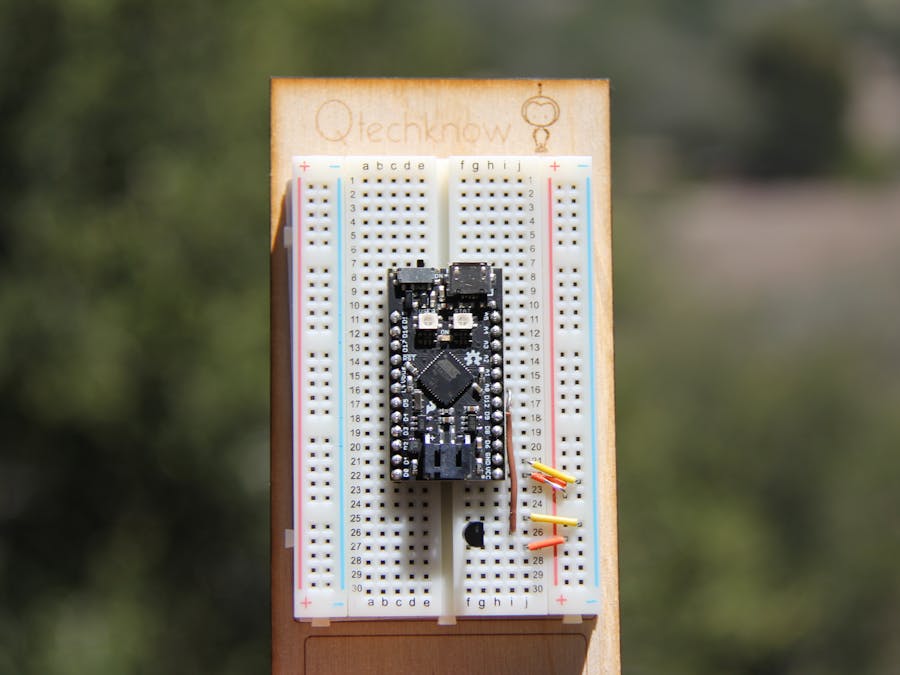
Set up the circuit below on your breadboard (the white colored rectangle with small holes to place components into) -
Open the Serial monitor (this lets us see incoming data from the Arduino on the computer), by clicking the hour glass in the upper right hand corner of the IDE.
Put your hand over the temperature sensor, and see if the numbers slightly go up, or down if you're in a hot climate - if you have any problems, please comment below. Let's go over the code in depth! -
First - we declare the pin that the temperature sensor is connected to, and start the Serial port. Then, we wait for the Serial monitor to be opened by the user, and close the setup() loop.
Next, we set a integer for the value of the temperature data, and print the raw data - which doesn't mean much to us until we calculate it into Celsius and Fahrenheit.
We finish by calculating the value into human readable data, printing it on the Serial monitor, and waiting a second before the next read.


Comments