

Hardware components | ||||||
 |
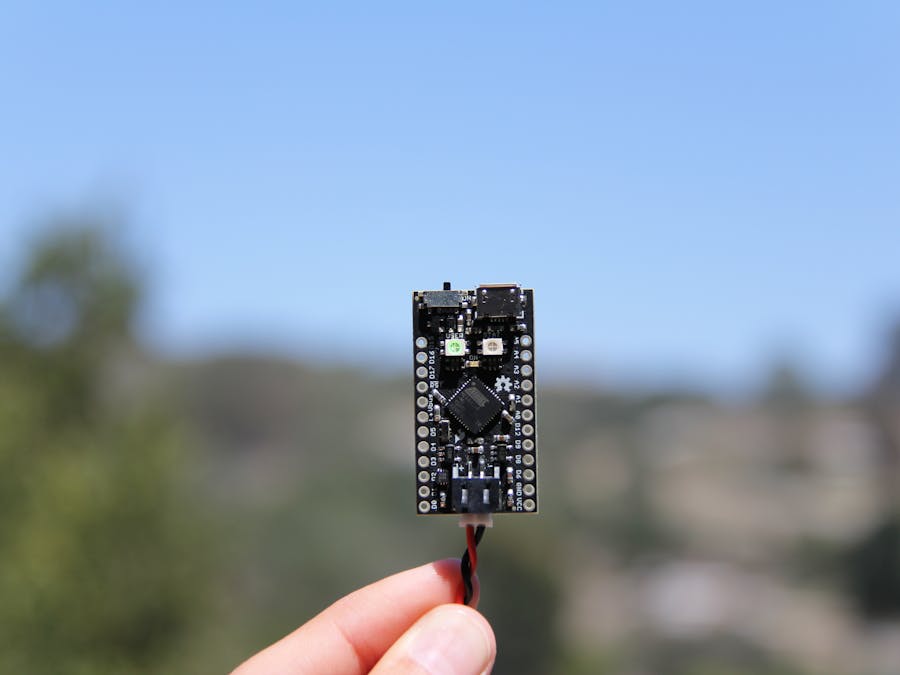
| × | 1 | |||
Hand tools and fabrication machines | ||||||
| ||||||
| ||||||
Make your first project with the Qtechknow Creator Kit! - follow the quick start guide here & you'll be ready to start!
No breadboard or wires required just yet - download all of the Arduino code (sketch to program your Qduino Mini board) for all of the projects below:
Move the files to your desktop, and double click on the Circuit 1 - Blink.ino sketch to get started. The Arduino IDE should open up, with the code inside, which should look like the photo below:
Click Tools > Boards > Qduino Mini.
Then click Tools > Port > /dev/cu.usbmodemXXXX where XXXX is any string of numbers - make sure that it is not anything similar to /dev/cu.Bluetooth
Hit the right arrow at the upper-left hand corner of your screen, to upload the program to your Qduino Mini!
You just made your first circuit! The green LED should be blinking - if you have any problems, please comment below. Lets go over the code in depth,
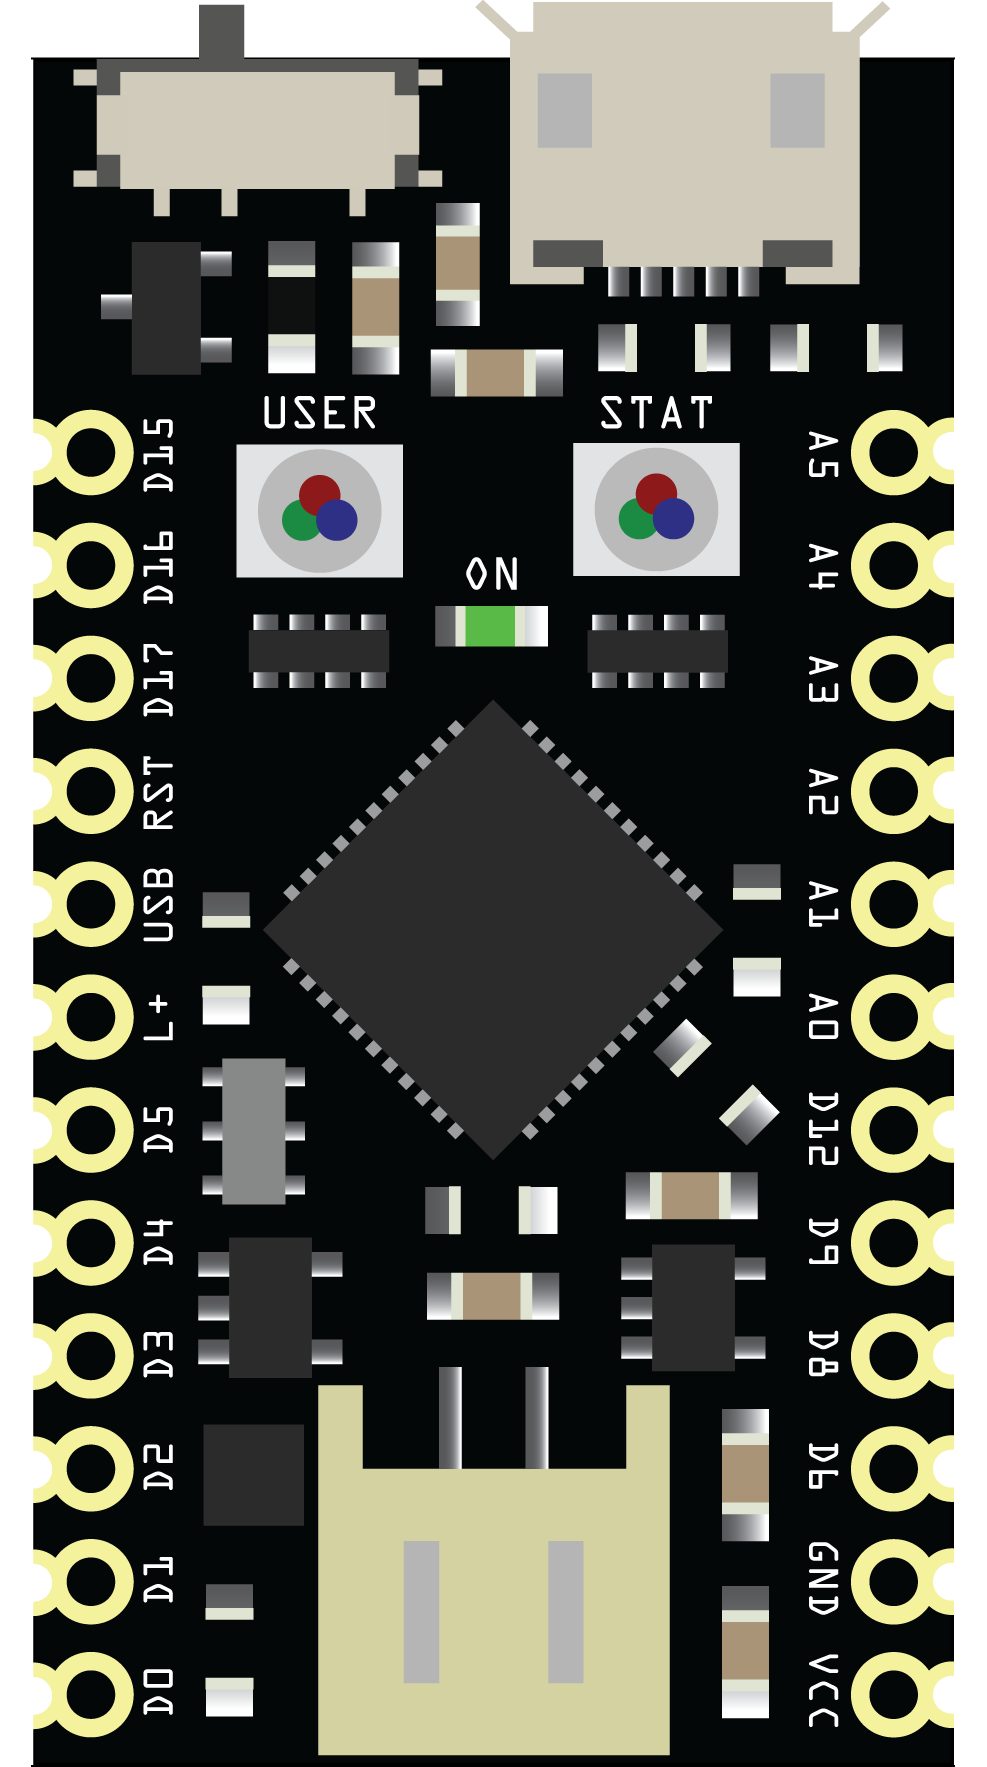
First - we include the libraries for the Qduino, and Wire - which controls the battery fuel gauge. A library is hundreds of lines of code that are bare bones level usually, so that you have an easier time of coding! - they're really easy to use.
Next, we make a variable - an object that stores a value. In this case, we are saying that the integer i, is equal to D11, which is where the green pin of the RGB LED is connected to. Then, we setup the Qduino Library - by saying "qduino q;" <- notice the semicolon - mostly every line of code except for #include statements, void setup() & void loop() need a semicolon.
In the setup loop, which runs one time, to setup the pins, we declare D11 as an output (outputs are LEDs and motors, inputs are sensors). Then we turn the LED on with digitalWrite, wait for 1 second (1000 milliseconds), turn the LED off, then wait one more second - in the loop, which runs over and over.

Comments