


Hardware components | ||||||
 |
| × | 1 | |||
 |
| × | 1 | |||
| × | 1 | ||||
 |
| × | 1 | |||
Hand tools and fabrication machines | ||||||
 |
| |||||
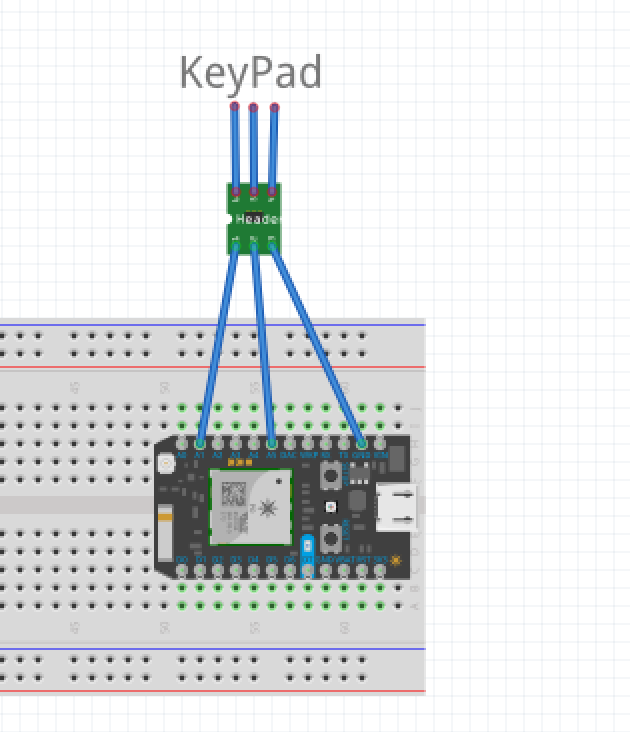
We are a group of students from Lane Tech College Prep High School and our project uses a VKey Voltage Keypad attached to a photon to collect information on the number of times each counselor at our school was visited as well as the number of students from each grade level (either freshman, sophomores, juniors, or seniors) that went to see their counselor.
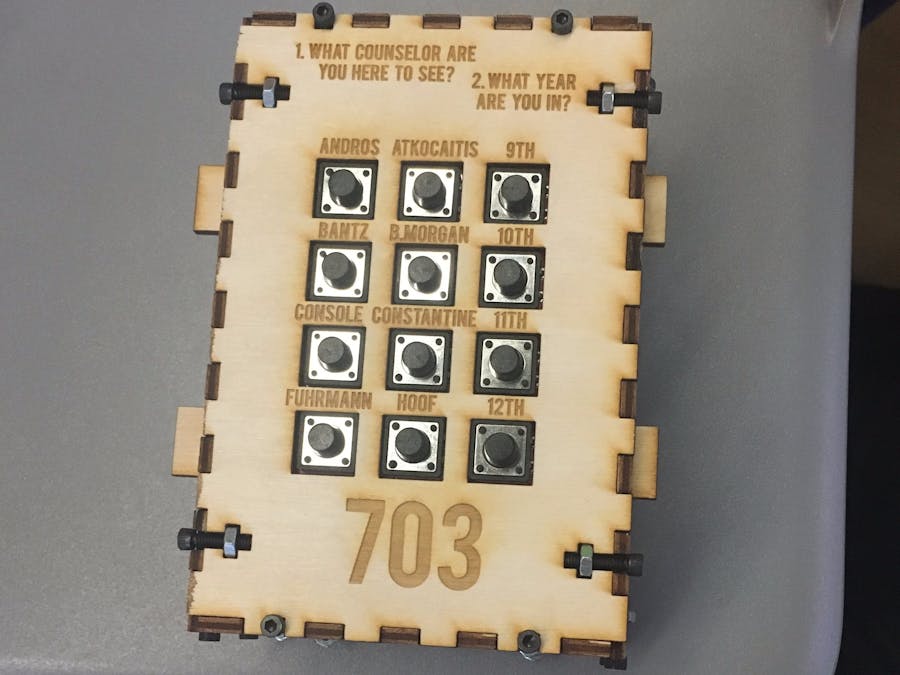
To collect this information we placed our keypad and photon in an enclosure that labeled eight of the 12 buttons on the keypad for the counselors and the remaining four buttons for grade levels. Next we dropped it off at the counselors' room (room 212) and put it near the table used by students to sign in.
Each time a student came in to see their counselor they pressed a button to indicate what counselor they were there to see and also the button that corresponded to their grade level. This information was then pushed onto a data sheet on Sparkfun which we subsequently analyzed to determine which counselors were visited the most and which grade level went most often.
We decided to do this project to see whether certain counselors were visited more often by the students they supervise than other counselors. This information could be helpful in determining whether some counselors are more overwhelmed compared to other counselors. The other information we collected, students' grade levels, could be used to determine which year needs more attention and/or services from the counseling department.
According to the information we collected, Ms. Andros, Ms. Bantz, Ms. Blanton-Morgan, and Ms. Console were visited more often than the other counselors in room 212. We also determined that seniors went most often to see their counselors than other grade levels.
The process of developing and creating our project was not easy. The most difficult part was figuring out how to edit the code we found online for a 10-bit keypad meant for an arduino so that it would work on a 12-bit photon. We discovered that the problem with the code was the voltage values, which was easily fixed with some math. However, it took us a long time to come to this conclusion and even though we eventually overcame this obstacle, it slowed us down considerably.
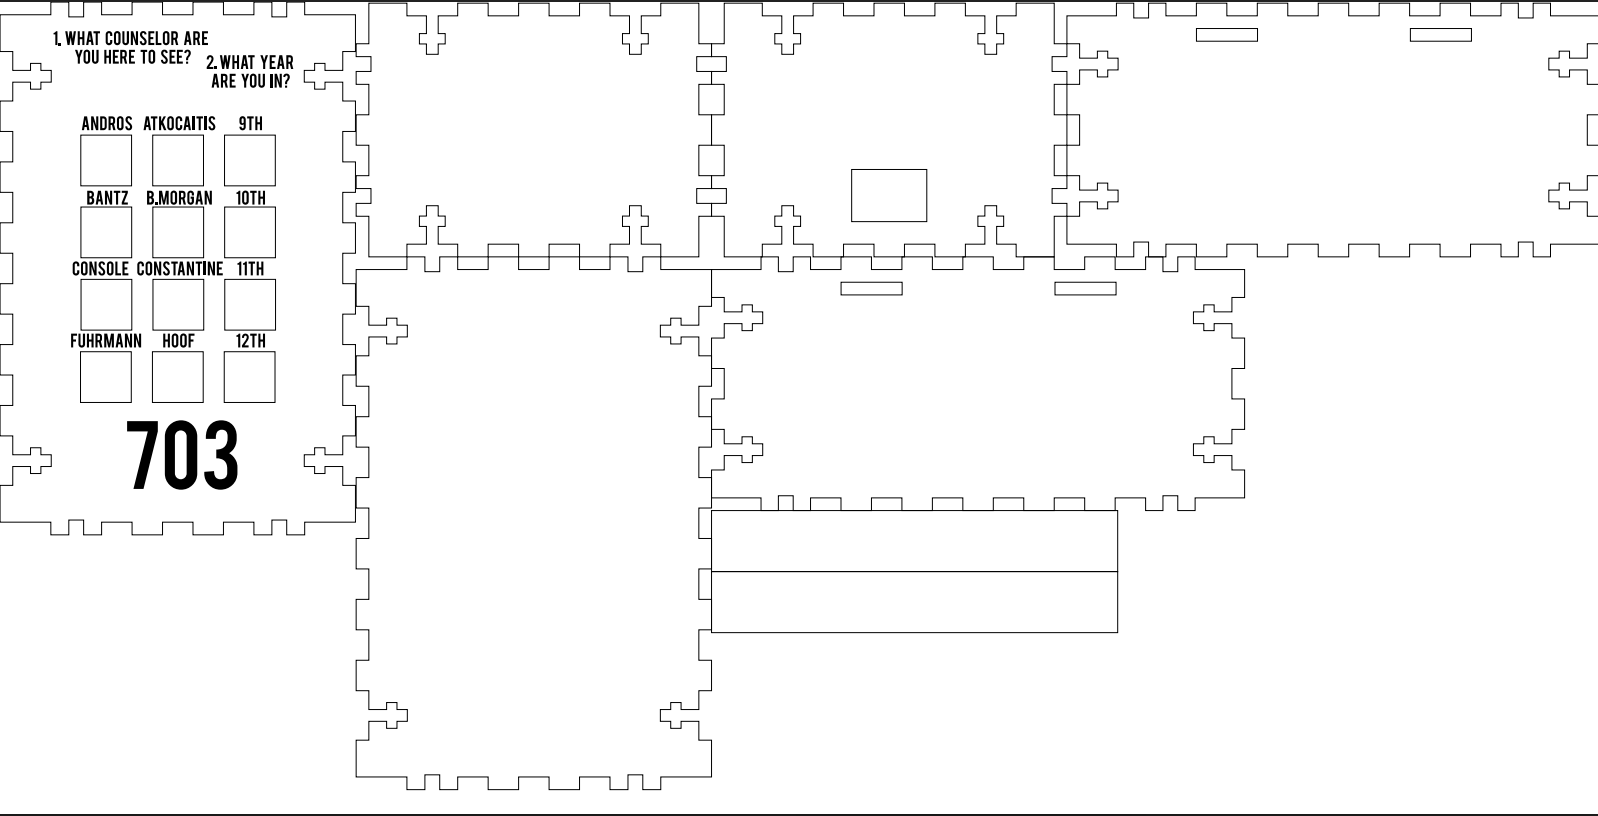
Later on we also encountered another obstacle in creating our enclosure. Even though we had made a prototype and double-checked our box's measurements, we had to laser cut the top twice because the first one did not have the right measurements for the button holes.


_3u05Tpwasz.png?auto=compress%2Cformat&w=40&h=40&fit=fillmax&bg=fff&dpr=2)
Comments