

LED Automation cum Temperature Monitoring
The project automates the LED and tells you what is the temperature in your room through sms without touching anything, through Google Assistant, with the help of Bolt wifi module.
RequirementsHardware Components:
- Bolt IoT wifi module
- LED
- LM35 Temperature sensor
- USB-A to Mini-USB Cable
- Female-to-Male Jumper Wires
- Male-to-Male Jumper Wires
- Bread Board
- Android Device
Software Apps and Online Services:
- Bolt IoT Bolt Cloud
- Google Assitant
- IFTTT Maker Service
- Integromat
- Twilio SMS Messaging API
Working with Bolt wifi module is quite easy and interesting. It lets do a lot of stuff from home automation, checking the temperature of your room, check the light intensity arround you and a lot more. With the Bolt IoT Cloud you can store the data and visiualize it through various methods. In this project I will automate the LED in my room with my voice through Google Assistant. Also with the help of Google Assistant I will automate the work of getting the temperature in my room by receiving SMS on my phone with the help of LM35 sensor. No coding is actually done in the project. All that needs to be done is some specific configurations.
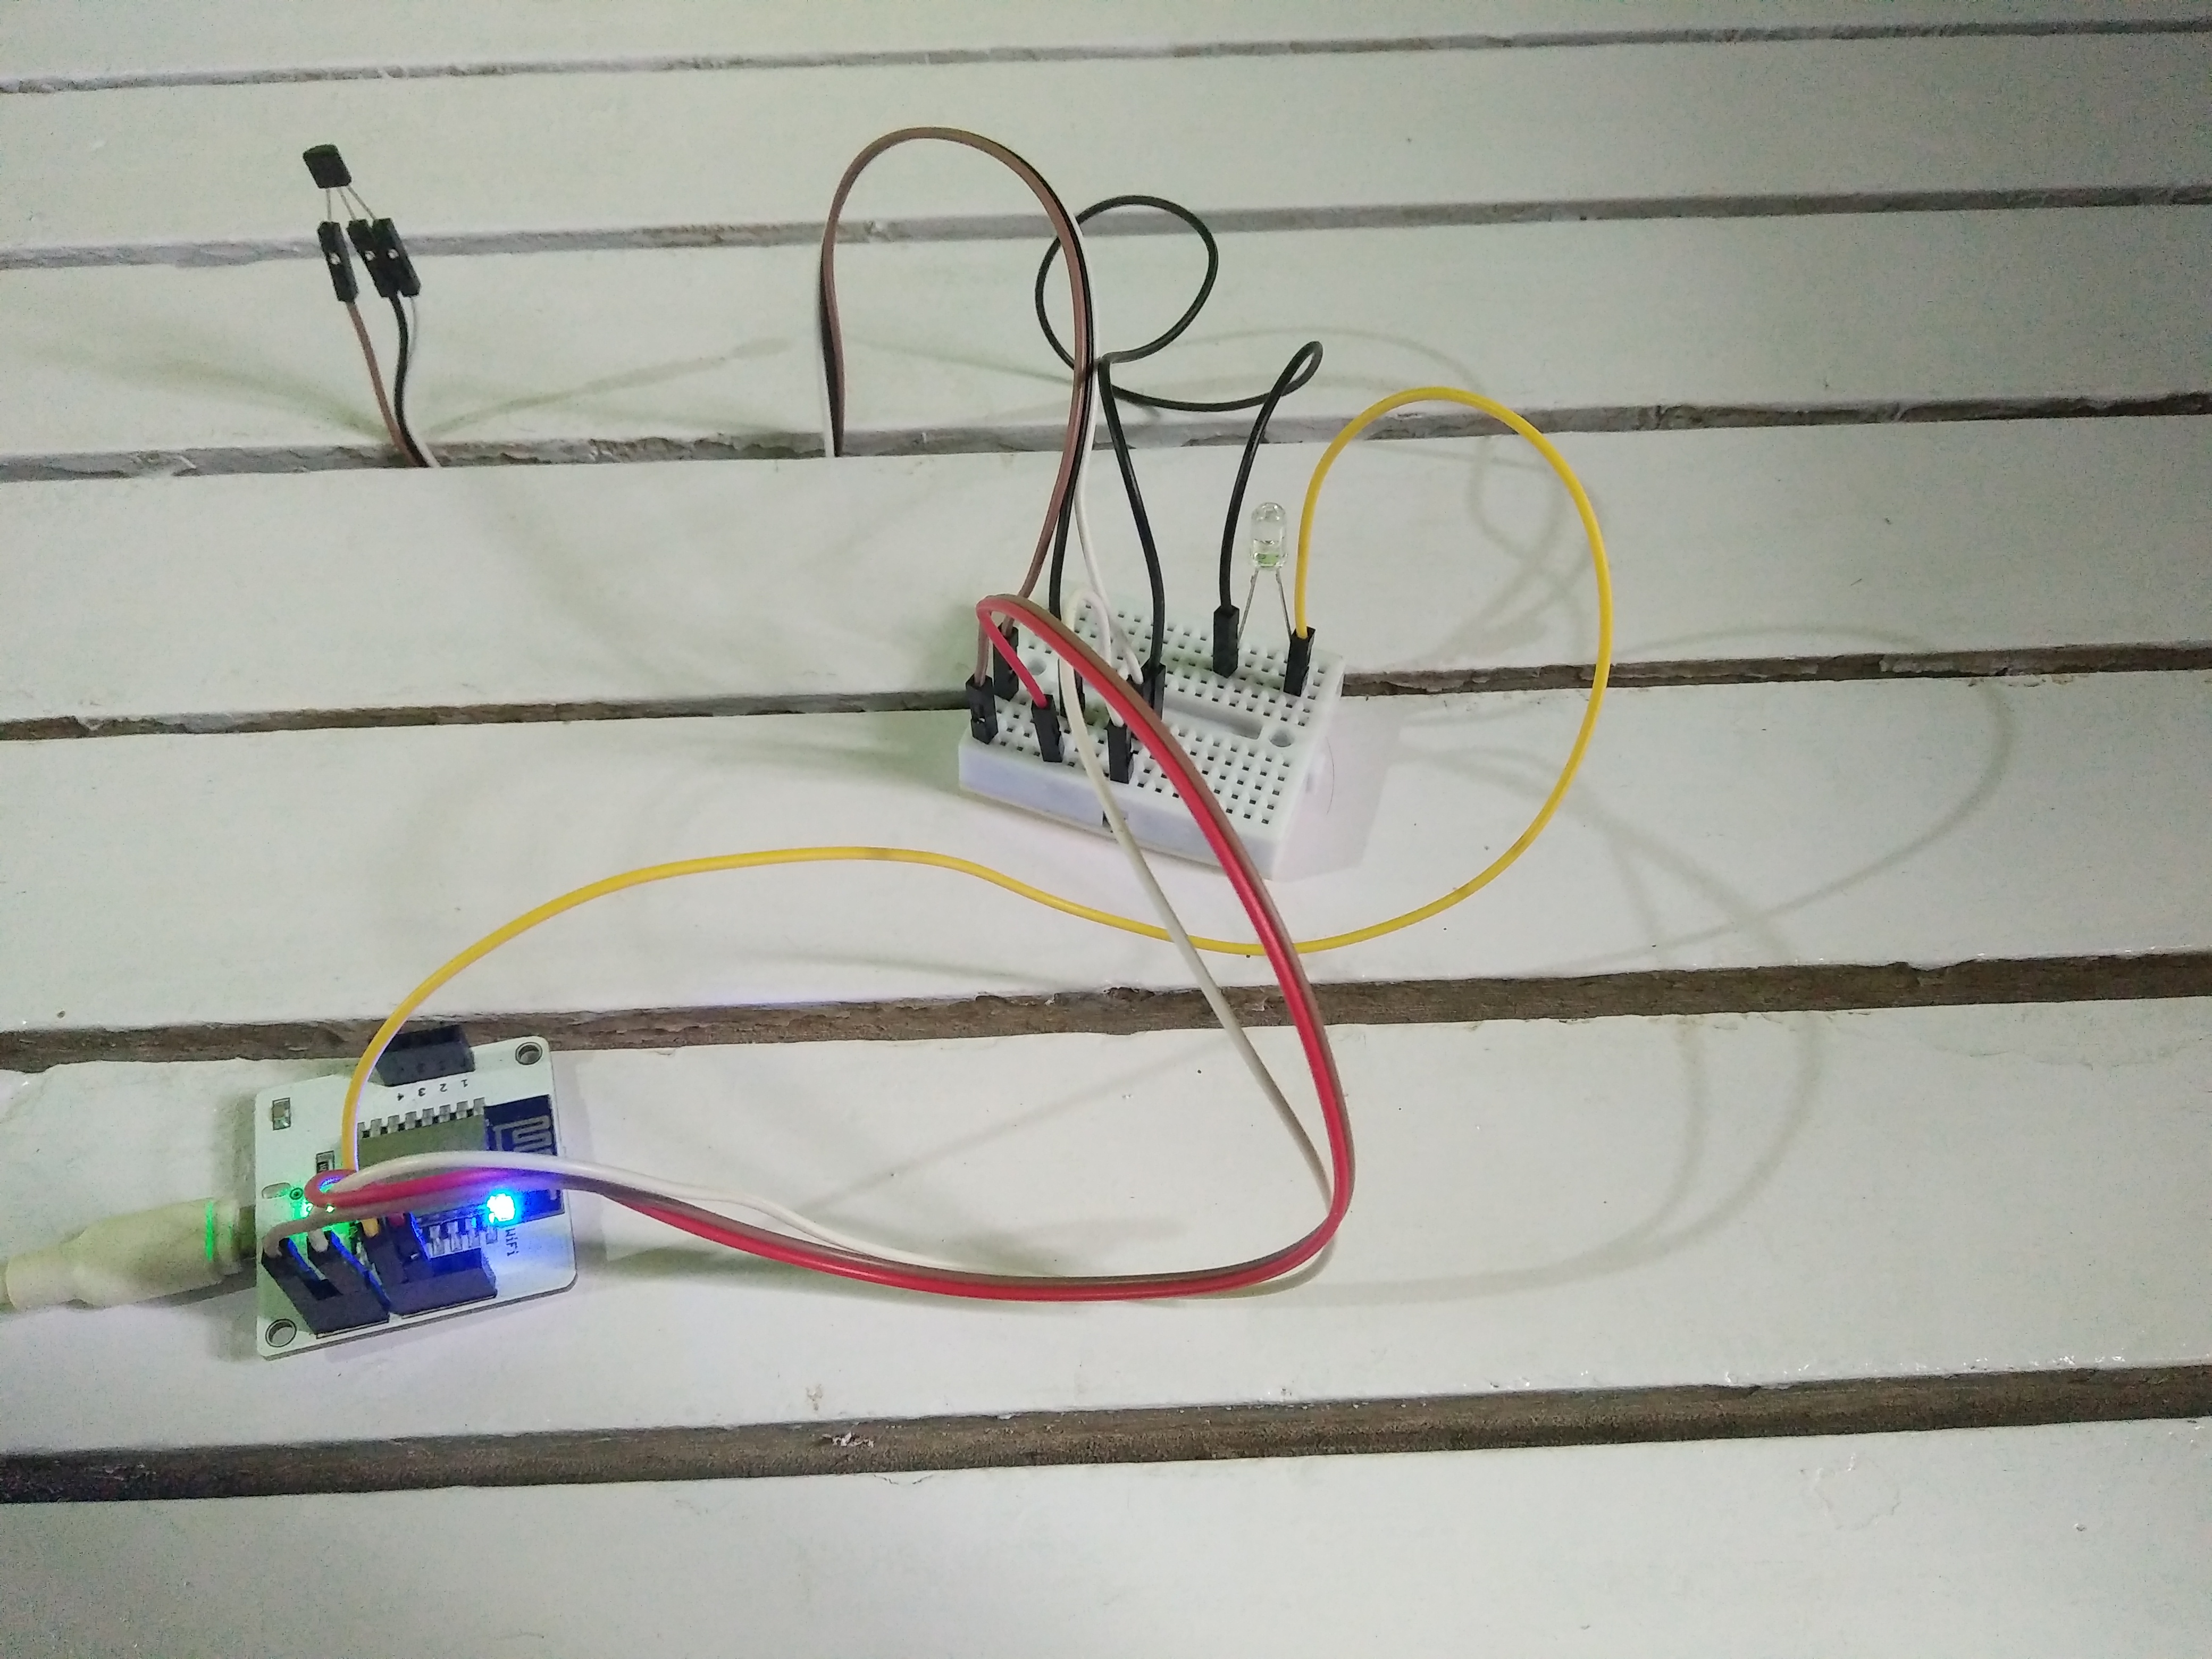
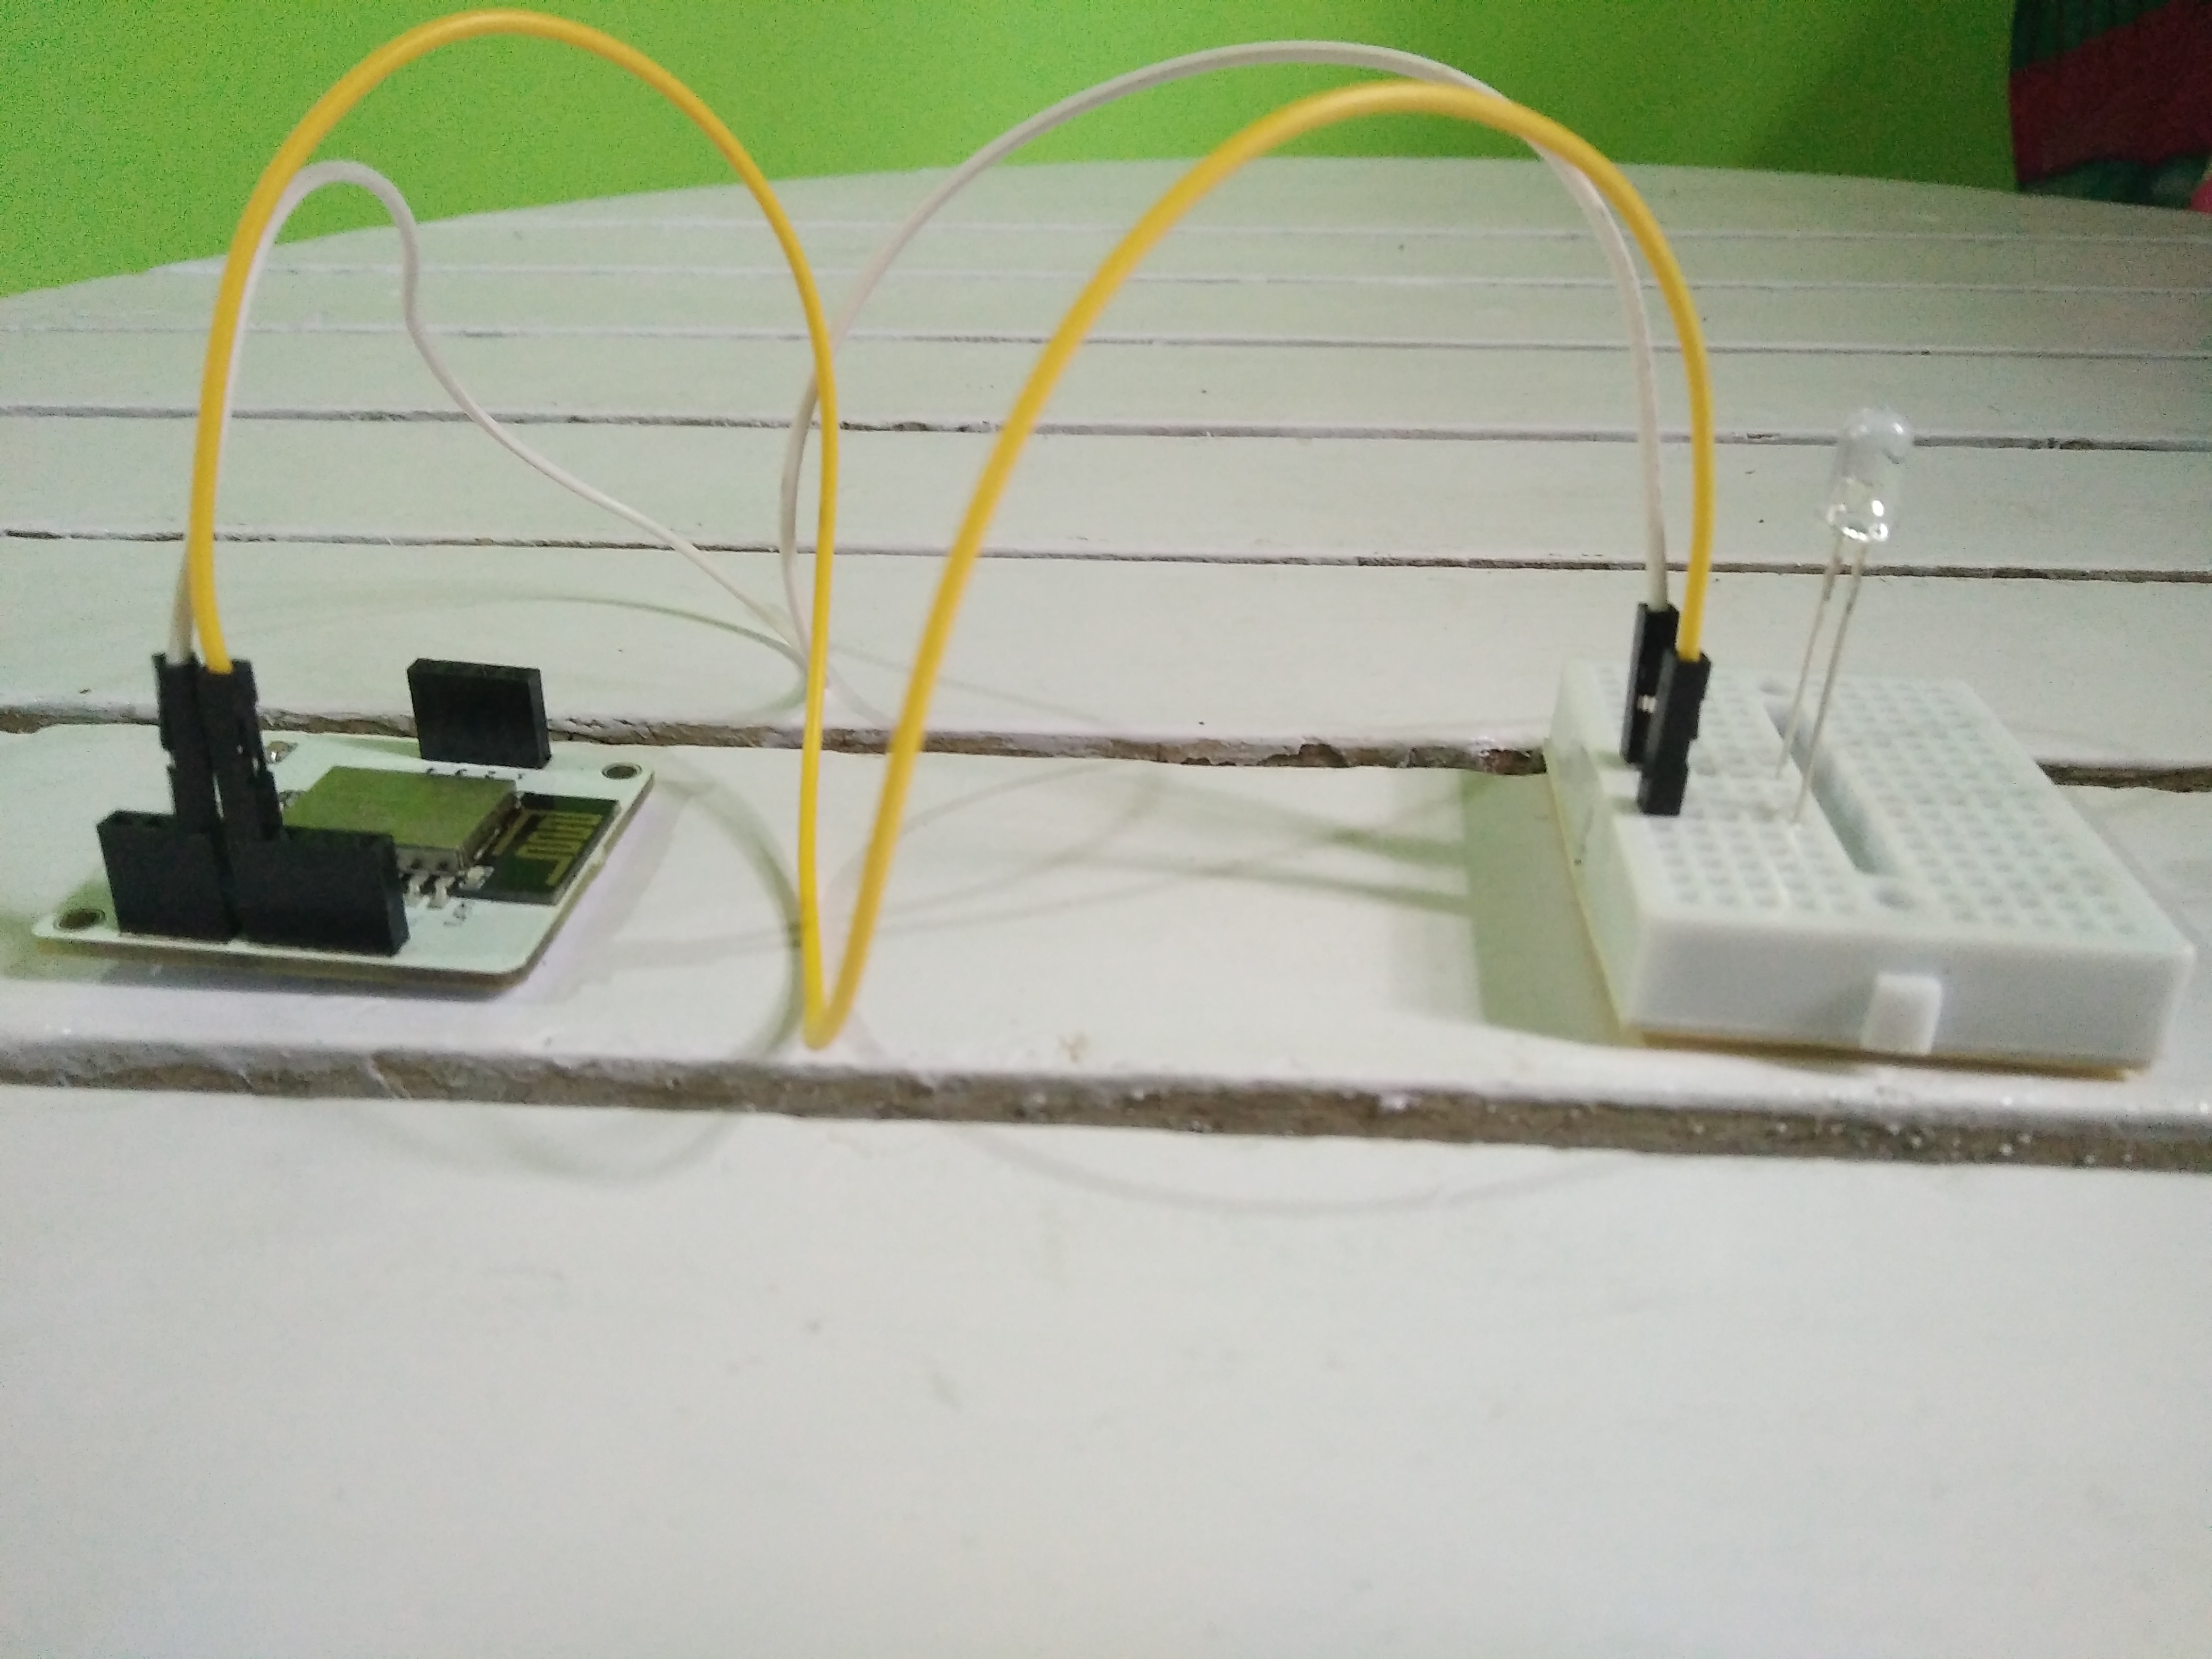
Step 1: Hardware SetupStep 1.1: Setting up the LEDConnect the positive(+ve) terminal of the LED, the longer end, in the Pin 0 (as your choice) of the Bolt wifi module and the negative(-ve) terminal, the shorter end, to the ground pin(GND) with the help of breadboard and jumper wires.
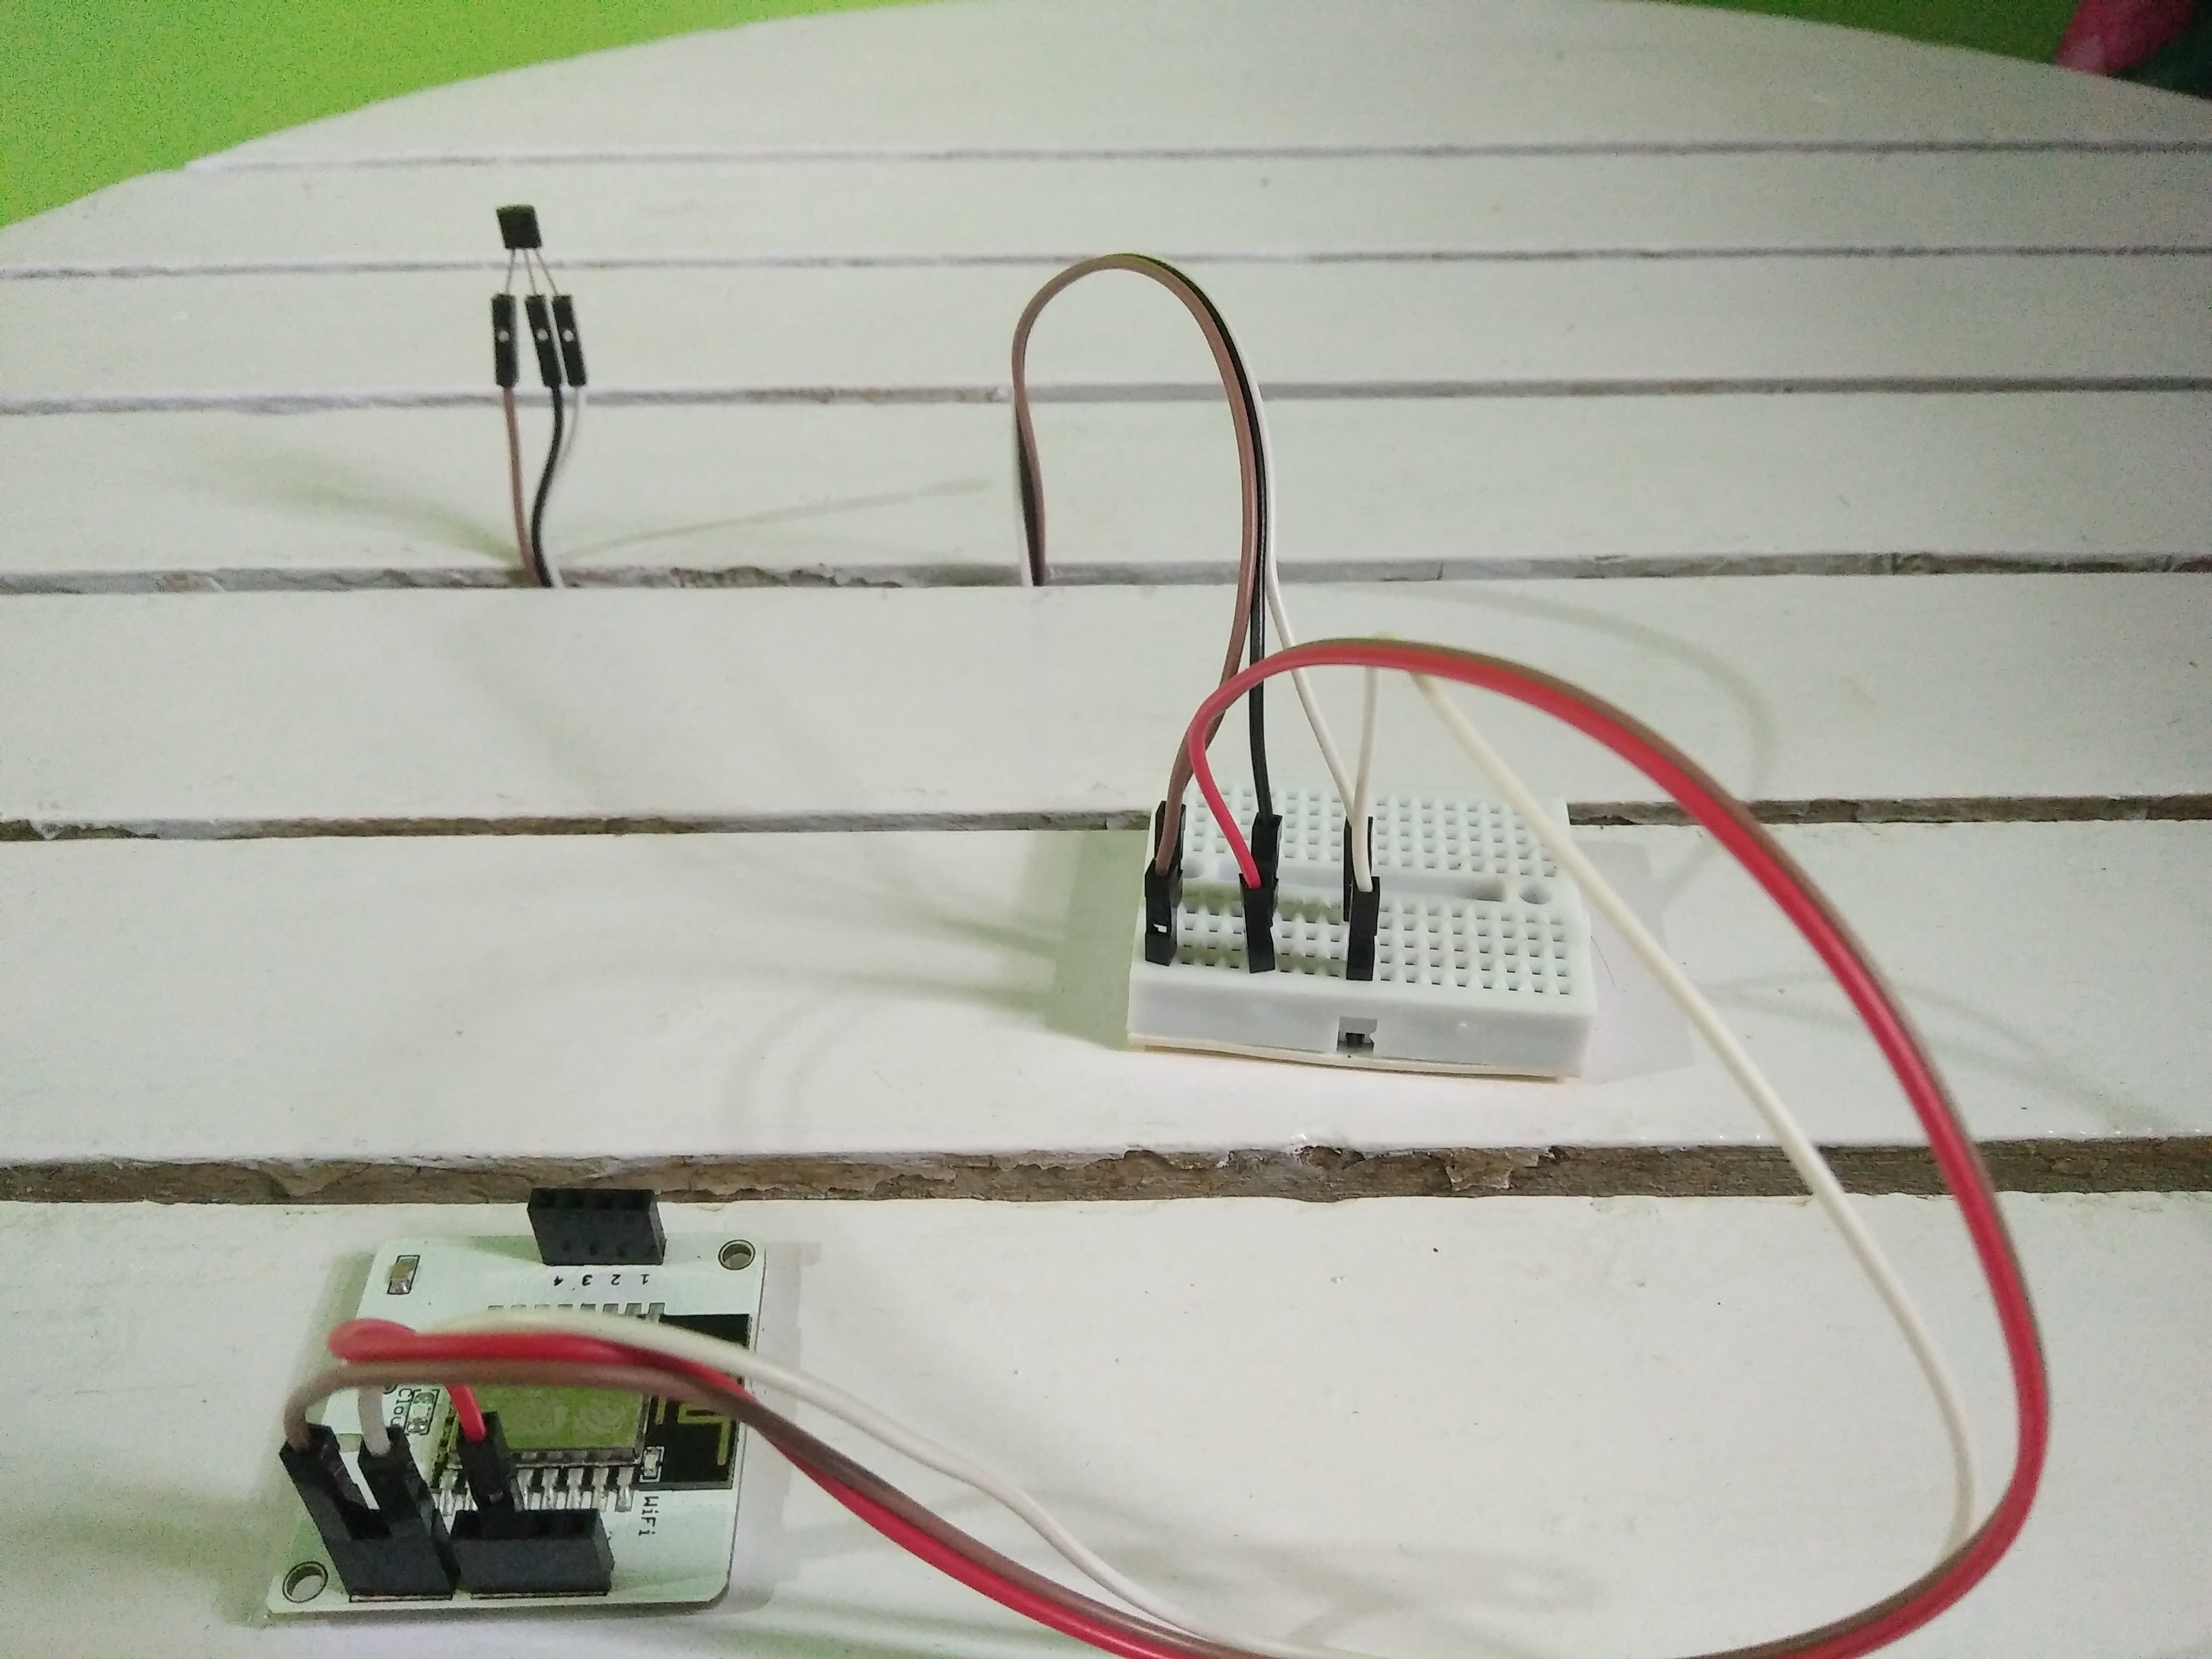
Hold the LM35 sensor in your hand such that the name is visible to you. The three pins, from left to right, are VCC, Output and GND. Connect the three pins to female-to-male jumper wires. Connect the three wires, corresponding to the three pins from left to right, to 5V, A0 and GND pins on the Bolt Wifi module with the help of breadboard and jumper wires.
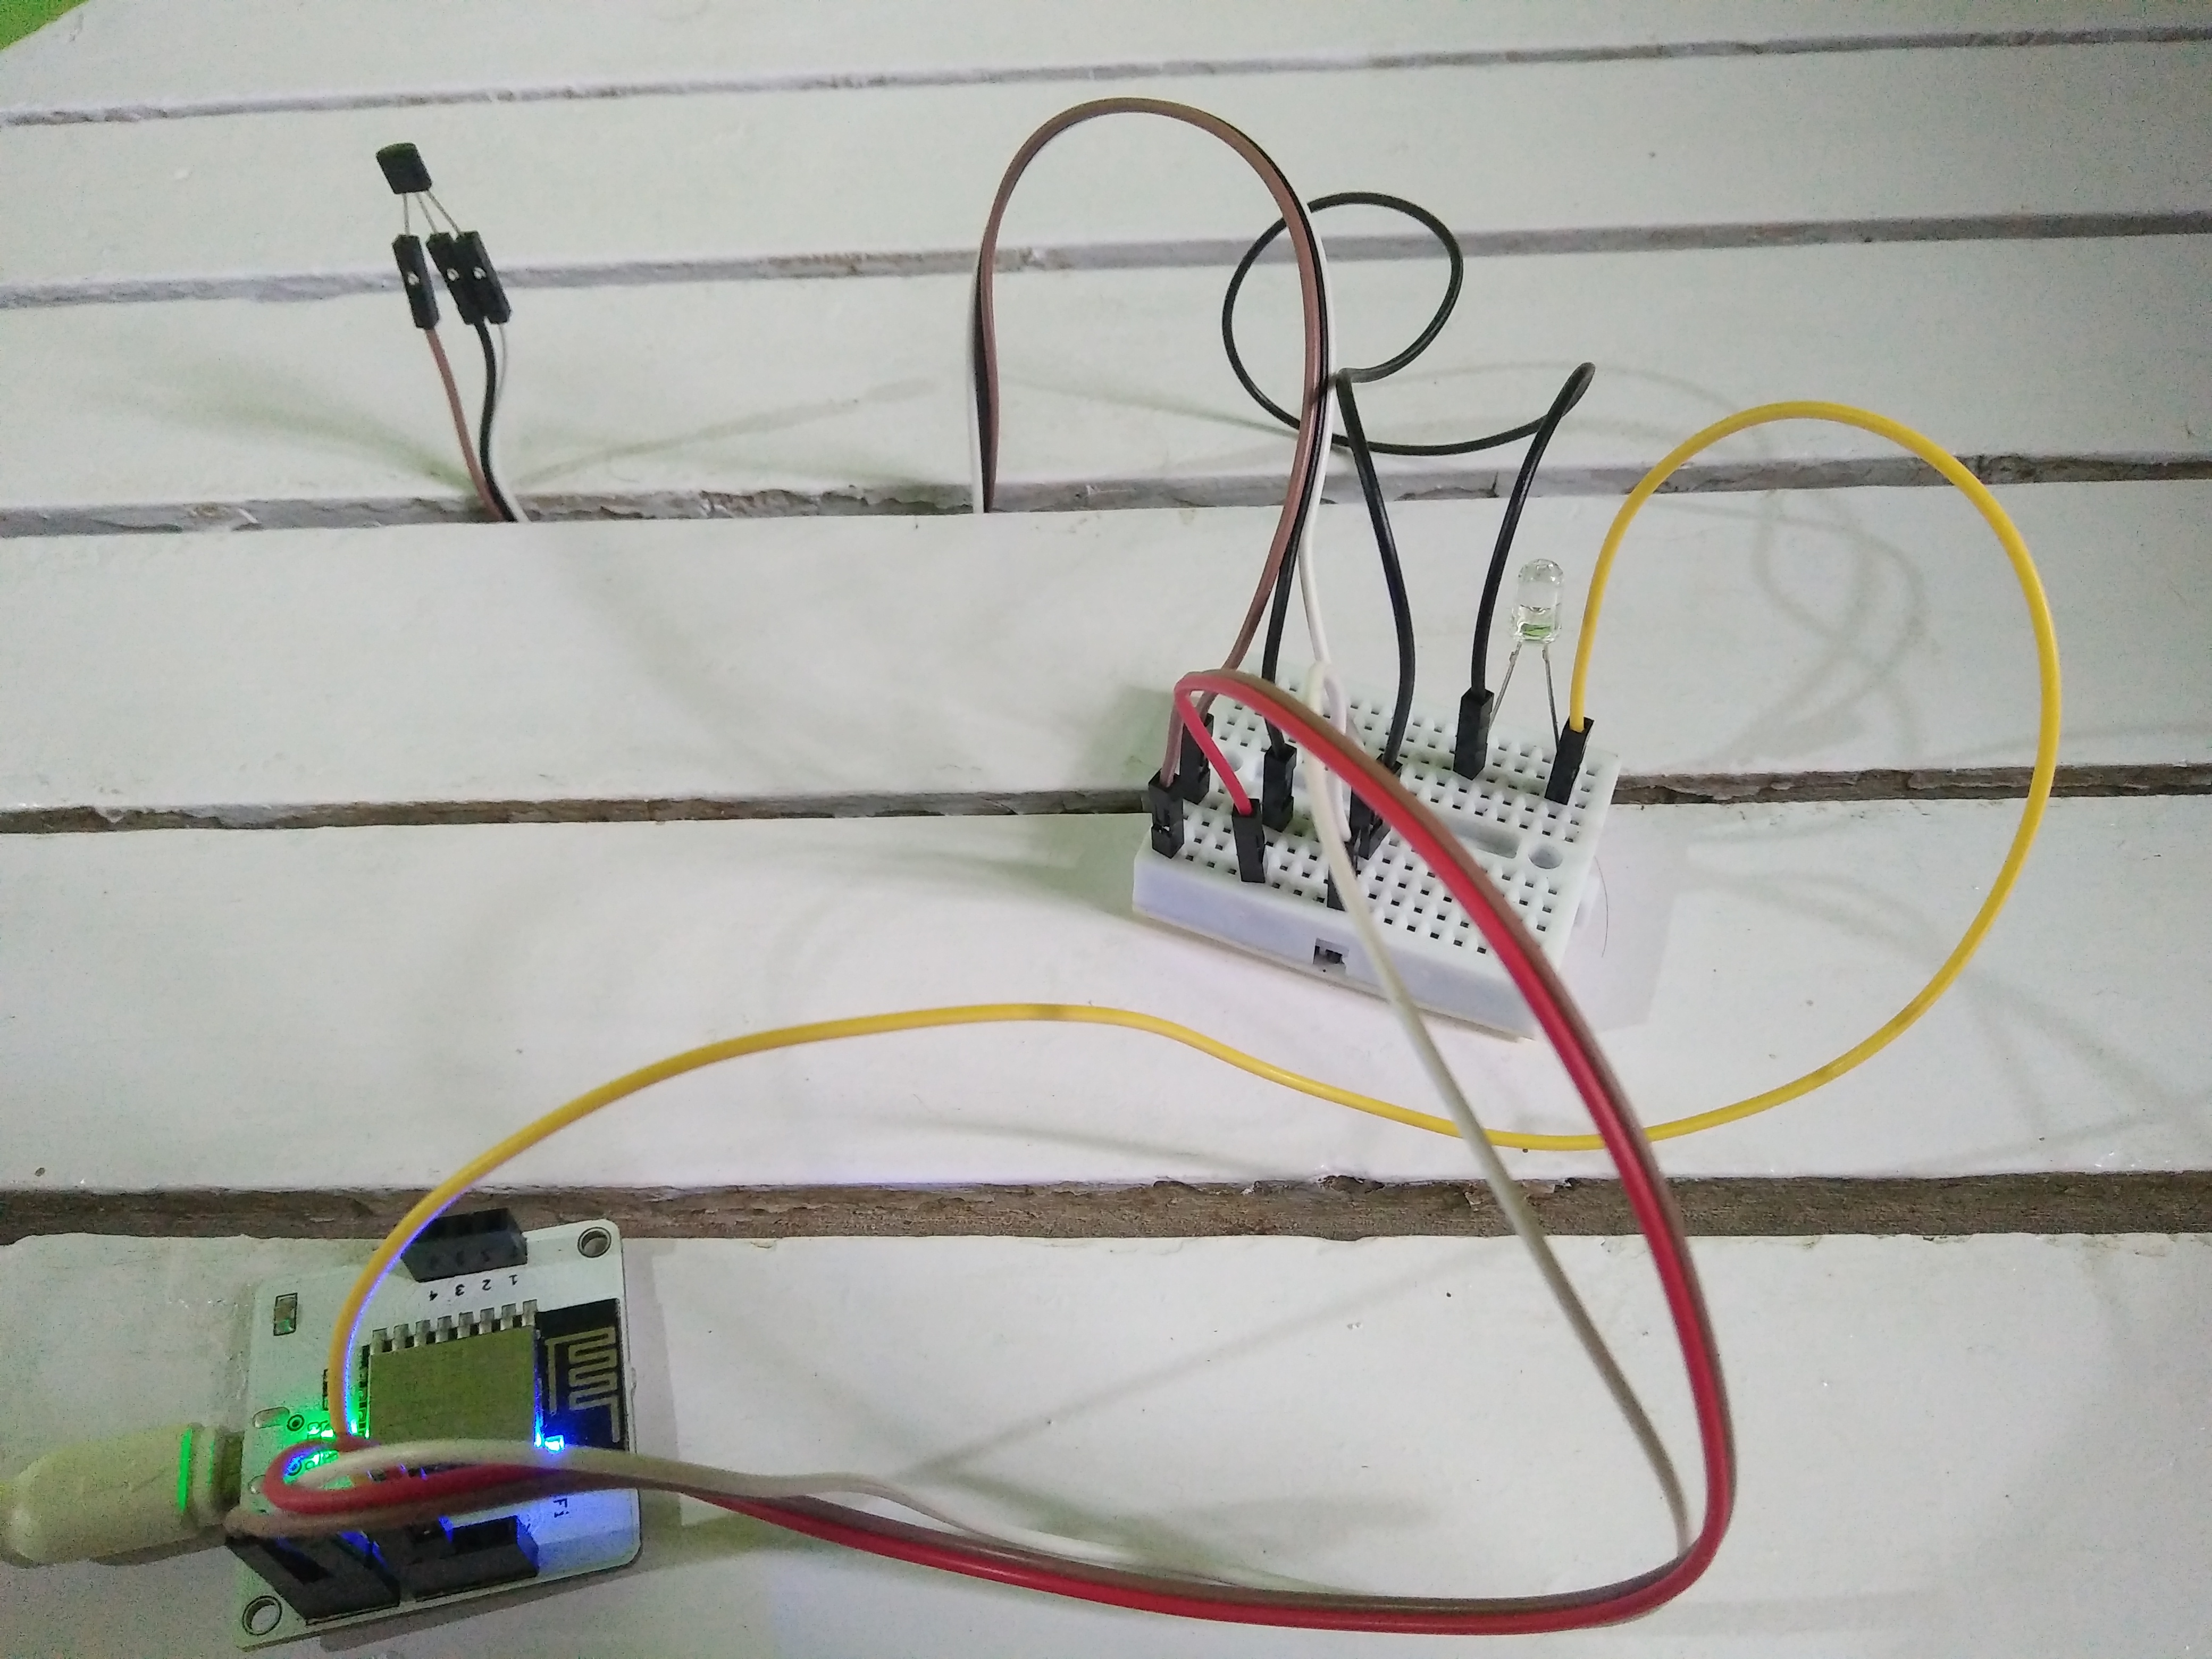
Now connect both the LM35 sensor and the LED to the Bolt Wifi module with the help of breadboard and jumper wires.
Now the Bolt module is ready to power up.
Go to Bolt Cloud , and log-in with your email id and password. Note down the Device ID of your Bolt wifi module. Now, click on the API Tab and under the section for Generate Key, click on the copy button to copy your API key. You will get a similar API key as mine: 22b51877-9fda-4125-8093-a85b0652cee8.
Step 2.2: Code GPIO Control CommandAs LED is a digital output device, we need to get a digitalWrite command that can be sent to Bolt over the Internet to switch on/off the LED.
The structure of the command is:
https://cloud.boltiot.com/remote/API_KEY/digitalWrite?pin=PIN_NUMBER&state=HIGH/LOW&deviceName=DEVICE_ID
The parameters that you need to replace are: API_KEY, DEVICE_ID, both of which we found in Step 2.1. Also we need to set the PIN_NUMBER, which can take the 0,1,2,3 or 4 to connect the LED. I have set it to 0. The last thing we need to set is the HIGH/LOW, HIGH will trun the LED on and LOW wil turn the LED off.
Note down the command. You will get a similar command to mine: https://cloud.boltiot.com/remote/22b51877-9fda-4125-8093-a85b0652cee8/digitalWrite?pin=0&state=HIGH&deviceName=BOLT13168399. Be sure to replace the API_KEY and the DEVICE_ID as per your device and cloud information.
Step 2.3: Creating an IFTTT module in IntegromatThis module helps to connect to the Applet on IFTTT. Log-in to your Integromat account. Then click on "Create a new scenario" on the top-right of the screen. Select IFTTT, HTTP and Twilio in the screem to select the required tools and then click "Continue". Then click on the white circle and select IFTTT from the list and then select "Receive Data" from the menu. Click on "Add" to add a new Webhook followed by giving a name to it and click on "Save". This will give a URL, save it to refer it after some time.
The URL which I got was: "https://hook.integromat.com/kp9mh6cwb3yi78qvdxbf9zvzfdm113fl".">https://hook.integromat.com/kp9mh6cwb3yi78qvdxbf9zvzfdm113fl".
This step helps in receiving the sensor values from the Bolt IoT Cloud. Click on "+" symbol attached to the module to add a new module. Select "HTTP" followed by "Make a request".
In the URL, paste the link: "https://cloud.boltiot.com/remote/API_KEY/analogRead?pin=A0&deviceName=DEVICE_ID". DO remember to change the API_KEY and the DEVICE_ID with the API key and the device id as per your device and cloud information. You will get a similar link as mine: https://cloud.boltiot.com/remote/22b51877-9fda-4125-8093-a85b0652cee8/analogRead?pin=A0&deviceName=BOLT13168399. Then choose on the "Method" as "GET", click on the checkbox "Parse response" and click "OK". This link will fetch the sensor values from the Bolt IoT Cloud. The output of the above link will be in the form of {"value": "123", "success": "1"}, where 123 is just an example of the sensor value, which will be converted to degree Celsius and will be sent to your phone via SMS.
This module is required to recieve the temperature as an SMS. Now click again on "+" and type "Flow Control" in the search box, select it and then select "Router". Click on the white circle and select "Twilio" followed by "Send a message". Enter the SID and Auth Token from your Twilio account. In the "Recipent Number", type your phone number preceeded by your area code. In the "Message" type a desired message. Just for example, "The current temperatue is ". Select "()" from the dialog box and then inside those "()" click on "A" symbol from the dialog box beside and select "substring". Clear the semicolon inside the brackets of the substring and select on the "data: value" from the dialog box. Then select "*" from the dialog box and type "0.0977". This is done to convert the sensor value to degree Celsius. So your final mesage will be something like this "The current temperatue is (substring(2data:value)*0.0977) degree Celsius".
Now save your scenario in the Integromat.
Final scenario will look similar as below.
Log-in to yor IFTTT account. Then click on "New Applet" under the "My Applets" section. Click on "+this".
Then select "Google Assistant" after searching it from the search box. Click on "Say a simple phrase" in the following screen. Type the command for which you want to trigger the required action and the click on "Create Trigger".
Then click on "+that".
Search for "Webhooks" in the search box abd select it followed by selecting "Make a web request" in the following screen. In the URL field, paste the link we got in the Step 2.3. I got the URL as: "https://hook.integromat.com/kp9mh6cwb3yi78qvdxbf9zvzfdm113fl".">https://hook.integromat.com/kp9mh6cwb3yi78qvdxbf9zvzfdm113fl". So paste it. This step is neccessary to run the scenario in Integromat when you say the command to the Google Assistant. Then select "POST" in "method" and click on "Create Action".
In the screen that follows, click on "Finish".
Step to turn the LED on
This step will be similar to Step 2.5 done previously.
While you are still logged-in to IFTTT, we will create a new Applet for LED automation. Make sure in both the steps, Step 2.5 and Step 2.6, you use th same Gmail account which you'll be using on your mobile to interact with Google Assistant. Click on "+This" to create the trigger. Choose "Google Assistant", then "Say a simple phrase". Type the phrase you want to trigger the action. Then click on "Create Trigger" and after that click on "+That". Select "Webhooks" and then "Make a web request". Enter the API URL command which we got in te Step 2.2. Make sure to change the API_KEY and the DEVICE_ID as per your device and cloud information. Then choose the "Method" as "GET" and "Content type" as "Application/json". Then click on "Create Action".
Then click on "Finish".
Step to turn the LED off
Reapeat the same step as "Step to turn the LED on". The only change that needs to be done is in the API URL command. Just change the state=HIGH/LOW to LOW.
Project ReadyNow connect the Bolt wifi module to a 5V power source. Make sure it is connected to an active internet connection.
Now open the Google Assistant app on your Android device and say the phrases you had set while creating the trigger to see then work.
When I say the phrase "switch on the light", the LED turns on.
Output:
When I say the phrase "my room temperature", the temperature value from the sensor is sent to phone via SMS.
Output:
When I say the phrase "switch off the light", the LED turns off.
Output:
- 5 minutes, 4 steps and "Ok Google turn on the lights", by Team Nitro: Vinayak Shantaram Joshi, Sourabh Tiwari, Yeshwant Naik. Published January 3, 2018 © GPL3+.
- https://www.hackster.io/prustymilan7/controlling-lights-using-google-assistant-bolt-wifi-module-580771
- Real-Time Sensor Values Delivered Anytime to Your Device, by Venkatesh N M. Published March 1, 2019.
- https://www.hackster.io/nallurimeher/real-time-sensor-values-delivered-anytime-to-your-device-b8e515
Thanks to Bolt IoT.
© June, 2020. Preshly Fernandes. Bolt IoT Project. All rights reserved.


Comments