
_wWOrJJ7y67.JPG?auto=compress%2Cformat&w=40&h=40&fit=min&dpr=2)
Hardware components | ||||||
 |
| × | 1 | |||
| × | 1 | ||||
| × | 1 | ||||
 |
| × | 1 | |||
 |
| × | 1 | |||
 |
| × | 1 | |||
Software apps and online services | ||||||
 |
| |||||
| ||||||
Well Guys!!
I'm back with another cool iot project, in this Instructable you will Control relay by varying the intensity of light incident to the LDR.
Generally, LDR is a Light Dependent Resistor, whose resistance changes depending upon the intensity of the light incident on it.
before starting make sure, you have
1. installed the arduino ide in your system (and check for com port for nodeMCU)
2. register yourself at http://thingsai.io/
3. create and configure a new project
Setting Up Cloud Account on ThingsIO.AI
ThingsIO.AI is a IoT platform for developers. As a developer we understood the pain of not having a seamless place to connect, analyze and process device data. Many pure analytics platforms does not offer device management, which is core for the iot. That is the reason for ThingsIO.AI.
- Register the account in http://thingsio.ai/#/register.
- You will get the notification for sign up.
- Go in your email address and verify your account.
- After that, sign in your account with your email address and password
- Now, you will be on the project dashboard. Click on the new project option.
- Click on the add a new device option. You will get device ID.
- Enter the device name and click on the create and configure device.
- You will be on your device dashboard.
Some basic points(1-5) for analysing data on ThingsIO.AI
1. Track your device’s special parameters here. This can be set in device configuration(default to null).
2. You can see your real time and special parameter’s graph.
3. You can see your all data points.
4. You can see here your last 5 data points.
5. You can see here all the list of created graphs.
- Go in sample device code options and click on the NodeMCU.
- You will get the sample code from there copy and paste into your Arduino IDE.
Click on the “Send trial data” to send a trial data to the server:
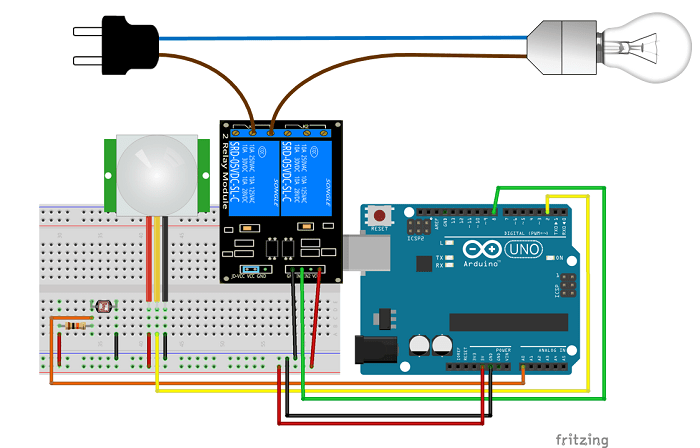
make connections as instructed in schematic diagram for LDR and relay to nodeMCU. which is again shown below,
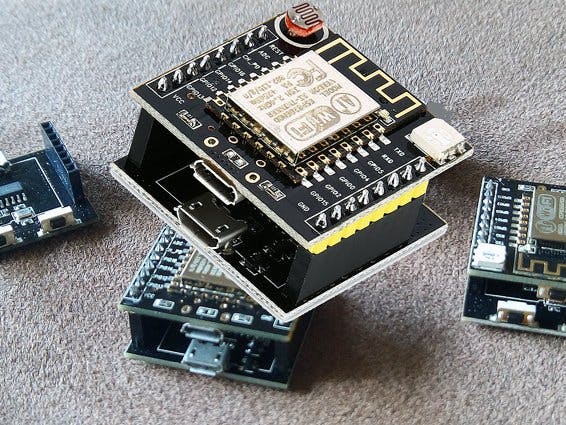
after making the proper connections, dump your program to nodemcu, which is illustrated here,
Charting and Visualizations on ThingsIO.AIGo to your ThingsIO.AI account and go to your device ->
Click on the configuration device option:
- You can set the special parameters (this is tracked on the device dashboard) & transform it accordingly and add new parameters (Parameters are updated automatically as you send them from your device).
- Click on the update device option:
- To create a graph for your device click on the “create graph option."
- Put the parameter that you want in your graph.
- And you will be having the graph of your data.
That's all makers!
It takes less time to create this instructable, and its fun too.
Thank you for taking your time to read my work. I hope you enjoy it as I enjoy making it and documenting it to show and tell to other fellow makers here.
CIAO!! with another interesting Instructable!
_wWOrJJ7y67.JPG?auto=compress%2Cformat&w=60&h=60&fit=min&dpr=2)


Comments