// -----------------------------------------
// Function and Variable with Photoresistors
// -----------------------------------------
// In this example, we're going to register a Particle.variable() with the cloud so that we can read brightness levels from the photoresistor.
// We'll also register a Particle.function so that we can turn the LED on and off remotely.
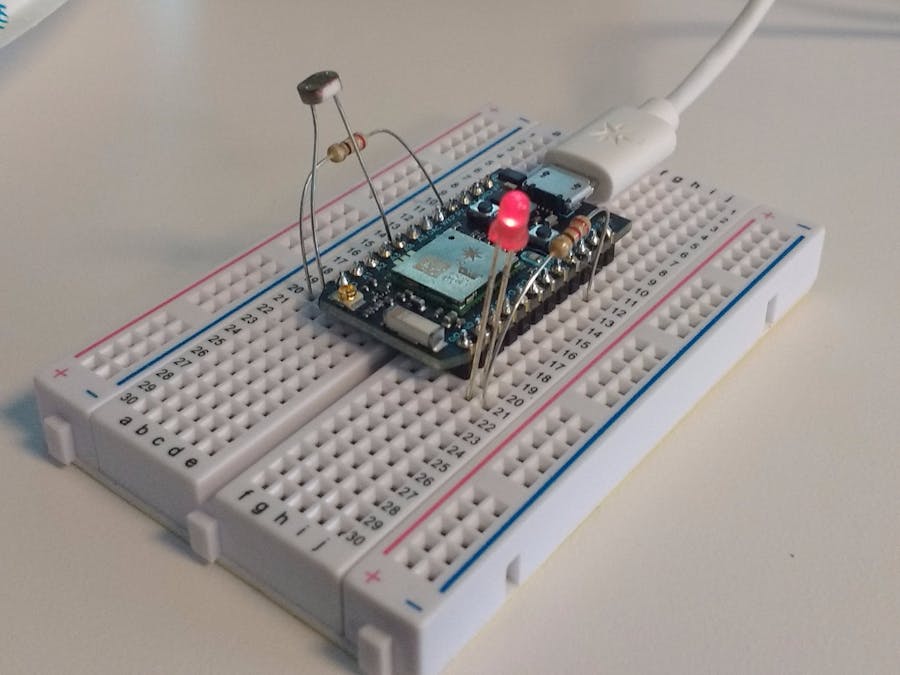
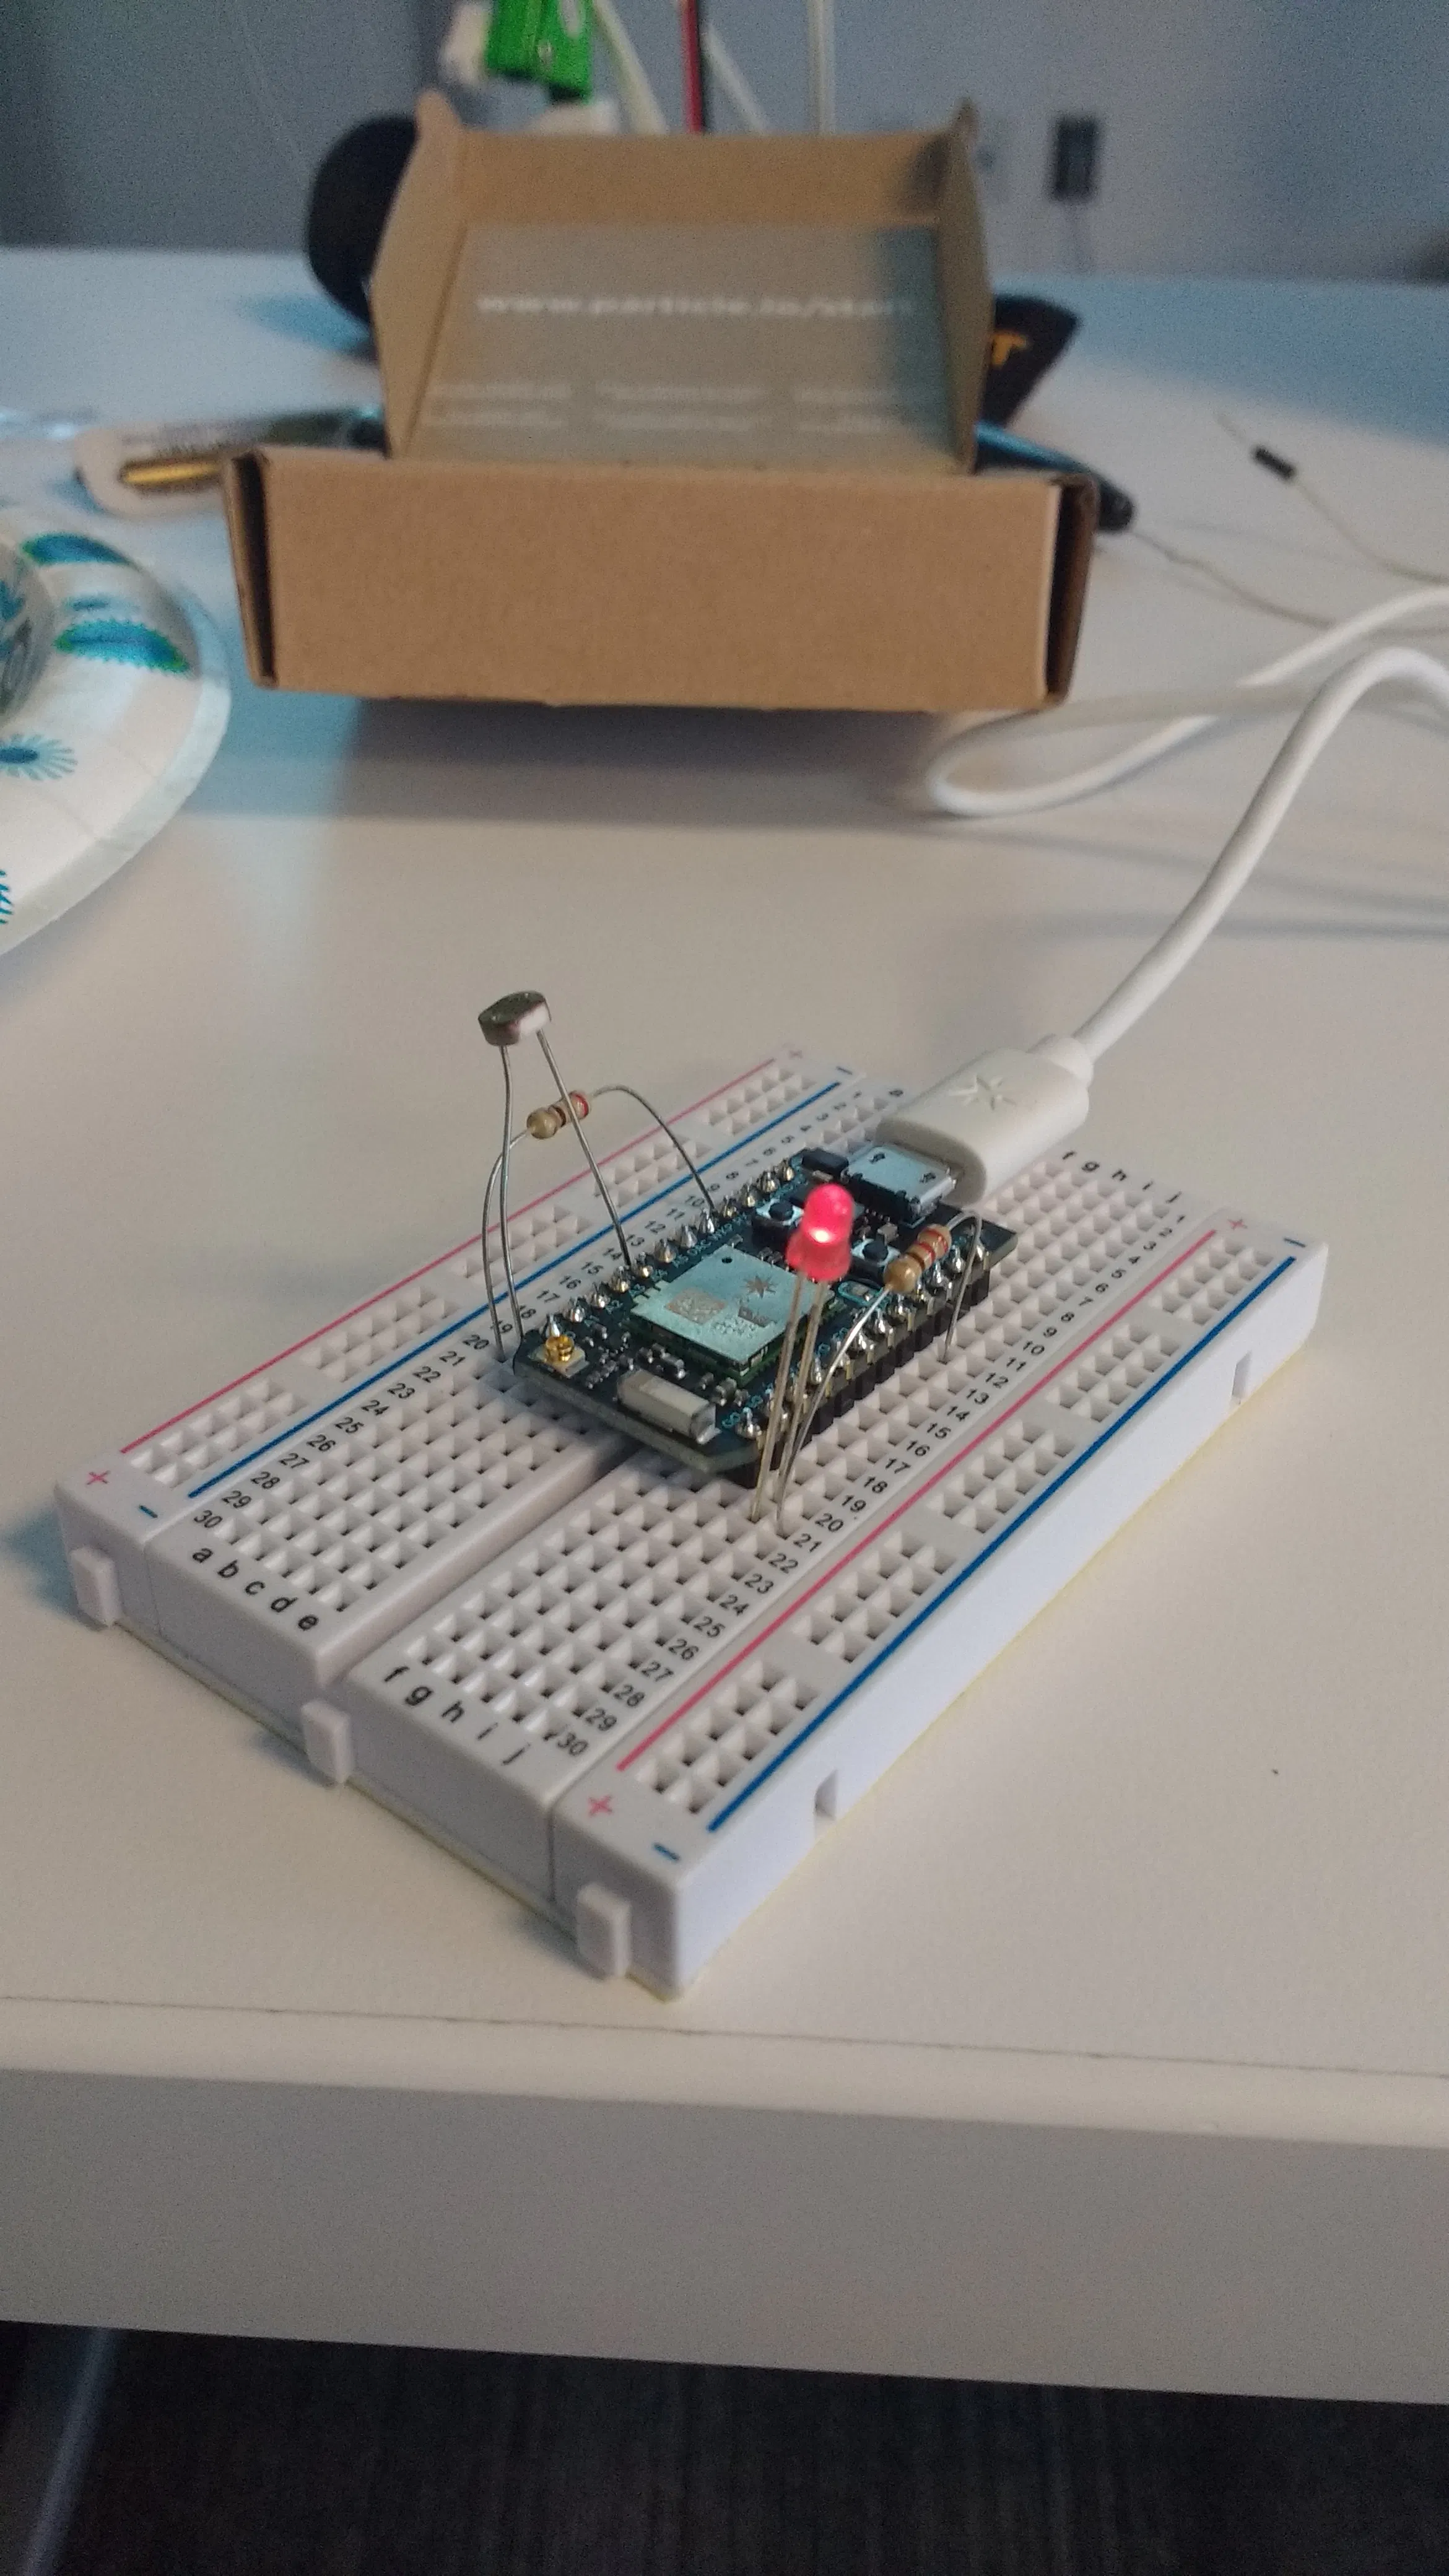
// We're going to start by declaring which pins everything is plugged into.
int led = D0; // This is where your LED is plugged in. The other side goes to a resistor connected to GND.
int photoresistor = A0; // This is where your photoresistor is plugged in. The other side goes to the "power" pin (below).
int power = A5; // This is the other end of your photoresistor. The other side is plugged into the "photoresistor" pin (above).
// The reason we have plugged one side into an analog pin instead of to "power" is because we want a very steady voltage to be sent to the photoresistor.
// That way, when we read the value from the other side of the photoresistor, we can accurately calculate a voltage drop.
int analogvalue; // Here we are declaring the integer variable analogvalue, which we will use later to store the value of the photoresistor.
// Next we go into the setup function.
void setup() {
// First, declare all of our pins. This lets our device know which ones will be used for outputting voltage, and which ones will read incoming voltage.
pinMode(led,OUTPUT); // Our LED pin is output (lighting up the LED)
pinMode(photoresistor,INPUT); // Our photoresistor pin is input (reading the photoresistor)
pinMode(power,OUTPUT); // The pin powering the photoresistor is output (sending out consistent power)
// Next, write the power of the photoresistor to be the maximum possible, so that we can use this for power.
digitalWrite(power,HIGH);
// We are going to declare a Particle.variable() here so that we can access the value of the photoresistor from the cloud.
Particle.variable("analogvalue", &analogvalue, INT);
// This is saying that when we ask the cloud for "analogvalue", this will reference the variable analogvalue in this app, which is an integer variable.
// We are also going to declare a Particle.function so that we can turn the LED on and off from the cloud.
Particle.function("led" ,ledToggle);
// This is saying that when we ask the cloud for the function "led", it will employ the function ledToggle() from this app.
}
// Next is the loop function...
void loop() {
// check to see what the value of the photoresistor is and store it in the int variable analogvalue
analogvalue = analogRead(photoresistor);
// if(analogvalue>100){
// for( int i=0; i<250; i++)
//bypassing the cloud and using analog value instead
analogWrite(led,analogvalue);
// }
//Particle.publish("toot", String::format("value: %d", analogvalue));
// delay (10); //0);
}
// Finally, we will write out our ledToggle function, which is referenced by the Particle.function() called "led"
int ledToggle(String command) {
if (command=="on") {
digitalWrite(led,HIGH);
return 1;
}
else if (command=="off") {
digitalWrite(led,LOW);
return 0;
}
else {
return -1;
}
}


Comments