Step 1: Stripping Out the Rapidstrike
A stock rapidstrike comes with a large number of locks and safeties which add resistance and limit usability, so all of the stock wiring needs to be removed; save the switches though since they will be used with the photon later. the battery compartment will need to be stripped out to make room for the photon, and you may need to dremmel holes in the blaster to accommodate the wiring.
Step 2: Performance Mods (optional) and Re-wiring
I changed out my motors, Fang 2.0 motors for the flywheels and a Mieshel 2.0 for the pusher, and rewired to LIPO batteries to increase performance and free up space in the battery tray for my photon, but which if any performance upgrades you want to add is up to you and I'd recommend you do research to find out which mods are in your budget and meet any performance requirements you may have (fps caps for example). However, I do recommend the conversion to LIPO batteries, which will damage stock motors, to save space and an upgrade to the flywheel motors to decrease the rev up time which is important for the automated fire function. I also recommend using 18 gauge silicon wire for flexibility and reduced resistance.
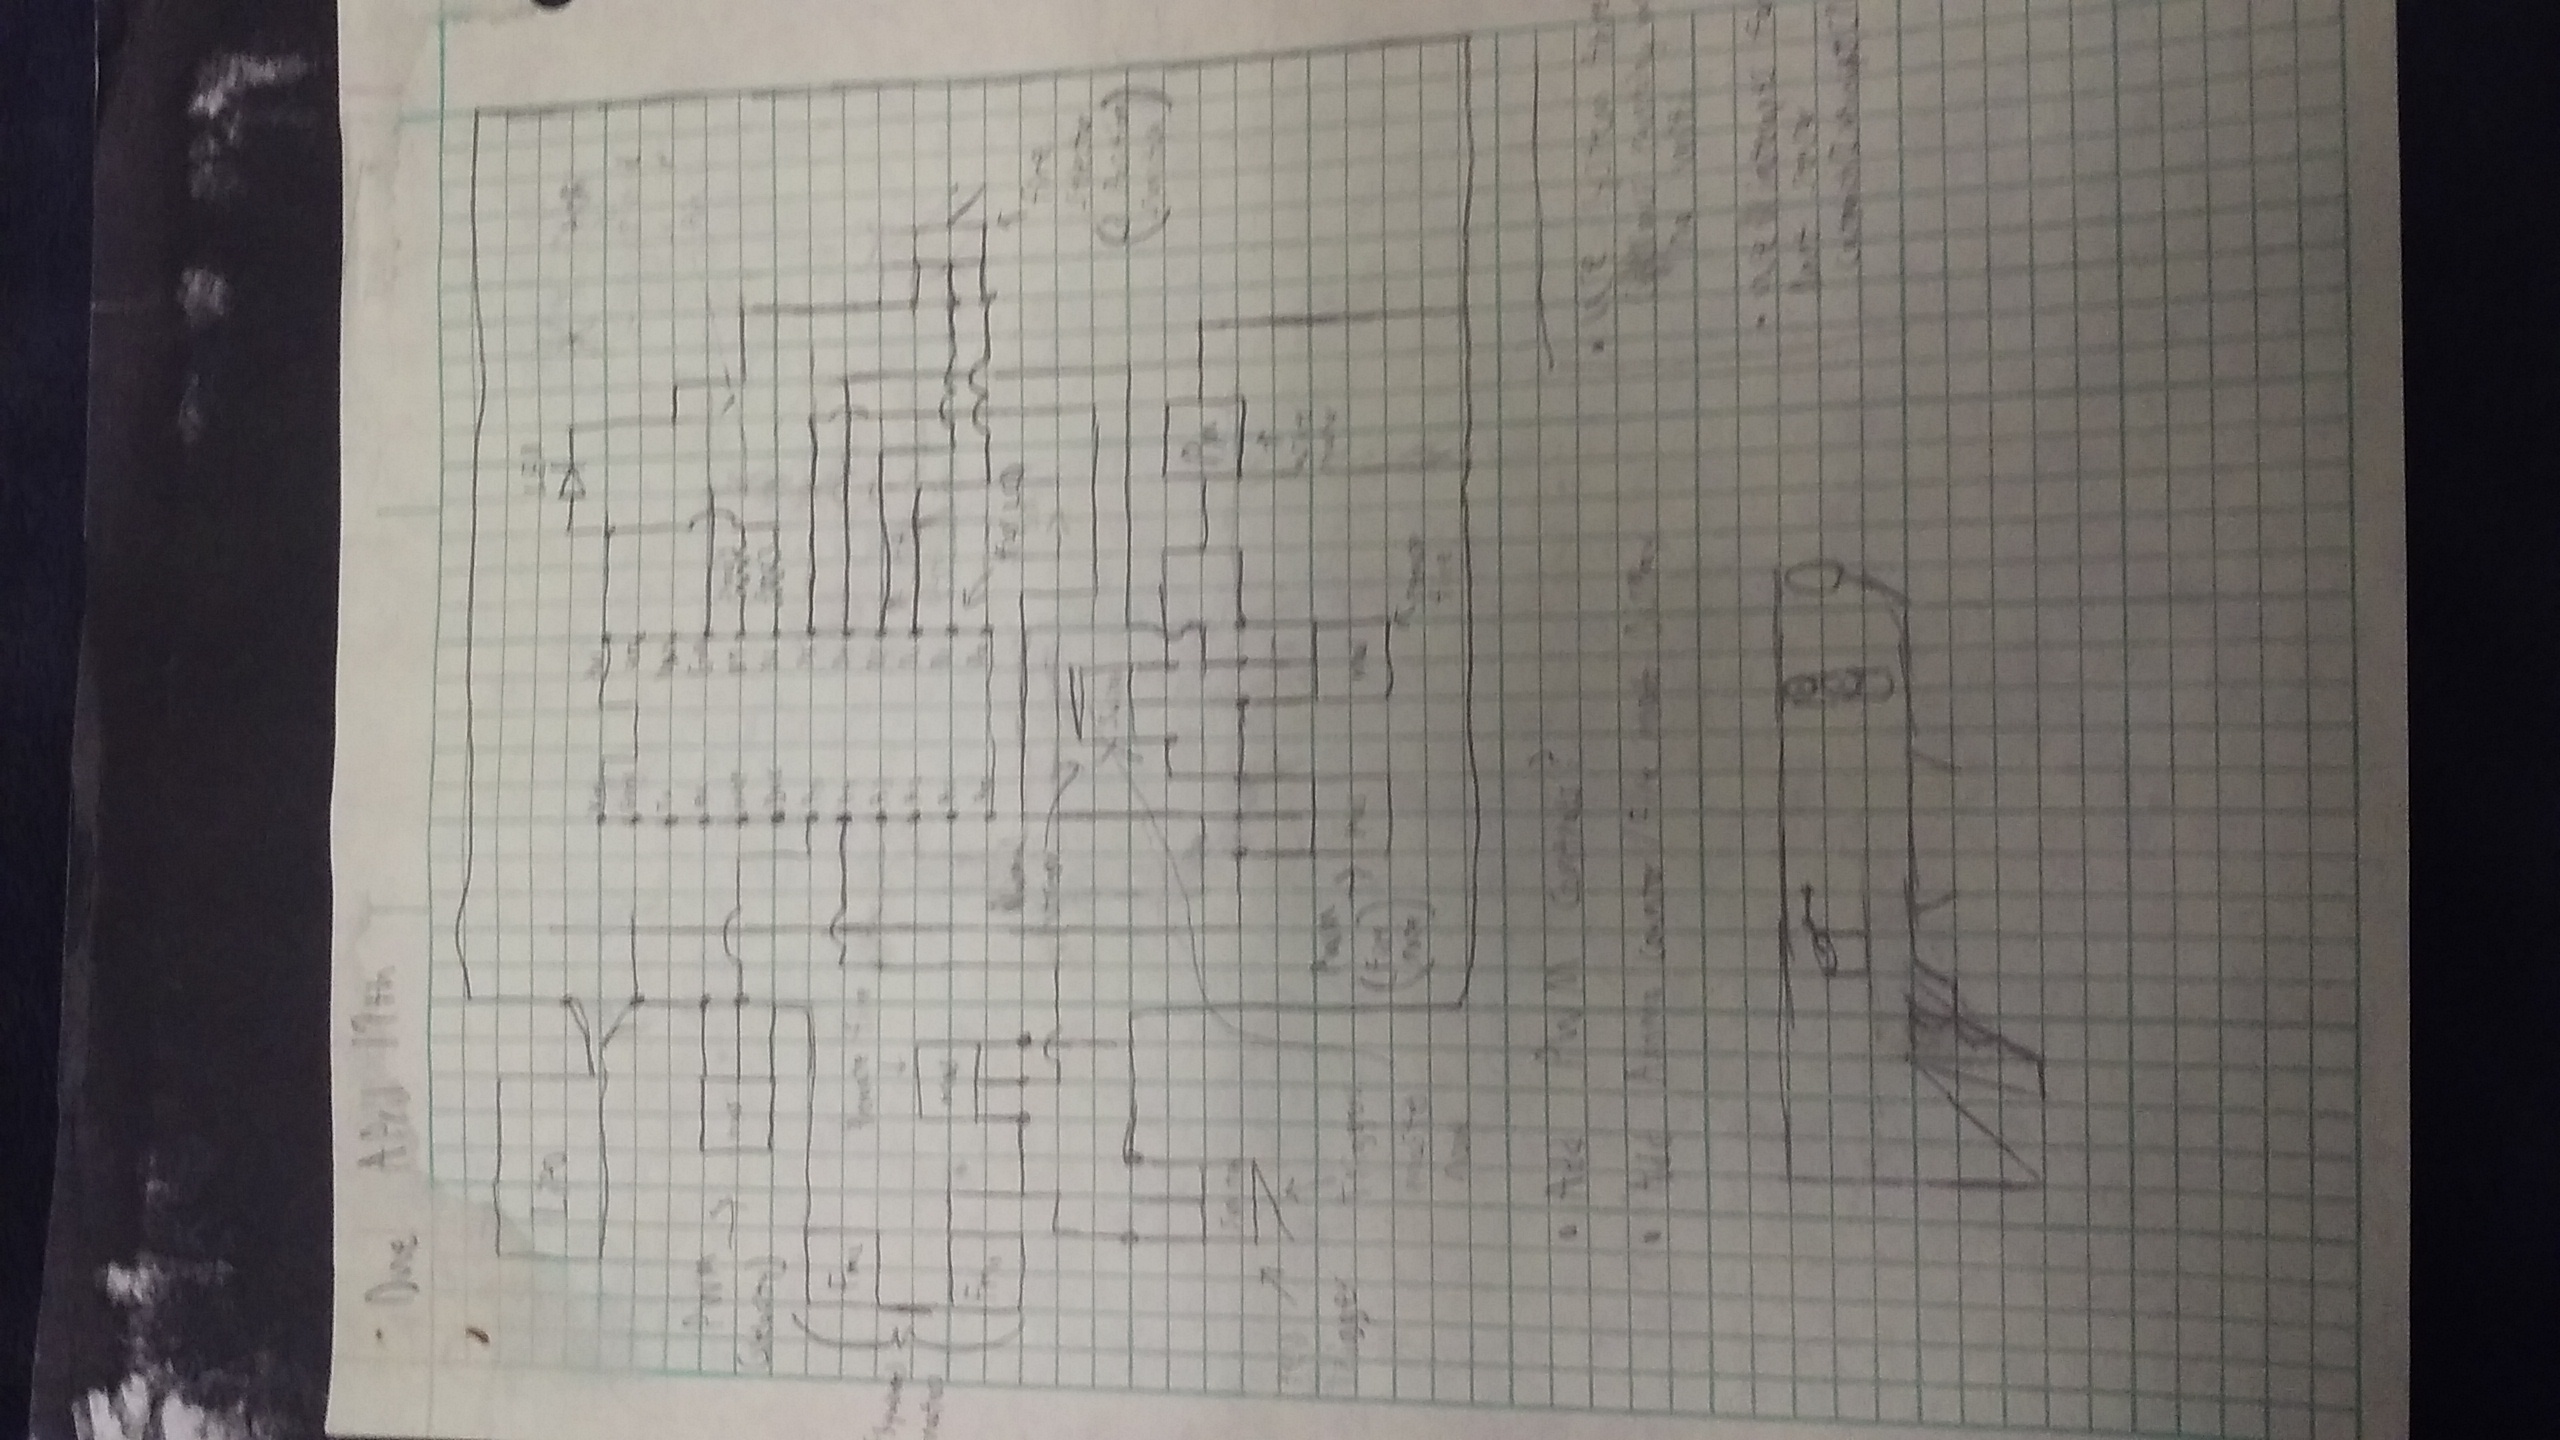
I recommend thinking about the wiring as multiple separate steps to help keep track of things. First wire up the flywheel motors to the lipo and their mosfet (use the outer two prongs) and back to the LIPO; then do the same for the pushers, this time with two mosfets (one for fire control and the other for PWM). next for the flywheel mosfet and one of the pusher mosfets wire the normally closed from one of the stock switches (one is your rev switch and goes where the old rev switch did and the other is your firing switch and goes in the spot for the main trigger switch) to the mosfet input (middle prong) and the switch input to the batteries powering the photon. alternatively you could wire replacement switchs in parallel with the mosfets, but that requires shell cutting and hot glue, and we're already using mosfets to let the photon control the blaster. then solder a wire to the middle prong of each of the mosfets; these will go back to the photon and allow it to control the blaster.
Step 3: Wiring the Sensors, Fire Selector Switch, Reload Detector, and Photon
Most of this is a work in progress. You'll probably want to calibrate the IR sensors with a proper resistor before you put them into the blaster. The current plan is to dremmel some holes into either side of the barrel and hot glue the sensors in place. The reload sensor just reuses some of the old safety mechanisms (wired into the photon instead of the blaster). The fire selector will need to be mounted in a hole dremmeled into the shell, but shouldn't be hard to wire up.
Step 4: The Tripwire
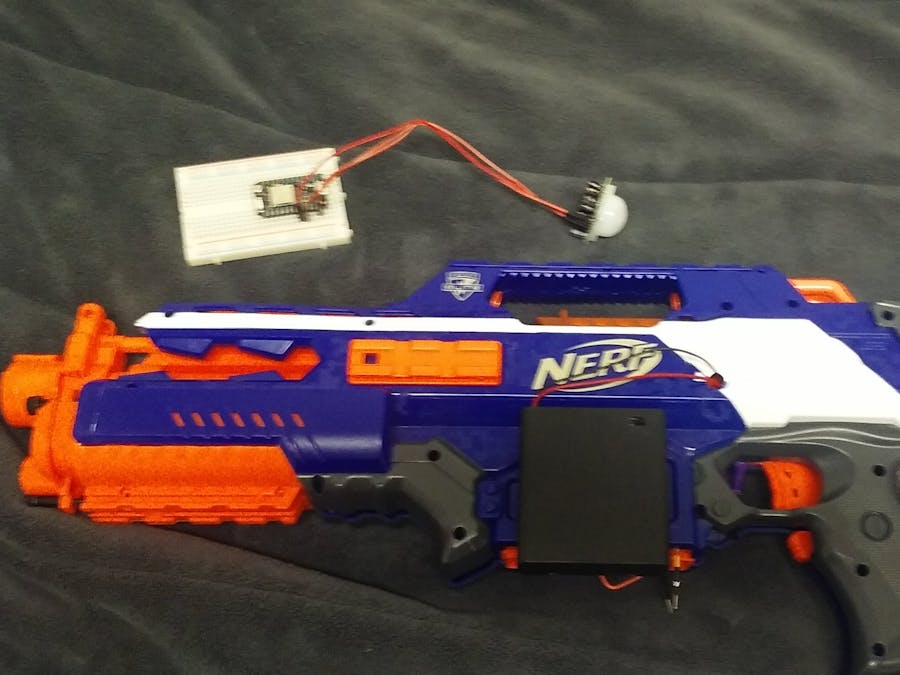
This is also a work in progress. It will consist of a second photon running the tripwire code which will be connected to a PIR sensor.


Comments