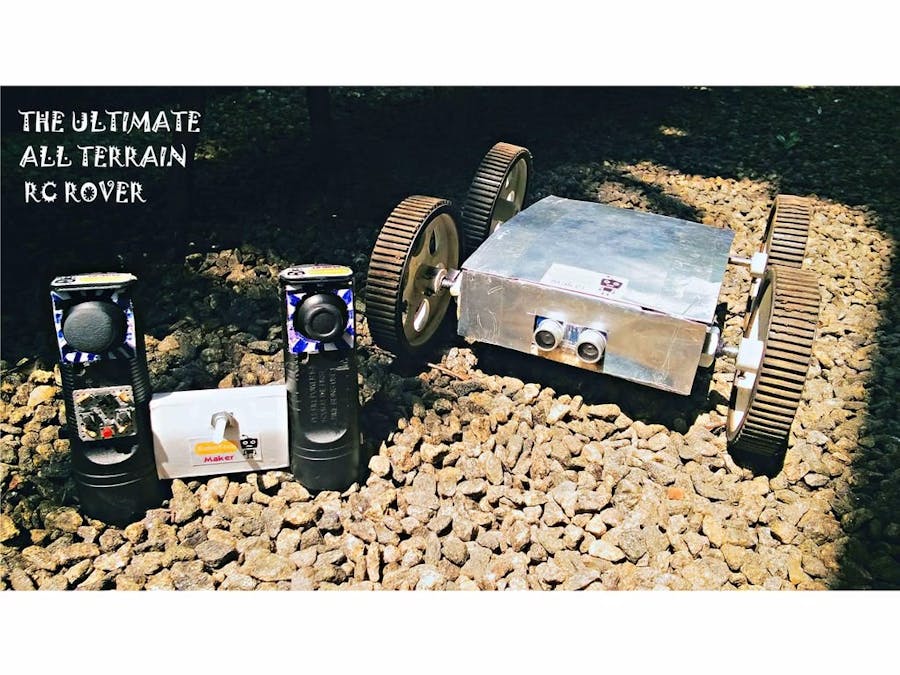
Let's make an all terrain remote controlled rover bot. This is a great starter project for hobbyists. In this tutorial, I am showing how to make an all terrain robot using Arduino. It has two modes of controlling, using smartphone controlling and the other, using our own designed RF remote. It is more easy and flexible to use, and also low cost. The total cost for making this robot is less than 60$.
Areas or fields of it's application (with the updated version 2.0)- Spying agent for military purpose
- Rainwater drainage system cleaning robot
- Repairing of pipelines that humans can't access
- In nuclear plant disasters
Controlling methods.The RF controller "Click here to visit the tutorial of remote".
The Bluetooth controlling.In this option we can use our smartphone for controlling the robot.
Watch this video to see the robot in action. (Using wireless remote)
Watch this video to see the working of V2.0 of this Robot. (Using smartphone)
It's tutorial will upload soon! Stay connected!
Materials & tools required.
Electronic parts- Dual DC motor driver 20A - robokits.co.in or robokitsworld.com
- HC-05 bluetooth module (Only for Bluetooth controlling option) - Amazon.in or Amazon.com
- Jumper wires - Amazon.in or Amazon.com
Mechanical parts- LIPO 2600 mah battery - Amazon.in or Amazon.com
- 3 x 'L' shaped clamp for plastic gear motor - robokits.co.in or robokitsworld.com
- 2 x 'L' shaped clamp for metal gear motor - robokits.co.in or robokitsworld.com
- Aluminium sheet 2 mm (from local store)
Tools- Drilling machine (not important)
Making the chassis of the rover.
Let's make the chassis of this rover. I am using two '3mm thick' & 20x15 cm aluminium sheets to make the chassis.
First, drill the holes for placing the 'L' shaped clamp for connecting the motors. Here I used two 200 rpm metal gear motor (for the back side of the rover) and two 200 rpm plastic gear motor (in the front side). Then connect the 4 motors and take out wires from the motors.
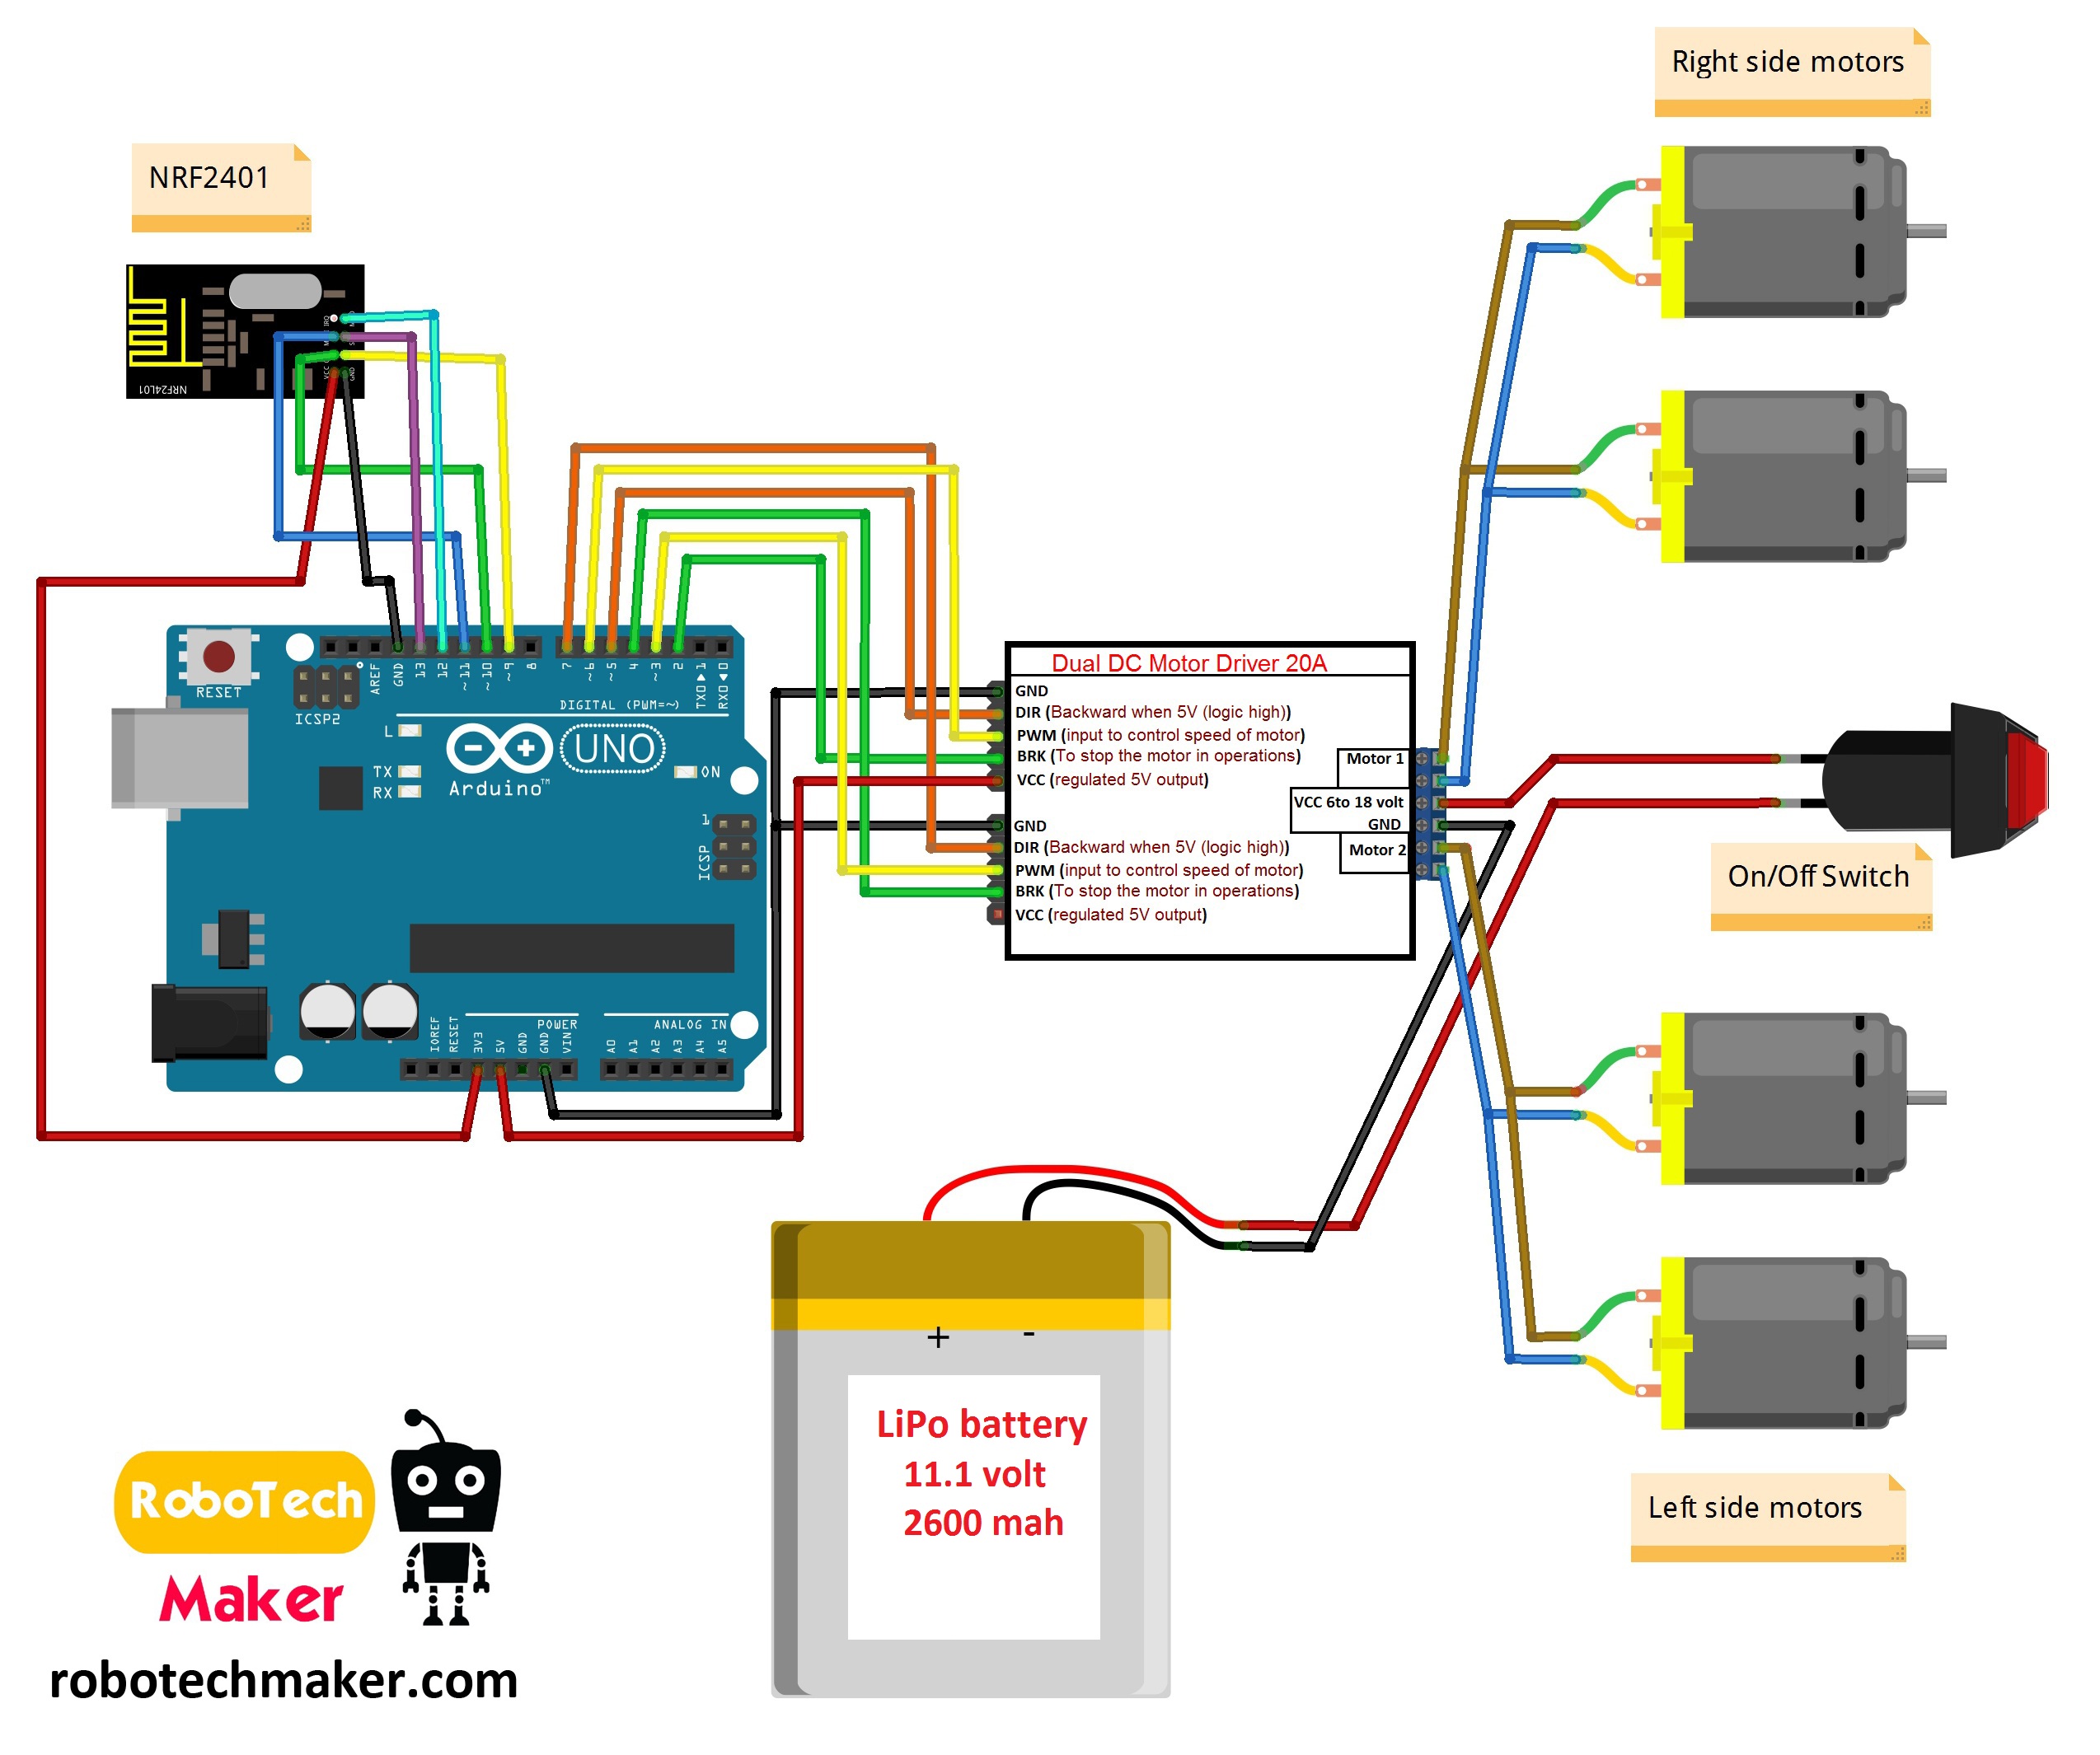
Circuit diagram.
Wiring instruction' NRF2401' >> 'ARDUINO'.If you are using the Bluetooth controlling option then, Wiring instruction of HC-05 Bluetooth module >> Arduino
- TX of HC-05 >> RX of Arduino
- RX of HC-05 >> TX of Arduino
- VCC of HC-05 >> 5volt of Arduino
- GND of HC-05 >> GND of Arduino
Read about the motor controller in the next step.
Connecting all parts together and testing.
Then connect all the parts together as shown in the circuit diagram, before attaching this items to the chassis make sure everything is working fine. You can find the codes needed for the rover in the next step of this tutorial.
The motor controller.The motor driver used here was purchased from the robotkits.co.in. We can control it either by analog input or by PWM input, which is a low cost and 6V - 18V compatible 20A capable Dual DC motor driver. It is ideal for this application where two motors (I am using 4 motors, by the parallel connection of two motors on the same side) are required for up to 20 Amperes of current during startup and during normal operations. Read more about this motor driver in this PDF here. The battery instructions is in the next step.
Final step adding a switch and finishing.
In this last step we are connecting the battery and an on/off switch for the rover. After connecting the switch and battery as shown in the figure. Close the upper side using another 20x15 cm size aluminium sheet and at last connect the wheels also. Now we have finished the making of the rover bot.
Battery used.In this robot I use a LiPo 11.1 volt 2800mah 30 C battery. For choosing your own battery read this article. This is my first LiPo battery therefore I don't know much about it.
Updates in the rover.I have updated this robot later by adding a 3 DOF robotic arm and an ultrasonic sensor. To see it's working watch video below. And the tutorial of that will be posted soon in my blog.
Watch this video to see the working of V2.0 of this rover with robotic arm (control using smartphone).
Arduino codes.Here you can download the codes. The first code is for controlling the robot using the custom made remote. For the code used in the transmitter (remote) visit the tutorial of making remote - Click here to visit that tutorial. In this Arduino code there is a library called 'print.h'. For using that library in the Arduino code you need to add the print.h file and Arduino code in a same folder that I have provided here. The second code is for Bluetooth controlling option, using this application - Click here to download the application.
RC_rover_code_for_RF_function.ino
printf.h
RC_rover_code_for_bluetooth_controling.ino


_ztBMuBhMHo.jpg?auto=compress%2Cformat&w=48&h=48&fit=fill&bg=ffffff)


Comments