
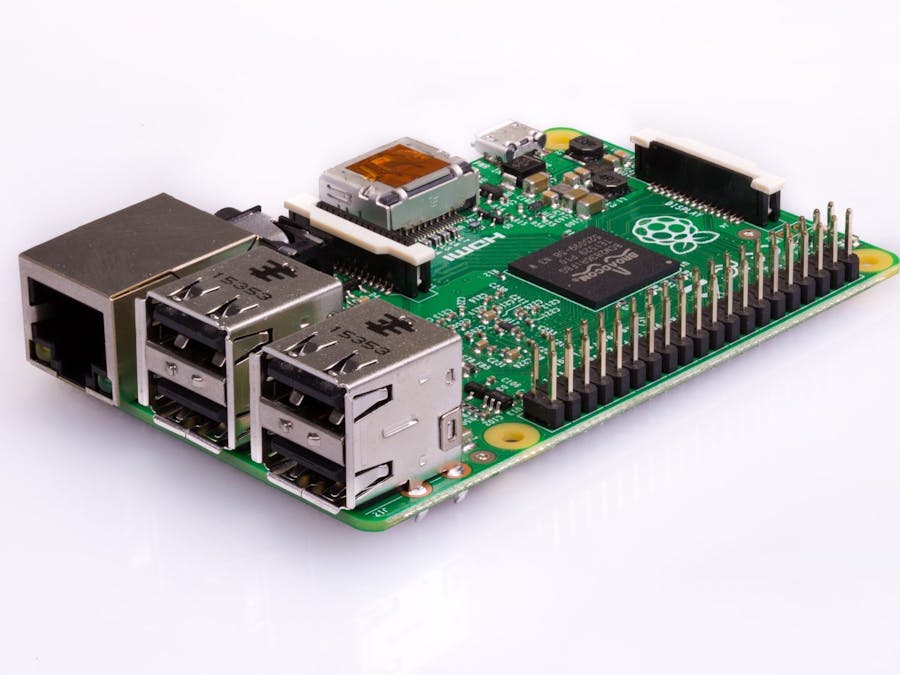
Hardware components | ||||||
 |
| × | 1 | |||
| × | 1 | ||||
| × | 1 | ||||
 |
| × | 1 | |||
Software apps and online services | ||||||
| ||||||
| ||||||
| ||||||
| ||||||
Have you ever wanted to turn on an off a light without getting up out of bed? Have you ever wanted the satisfaction of creating a smart home interface yourself? Then let's get started because today I'm going to show you exactly that.
FunctionalityThis project relies on cloudMQTT to send messages from the web server to the Raspberry Pi, a cloudMQTT account is required to use this (don't worry it's free). The project is fairly simple. The web server has a button that sends a message to the raspberry pi. Once the pi receives the message it runs a function to change the state of the light to on or off depending on what its on.
There is no physical parts you have to put together in order to complete this project. As long as you have the required materials and can provide power to all of it you're ready to get started!
The Good StuffStep 1: Set up your Raspberry PiYou will need to set up your raspberry pi. Here is a link I used to get started with it and learn my way around my new pi before I started the project.
Link: https://core-electronics.com.au/tutorials/raspberry-pi-workshop-for-beginners.html#ch1
Note: You can stop after you finish the tutorial about updating your OS.
Step 2: Download required software/set up accountsYou'll need a few different pieces of software in order to make this project work.
- The WeMo Companion app. This will allow you to connect your WeMo Switch to your home WiFi Network. It is pretty straight forward the app walks you through it. The app can be found by searching 'WeMo' in the App Store.
- Set up Node.JS through Express. ExpressJS
- Download Now. Once you finish setting up your Node.JS WebServer this will allow it to live online for free. Now
- Set up cloudMQTT. I used the free account because I am just setting up one broker for this project. Create an Account. Create a new instance. You'll need the information of this instance later so keep that open. cloudMQTT
This is the code a used to create my Web Server. It is all JavaScript and there is not HTML/CSS page to go along with it. This server will only serve (Yes, pun intended) the purposes it needs to be able to toggle on and off the lamp.
Use the same directory as you made with the Express Tutorial.
You will need to install the MQTT library in your directory in order for the the code to work. So in your terminal make sure you run this command line.
$ npm install mqtt // install mqtt library
The file name for your Web Server should be 'index.js'.
//Get Library
    var mqtt = require('mqtt')
    const express = require('express')
    const app = express()
//Use my cloudmqtt credentials
    var client  = mqtt.connect('Server Name:Port No.', {
     username: "User",
     password: "Password"
})
//Connect to MQTT.
client.on('connect', function () {
 //console.log("Connected to MQTT.")
 client.subscribe('fromDevice')
})
client.on('message', function (topic, message) {
 if (topic === 'fromDevice') {
   //client.publish('web', 'change State.')
   console.log("message sent.")
   // save message DB
 } else {
   console.log("oops you suck.")
 }
})
app.get('/', function (req, res) {
 // load data from DB
 res.send( '<h2>Push Button to Turn Light On.</h2><br><button type="button"><a href="/message">Toggle</button>')
})
//Second page that sends message.
app.get('/message', function (req, res) {
 if(client){
   //Send Message
   client.publish('fromServer','urn:Belkin:device:controllee:1')
   //redirectto index page
   res.redirect('/')
 }
 else{
   console.log("oops you suck")
   //Link to index if page was not redirected
   res.send( 'client was not set up<br><br><a href="/">Link to Index</a>')
 }
})
/*
app.listen(3000, function () {
 console.log('Example app listening on port 3000!')
})
*/
After you finish installing everything and writing the code above you should have a directory that looks similar to this. I named my directory 'myapp'
After you have that you need to run some commands in your terminal to make it a live website hosted by Now. First you'll need to route to that directory in your terminal. Then run this command:
$ now --public
This will give you a link that looks something like:
https://directoryName-jumbleOfLetters.now.sh
It should look like this:
Optional: I went into the package.json document and added to the script a line called 'start' so that I could just type 'npm start' into my terminal to run the code. Before:
"scripts": {
   "test": "echo \"Error: no test specified\" && exit 1"
 },
After:
"scripts": {
   "start": "node index.js",
   "test": "echo \"Error: no test specified\" && exit 1"
 },
The code that goes on the pi is fairly similar but there are a few key differences. It is also written in JavaScript and I called the file device.js because it belongs on the pi. The code is below. Keep in mind you will need a similar set up as your web server. You need to install the same libraries plus the wemo-client library because the pi talks directly to the switch.
So create a new directory and put a device.js file in it. Then run the following three commands in your terminal so that the code runs properly
$ npm install express
$ npm install mqtt
$ npm install wemo-client
//In case you don't end up with node modules after you install these three     libraries run this command.
$ npm install
The code for the device.js file is as follows.
//Get Library
var mqtt = require('mqtt')
var Wemo = require('wemo-client');
var wemo = new Wemo();
//Use my cloudmqtt credentials
var client  = mqtt.connect('Server Name:Port No.', {
 username: "User",
 password: "Password"
})
// Connect to MQTT
client.on('connect', function () {
 console.log("Connected to MQTT.")
 client.subscribe('fromServer')
})
//Recieve Message and call toggleLight function
client.on('message', function (topic) {
 if (topic === 'fromServer') {
   console.log("message recieved")
   toggleLight();
 } else {
   console.log("oops you're stupid")
 }
})
//set sate to 0
var state = '0';
//Toggle WeMo Switch
function toggleLight() {
 //if theres no switch don't do anything
 if(!client){
   return;
 }
 //console.log('state is: ' + state);
 //change state
 client.setBinaryState(state === '1' ? '0' : '1');
 console.log("toggleLight ran")
 }
var client;
//find smart plug
wemo.discover(function(err, deviceInfo) {
 console.log('Wemo Device Found: %j', deviceInfo);
 // Get the client for the found device
 client = wemo.client(deviceInfo);
 //throw exception if there is an error
 client.on('error', function(err) {
   console.log('Error: %s', err.code);
 });
 // Handle BinaryState events
 client.on('binaryState', function(value) {
   state = value;
   console.log('Binary State changed to: %s', value);
 });
});
Optional: I went into the package.json document and added to the script a line called 'start' so that I could just type 'npm start' into my terminal to run the code. Before:
"scripts": {
   "test": "echo \"Error: no test specified\" && exit 1"
 },
After:
"scripts": {
   "start": "node device.js",
   "test": "echo \"Error: no test specified\" && exit 1"
 },
Note: Each time you want to use the gateway you will need to start this code. Every time your pi boots up after it shuts down you will need to route into this directory and run the 'npm start' command. There is a software you can run that starts the code on every boot up. It's called Pi-pm2. There are extensive instructions online to set that up.
Step5: Connect your WeMo switch to WiFiThe WeMo app will step you through connecting your WeMo Switch to WiFi. One thing I found useful when the process didn't go well the first time if you need to reset the plug here's how:
- Unplug the WeMo.
- Hold down the reset button.
- Plug the WeMo in.
- Release the reset button a few seconds after it starts flashing amber.
- Once the WeMo is flashing amber and green the reset is complete.
After you connect the switch to wifi that's all the set up with that.
Does It Work?At this point everything is place for you to use your switch. As long as the Web Server is live, the code is running on your pi, the switch is connected to the internet, and the lamp is plugged into the lamp and in the 'on' position.
All Done!Great job! you made a smart remote! Go crazy! This is purposefully implemented so you can add more devices, So experiment with other things and share them!
Let me know if you liked the project, if you got it to work (or not), or suggestions you have on Twitter!
Comments