A light, modular, flexible method for displaying my Dad's photography!
Full instructions provided158
Things used in this project
Hardware components
Wooden slats - $0.96
These wooden slats are perfect - light, but sturdy enough to stand up on their own. I had them cut to 94.5" to fit into my apartment. Home Depot does the cutting for free!
×
8
Magnet tape, 1/2" x 10ft roll - $3.98
This was the cheapest I could find. It's adhesive on one side - perfect for this project. Two 3/4" strips on the back of each photograph was definitely strong enough. The adhesive seems fine, and the magnets easily hold the foam core-backed photographs.
×
5
3/16 self-adhesive foam core backing, pack of 10 - $2.99
I could NOT believe when I found this super cheap self-adhesive. It's great quality. The adhesive is super strong, and instantly made my pictures look much more professional.
×
13
Photographs - Christmas present :)
My Dad's excellent photography!
×
130
Rubber bands #64, 1/4 pound bag - $3.79
×
1
Story
I wanted an easy, light, flexible way to display my Dad's incredible photography. I'm so pleased with how this turned out! It's easy to move, and displays anywhere from 1 to 60 photographs. Adding more room for more pictures is super easy!
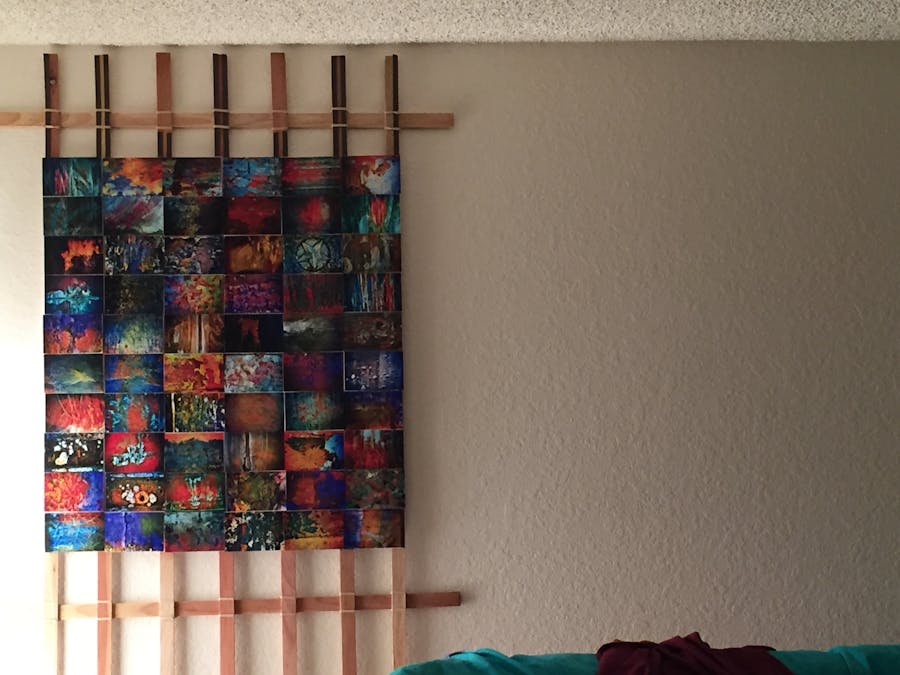
1 / 11 • Step 4: First test. It works! The photos hold the wooden strips in alignment, so everything here is just holding itself up.
Step 1: Attach all the photographs to the self-adhesive foam core.
Step 2: After sanding the wooden strips, carefully apply the magnetic tape.
After sticking the magnetic tape on, I held it in place with clips to ensure solid cohesion.
Step 3: Attach magnetic strips to the back of the foam core-mounted photos. I only had to use 3/4" strips. This one is peeling off and had to be replaced. (In general, I only had this problem with about 2" worth of magnetic tape)
A demonstration of how strong the magnets are. I'm impressed.
Not even half the photos.
Step 5: Build the frame.
I used rubber bands to attach the vertical pieces to the horizontal ones.
Set the frame up! I had to carefully adjust the width of each vertical strip, using photographs to measure. Since everything's held together with rubber bands, this part was pretty easy! The pictures snap into place with the magnets


Comments