Overview
- Motivation
- Why chording?
- How it works
- Build it
- CircuitPython
Over the past decade, I devoted myself to ultrarunning—until a knee injury and subsequent surgery sidelined me for good. Freed from long training miles, I found my thoughts drifting toward a different kind of challenge: forging a more subtle link between human intent and machine intelligence. After all, hammering away at 100 wpm on a standard keyboard and staring at a screen works only if you’re sitting still. What if we could make that interaction truly mobile? How about a wearable keyboard that can interface with todays screens (phones, tablets, smart glasses and watches)?
My answer was to revisit an idea Steve Jobs famously overlooked during his 1979 tour of Xerox PARC’s Star system: the chording keyboard. By pressing combinations of keys rather than moving fingers to dozens of individual keys, a chording layout slashes unnecessary motion and packs a full keyboard’s worth of commands into the span of a single hand—leaving your other hand free for pointing, gesturing, or anything else.
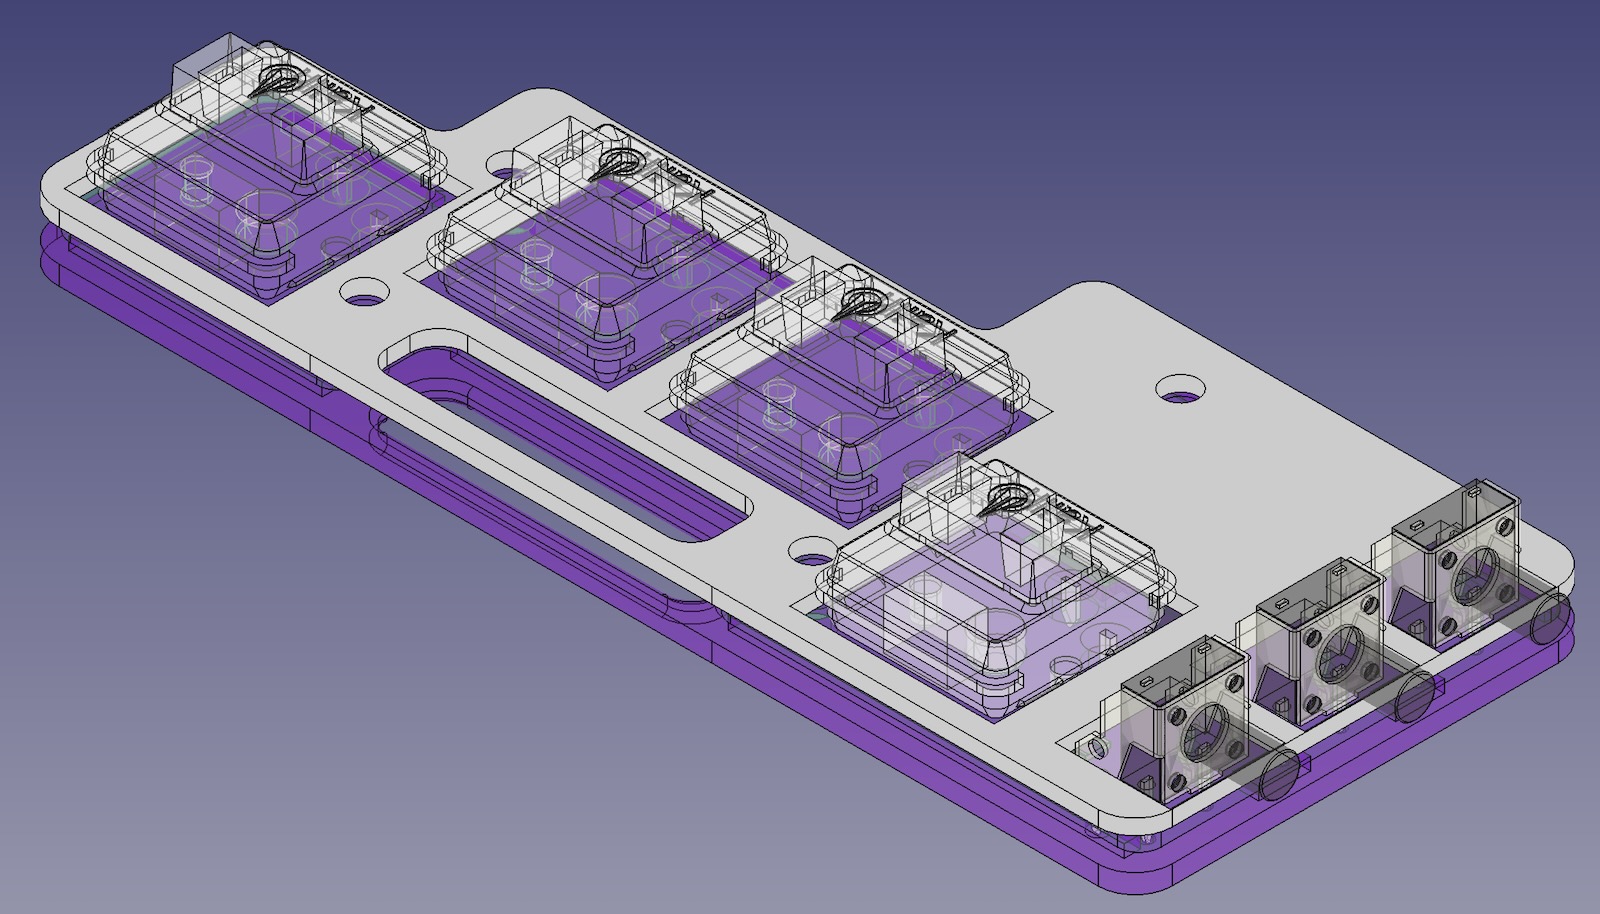
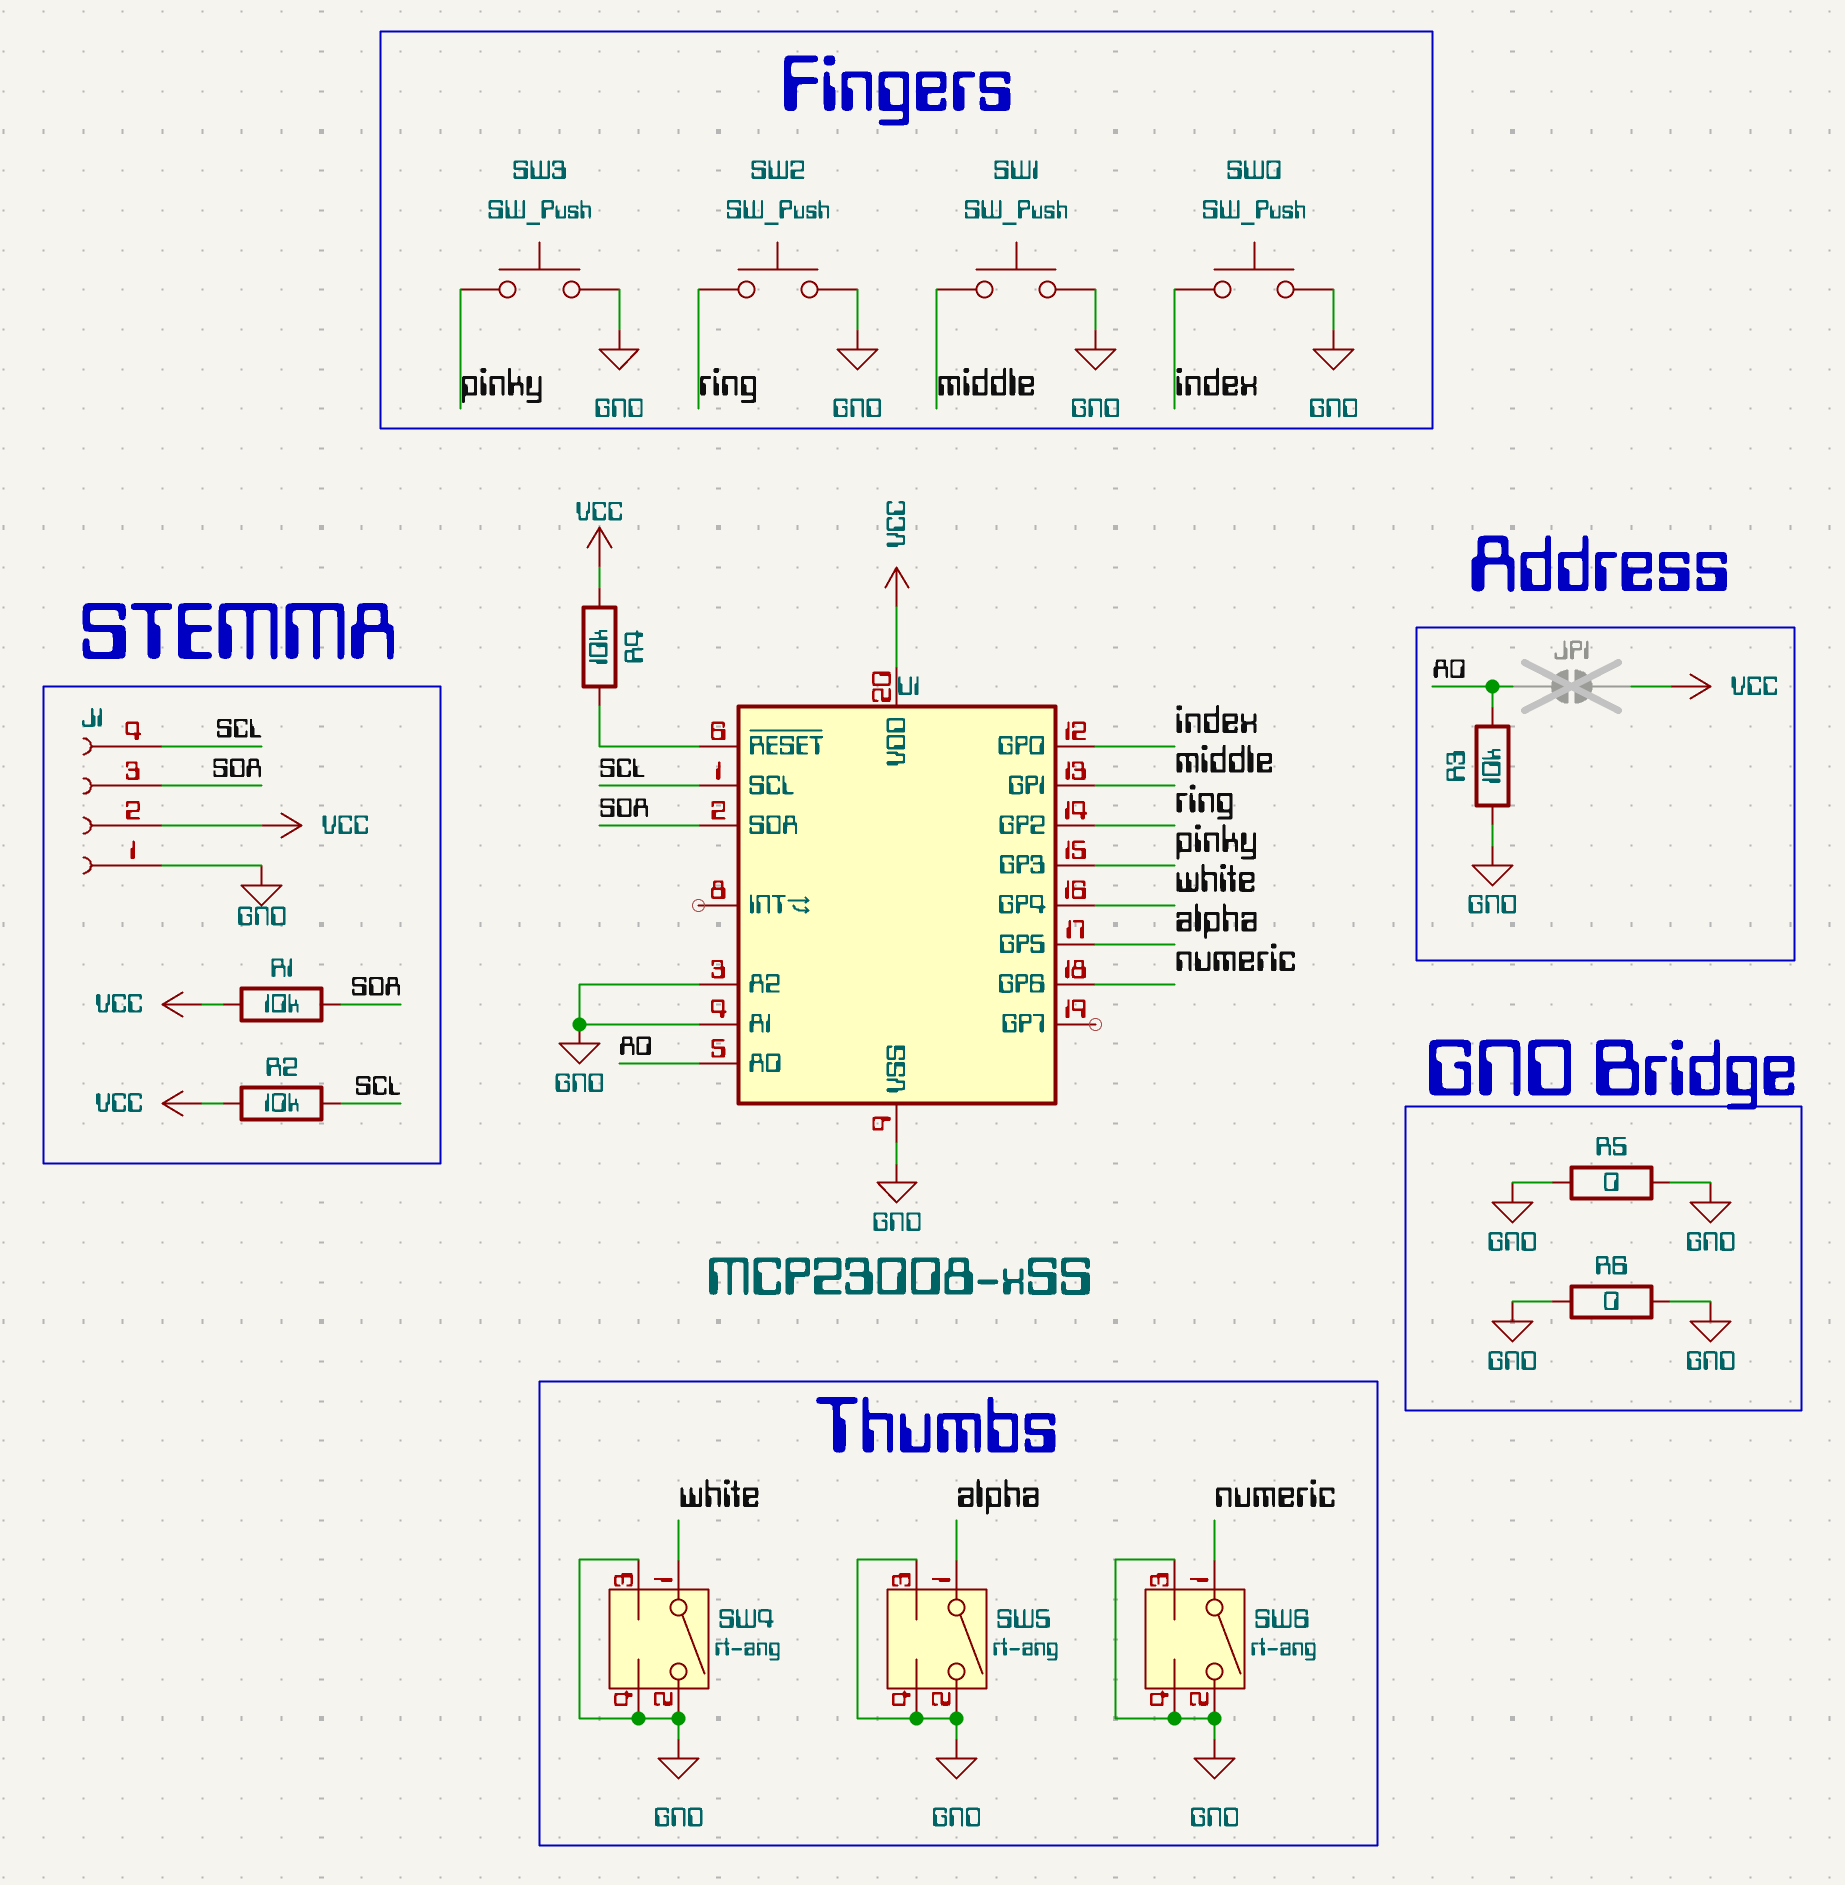
The result is the c7k, my first modular, platform-agnostic chording keyboard. Instead of tying you to one microcontroller or programming environment, I designed it as a simple I²C peripheral. Plug it into today’s most popular chips—nRF52, RP2040, ESP32, STM32—or even an Arduino Uno or Raspberry Pi, and you’re up and running. No extra drivers, no exotic toolchains; just wire in, map your chords, and start typing.
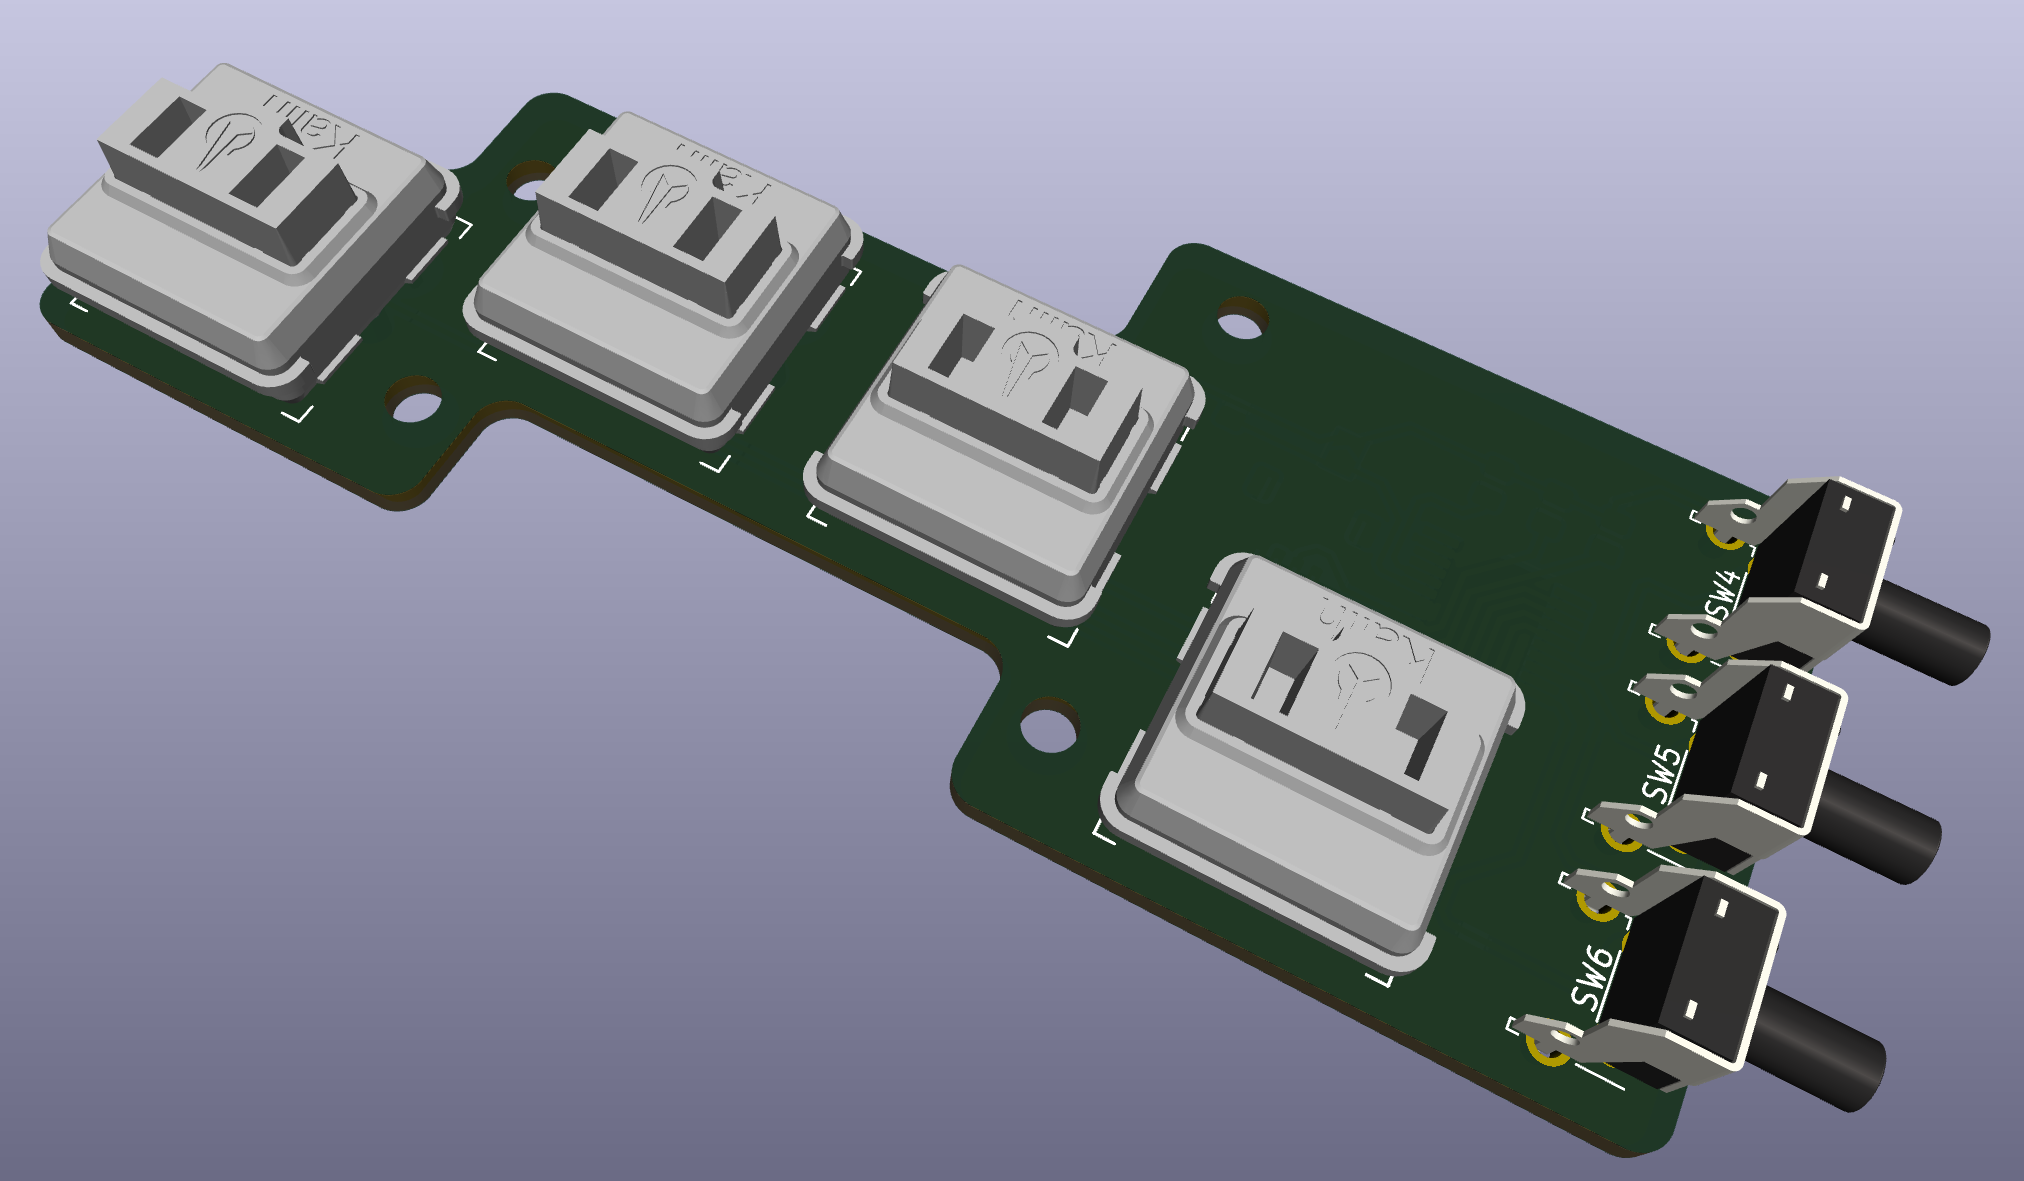
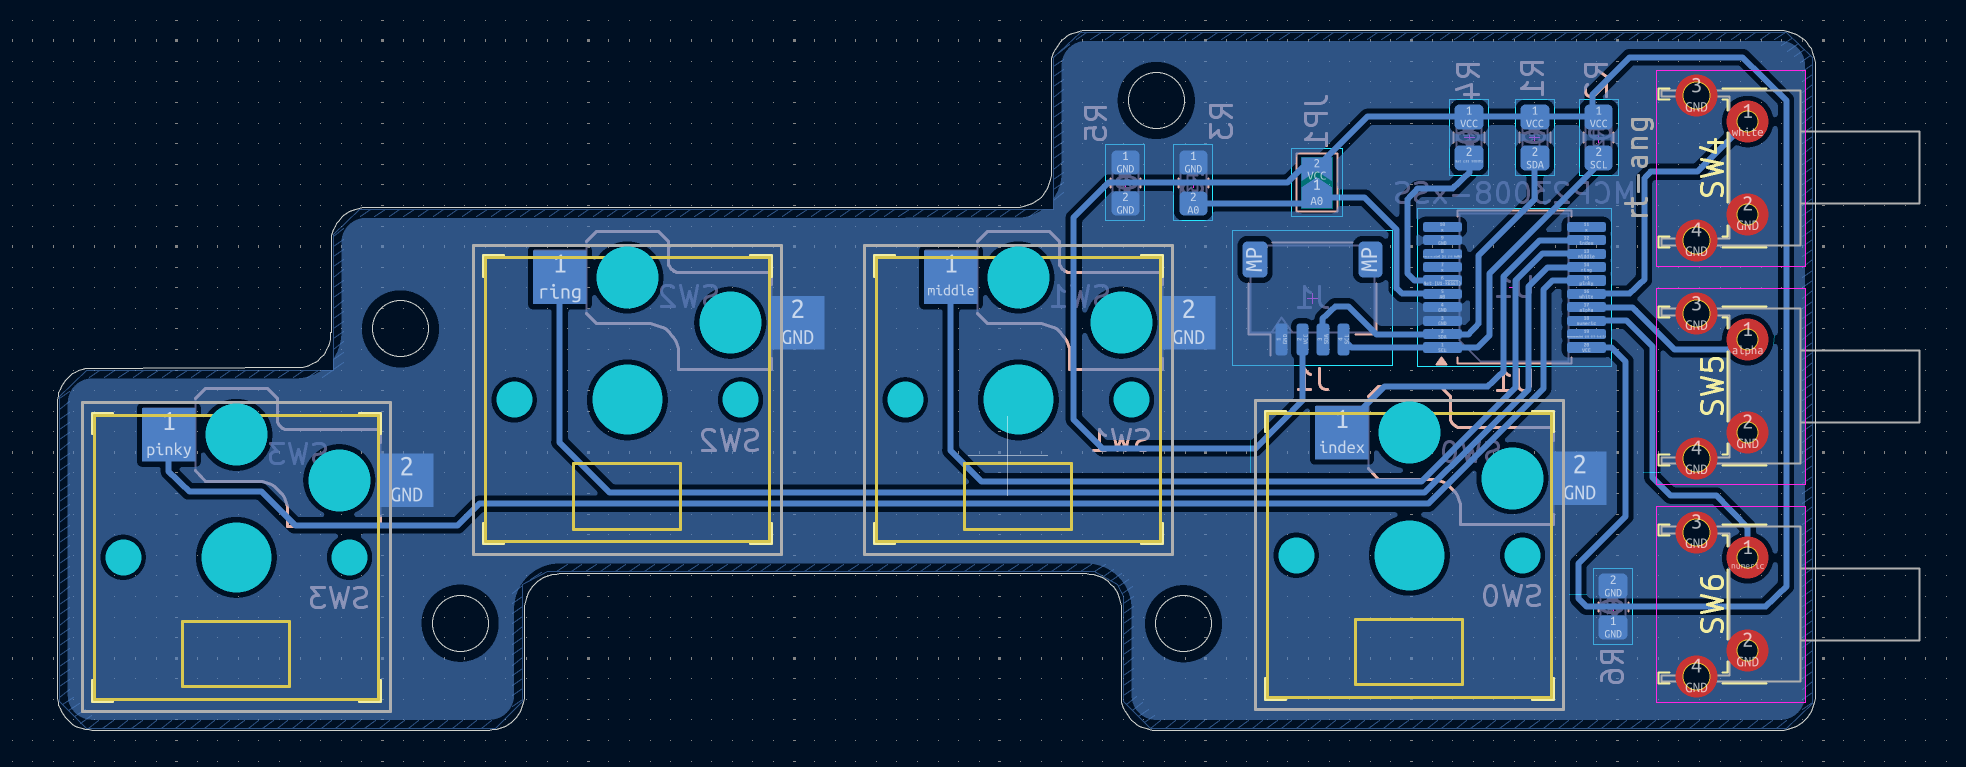
The c7k PCB blends through-hole and SMT parts, using an MCP23008 to scan buttons and handle I²C communication. Its ultra-low-latency key detection is essential for reliable chording. I fabricated the single-sided board with CNC-drilled holes and edge cuts, then used a fiber laser to etch the copper traces, burn the silkscreen, strip off the soldermask cover the pads, and cut the metal stencil.
An external controller is necessary for chord mapping. I'm using an inexpensive nRF52840 (nice nano v2) as it has strong BLE and CircuitPython support. It also includes a battery charger.
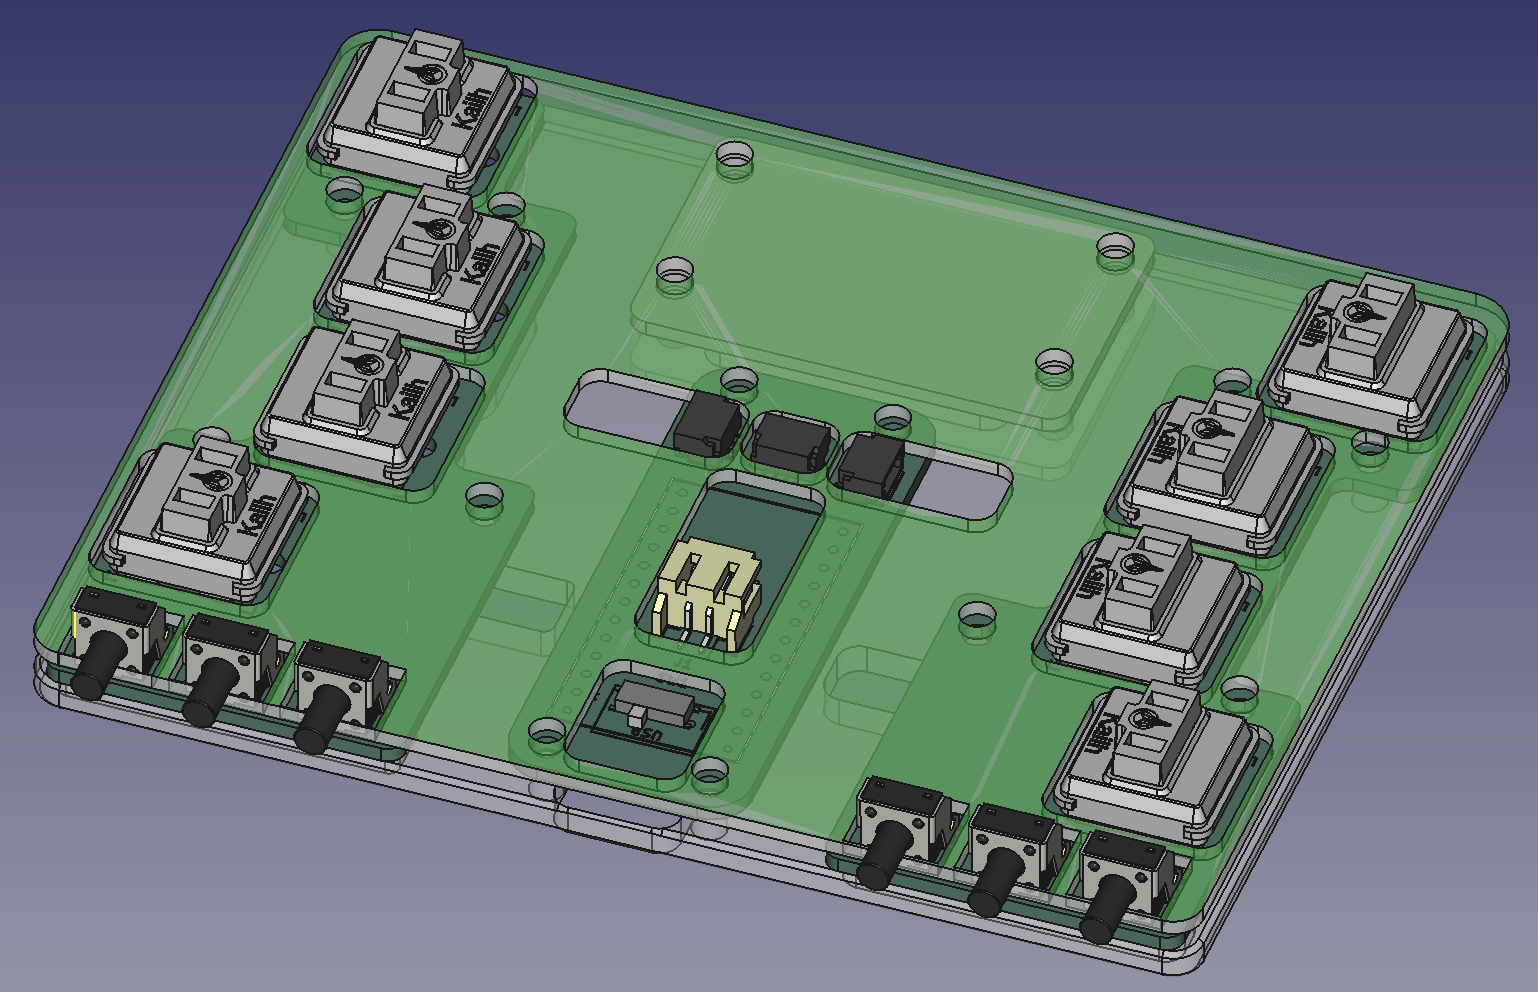
In the sections that follow, I’ll share several low-cost example builds—from a minimalist one-handed rig to a full two-hand setup—complete with microcontroller, optional display, and BLE connectivity. You’ll see just how effortlessly the c7k pairs with phones, tablets, or computers, delivering a lightweight, truly mobile solution for high-speed human-machine communication.
- Compact & grip-based: Ideal for mobile or wearable use—no desk or seat needed.
- Blind typing: Fixed finger positions allow use without looking, perfect for AR/VR glasses.
- Versatile placement: Can be used in a pocket or mounted on a phone/tablet.
- Multi-layer support: Enables built-in mouse movement and additional controls.
- Efficient layout: SAIE chording prioritizes easy access to high-frequency letters.
- Intentional difficulty: Rare letters like Q and Z require more coordination, reducing accidental inputs.
- QWERTY contrast: Unlike QWERTY, SAIE is optimized for speed and ergonomics, not mechanical limitations.
That being said I typically type at 20 wpm minute with my left hand only. Additional design ergonomics and optimization will be needed to reach 100 wpm per hand.
How it worksThere are finger keys, thumb modifiers and layers. The combination allows for full size keyboard to be emulated.
- alpha - use one or more fingers, half of them use the middle thumb modifying button
| Key | Pinky | Ring | Middle | Index | Thumb |
|-----|-------|------|--------|-------|-------|
| a   | x     |      |        |       |       |
| b   | x     |      |        |       | oxo   |
| c   | x     |      |        | x     |       |
| d   |       | x    | x      | x     |       |
| e   |       |      | x      |       |       |
| f   |       | x    | x      |       | oxo   |
| g   |       |      | x      |       | oxo   |
| h   |       | x    |        |       | oxo   |
| i   |       |      | x      |       |       |
| j   |       | x    | x      | x     | oxo   |
| k   | x     |      | x      |       | oxo   |
| l   | x     |      | x      |       |       |
| m   |       |      |        | x     | oxo   |
| n   |       | x    | x      |       |       |
| o   |       | x    |        | x     |       |
| p   | x     | x    | x      |       |       |
| q   | x     | x    | x      | x     | oxo   |
| r   |       |      | x      | x     |       |
| s   | x     |      |        |       |       |
| t   | x     | x    |        |       |       |
| u   | x     | x    | x      | x     |       |
| v   | x     | x    |        |       | oxo   |
| w   |       | x    |        | x     | oxo   |
| x   | x     |      |        | x     | oxo   |
| y   |       |      | x      | x     | oxo   |
| z | x | x | x | | oxo |- numbers - use outside thumb button
| Key   | Pinky | Ring | Middle | Index | Thumb |
|-------|-------|------|--------|-------|-------|
| ONE   |       |      |        | x     | oox   |
| TWO   |       |      | x      |       | oox   |
| THREE |       | x    |        |       | oox   |
| FOUR  | x     |      |        |       | oox   |
| FIVE  |       |      | x      | x     | oox   |
| SIX   |       | x    | x      |       | oox   |
| SEVEN | x     | x    |        |       | oox   |
| EIGHT |       | x    |        | x     | oox   |
| NINE  | x     |      | x      |       | oox   |
| ZERO | | x | x | x | oox |- whitespace - use inside thumb button
| Key            | Pinky | Ring | Middle | Index | Thumb |
|----------------|-------|------|--------|-------|-------|
| period         |       |      | x      |       | xoo   |
| comma          |       |      | x      | x     | xoo   |
| forward_slash  | x     | x    |        |       | xoo   |
| grave_accent   | x     | x    | x      | x     | xoo   |
| minus          | x     |      |        |       | xoo   |
| equals         |       |      | x      | x     | xoo   |
| left_bracket   | x     |      | x      |       | xoo   |
| right_bracket  | x     |      |        | x     | xoo   |
| backslash      | x     | x    |        |       | xoo   |
| semicolon      | x     | x    | x      |       | xoo   |
| quote          | x     |      | x      | x     | xoo   |
| backspace | | x | x | | xoo |- modifier layer - this waits for an additional key press before sending
| Modifier        | Pinky | Ring | Middle | Index | Thumb |
|-----------------|-------|------|--------|-------|-------|
| Toggle Modifier |       |      |        |       | xxo   |
| Shift           | x     |      |        |       |       |
| Control         |       | x    |        |       |       |
| Alt             |       |      | x      |       |       |
| GUI | | | | x | |- mouse layer - a lot of mouse operations can be achieved with keys. more to come.
| Action       | Pinky | Ring | Middle | Index | Thumb |
|--------------|-------|------|--------|-------|-------|
| Toggle Mouse |       |      |        |       | oxx   |
| Move Up      | x     |      |        |       |       |
| Move Right   |       | x    |        |       |       |
| Move Left    |       |      | x      |       |       |
| Move Down | | | | x | |The process I used to build the c7k keychain is a fairly straight forward mill, burn, stencil and bake. These videos summarize the steps I use. It would of course make more sense to simply generate the gerbers from the provided design files and send off for a printed board.
Start with a blank single sided PCB and CNC the holes / edgecuts
- Fiber Laser the traces
- Resin seal the board
- Fiber Laser etch silkscreen
- Fiber Laser etch soldermask
- Fiber Laser cut metal stencil
- Solderpaste stencil
- EZ Bake SMT component
- Manually solder through hole (rt angle buttons)
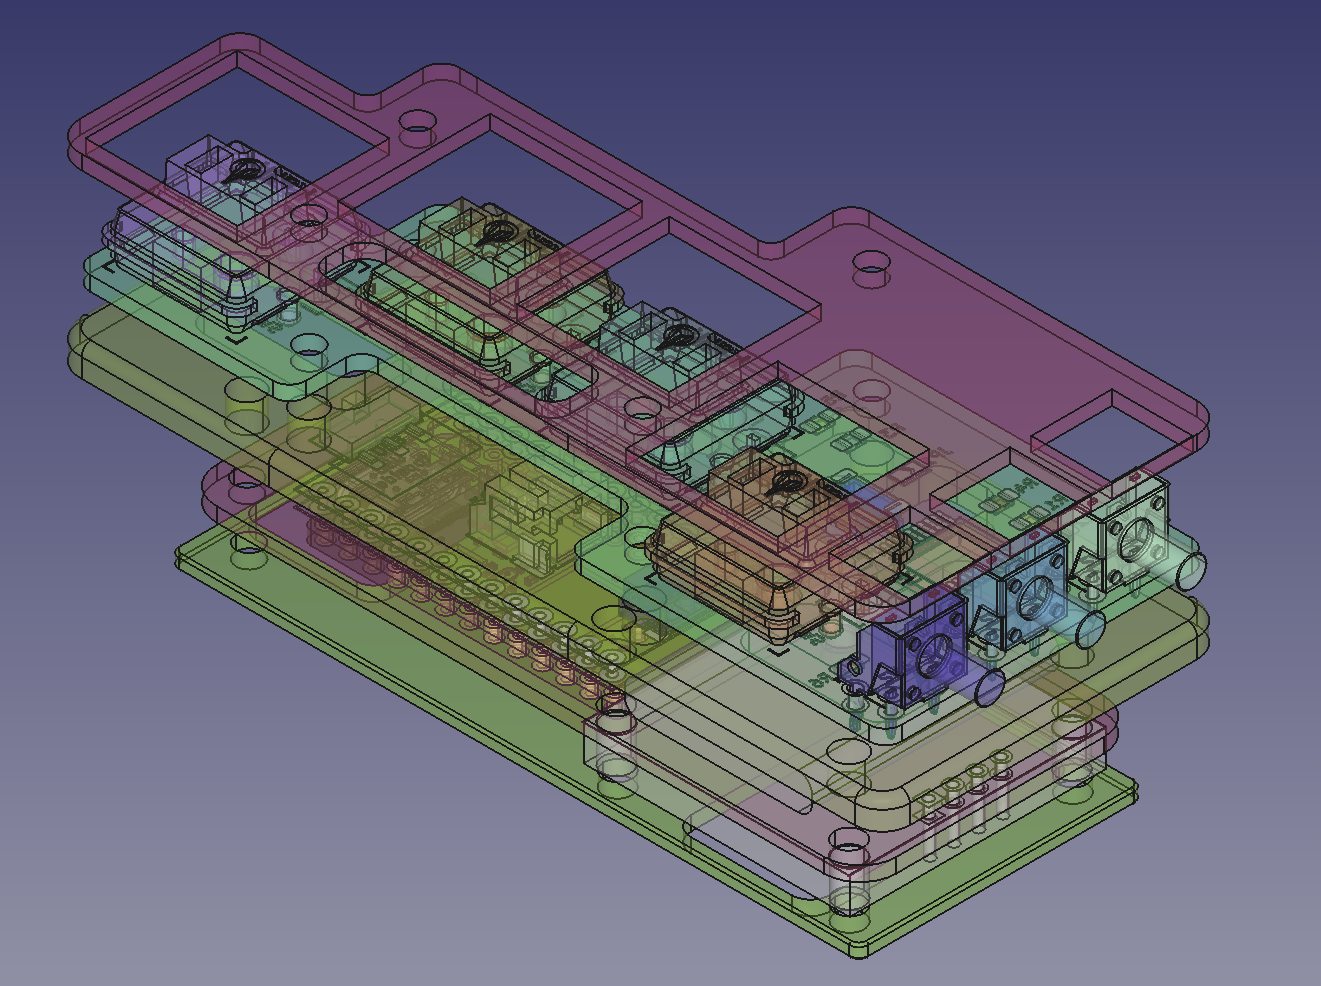
- 3D print enclosure
- Heat set M2.5 grommit inserts
I've tested this BLE software on the nice!nano v2 / Super Mini nRF52840 using CircuitPython 9.2.7. The following libraries were required for the BLE HID keyboard to work with my iPhone, iPad and macOS laptop.
- adafruit_ble
- adafruit_bus_device
- adafruit_hid
- adafruit_displayio_ssd1306
- adafruit_display_text
- adafruit_ssd1306
- adafruit_mcp230xx
One word of caution. If you have ._* files being created (I'm looking at you macOS) then be sure to delete those after installing the first few libraries and after you are done. Otherwise you will run out of space.
cd /Volumes/CIRCUITPY
find . -type f -name '._*' -delete




Comments