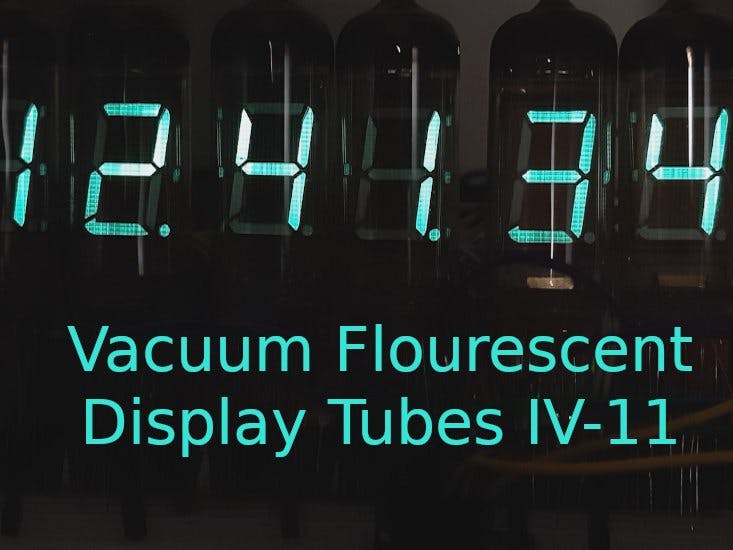
VFDs (Vacuum Fluorescent Displays) were widely used in the 1970s until the early 2000s in many appliances, ranging from consumer electronics to measurement equipment. Nowadays they have been replaced more and more by modern LCD and OLED Displays, but they still live in many DIY projects like retro clocks.
How VF Displays work
A VFD works a bit like a CRT: In a vaccum, a filament emits electrons which are attracted by positively charged anodes which are coated with a luminiscent phosphor, like the screen of a TV. Anodes which are hit by electrons glow with a nice blueish-green light. By applying a positive potential to different anodes, various characters can be composed. In between the cathode and the anodes there's a thin mesh of metal called the grid. A positive potential on the grid will direct the electrons towards the anodes and so turn the whole tube on. Negative potential blocks the electrons and turn the tube off. So the characters can be multiplexed to save external components.
Advantage of VFD Tubes against Nixie Tubes
Unlike Nixies, VFDs work with a relatively low anode voltage. The russian IV-11 Tubes used in this tutorial need 25V, while Nixie tubes need around 170-200V. So VFD Tubes are much safer and easier to handle. They are also cheaper than Nixies, because there are still big stocks in Russia. So you can get a set of 4 or 6 tubes for less than 20 bucks from E**y. Because these VFD Tubes are organized as 7-Segment Displays, it is also possible to display some letters. Nixie Tubes on the other hand show only numbers from 0 to 9.
It is however not possible to connect VFD Tubes directly to the IO Ports of an Arduino or other Microcontroller, because they need 25V Anode voltage, while the IO Port only outputs 5V or less. So there is some circuitry necessary between the Microcontroller Ports and the VFD anodes.
But with the cheap and easy to use integrated open-emitter transistor array TBD62783 we have the perfect solution for this! Watch the video to learn about the details.


Comments