Maker 101
Published © CC BY-NC-SA

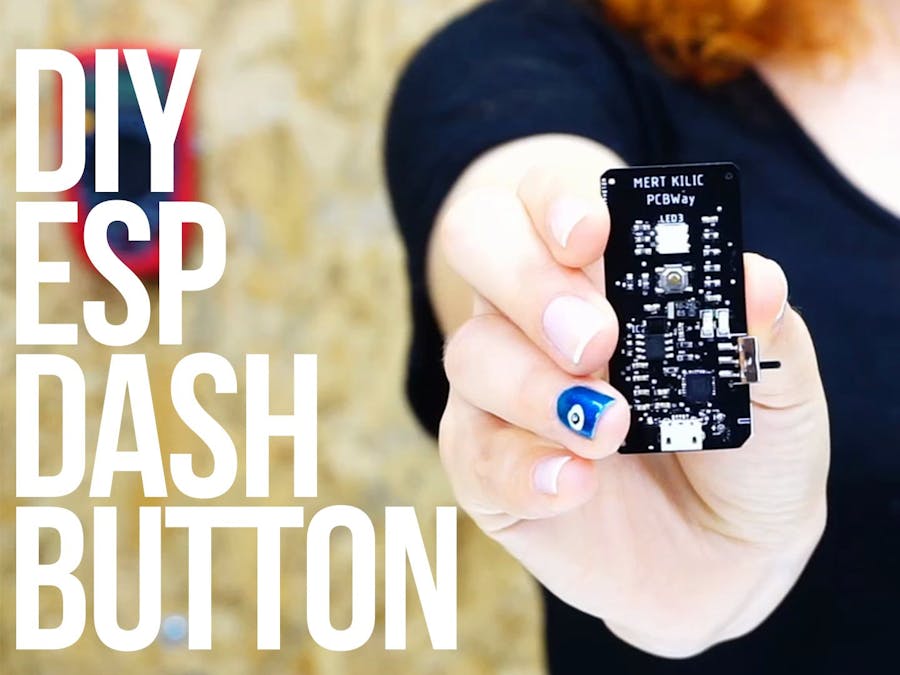
DIY ESP DASH BUTTON | Open-Source WiFi Button with IFTTT

In this project we will build an ESP Wi-Fi Button that can trigger any home automation event.

IntermediateFull instructions provided3,024
DIY ESP DASH BUTTON | Open-Source WiFi Button with IFTTT

Things used in this project

Hardware components

Resistor 12K
×1
Resistor 470R
×1
Resistor 1K
×1
Resistor 330R
×1
Resistor 10K
×1
Resistor 1.2K
×1
Capacitors Tantalum
×1
Capacitors 100nF
×1
Capacitors 10uF
×1
Diode SS14
×1
LED Red
×1
LED Green
×1
LED RGB
×1
Transistor S8050
×1
CP210X
×1
TP4056
×1
ESP-12E
×1
NCP1117ST33T3G
×1
Connector
×1
MUSTOOL G700 HD 1080P Microscope
×1
YIHUA 995D Soldering Station
×1
3.7V 1100mAH LiPo
×1
HoldPeak SMD Tester
×1
USB Connector Kit
×1
Excellway Terminals Kit
×1
Slide Switch
×1
Tactile Push Button
×1
Solder Paste Cream
×1

Story

Read more

Custom parts and enclosures

Gerber File & PCB Files

Gerber File & PCB Files

Code

DIY ESP DASH BUTTON

Arduino
Here’s the code that you need to upload to your ESP board. You need to change a few variables: SSID, password, API Key and Event Name.

In this project, we use Wifi-Manager library. WiFiManager allows you to connect your ESP8266 to different Access Points (AP) without having to hard-code and upload new code to your board.

Additionally, you can also add custom parameters and manage multiple SSID connections with the WiFiManager library.
#include <ESP8266WiFi.h>
#include <DNSServer.h>
#include <ESP8266WebServer.h>
#include <WiFiManager.h>

int wakePin = 4;

// Set web server port number to 80
WiFiServer server1(80);

// Variable to store the HTTP request
String header;

// Replace with your unique IFTTT URL resource
const char* resource = "/trigger/YOUR_EVENT_NAME/with/key/YOUR_API_KEY";

// Maker Webhooks IFTTT
const char* server = "maker.ifttt.com";

void setup() {
  Serial.begin(115200);
  pinMode(wakePin, INPUT);
  // WiFiManager
  // Local intialization. Once its business is done, there is no need to keep it around
  WiFiManager wifiManager;

  // fetches ssid and pass from eeprom and tries to connect
  // if it does not connect it starts an access point with the specified name
  // here  "AutoConnectAP"
  // and goes into a blocking loop awaiting configuration
  wifiManager.autoConnect();
  // or use this for auto generated name ESP + ChipID
  //wifiManager.autoConnect();

  // if you get here you have connected to the WiFi
  Serial.println("Connected.");
  
  server1.begin();
  initWifi();
  wakeStatus();
  //makeIFTTTRequest();
  
  // Deep sleep mode until RESET pin is connected to a LOW signal (pushbutton is pressed)
  //ESP.deepSleep(0);
}

void loop() {
  // sleeping so wont get here
}

// Establish a Wi-Fi connection with your router
void initWifi() {
  WiFiClient client = server1.available();   // Listen for incoming clients

  if (client) {                             // If a new client connects,
    Serial.println("New Client.");          // print a message out in the serial port
    String currentLine = "";                // make a String to hold incoming data from the client
    while (client.connected()) {            // loop while the client's connected
      if (client.available()) {             // if there's bytes to read from the client,
        char c = client.read();             // read a byte, then
        Serial.write(c);                    // print it out the serial monitor
        header += c;
        if (c == '\n') {                    // if the byte is a newline character
          // if the current line is blank, you got two newline characters in a row.
          // that's the end of the client HTTP request, so send a response:
          if (currentLine.length() == 0) {
            // HTTP headers always start with a response code (e.g. HTTP/1.1 200 OK)
            // and a content-type so the client knows what's coming, then a blank line:
            client.println("HTTP/1.1 200 OK");
            client.println("Content-type:text/html");
            client.println("Connection: close");
            client.println();

            // Web Page Heading
            client.println("<body><h1>ESP8266 Web Server</h1>");
            // The HTTP response ends with another blank line
            client.println();
            // Break out of the while loop
            break;
          } else { // if you got a newline, then clear currentLine
            currentLine = "";
          }
        } else if (c != '\r') {  // if you got anything else but a carriage return character,
          currentLine += c;      // add it to the end of the currentLine
        }
      }
    }
    // Clear the header variable
    header = "";
    // Close the connection
    client.stop();
    Serial.println("Client disconnected.");
    Serial.println("");
  }
}

void wakeStatus(){
  if(wakePin = HIGH){
    makeIFTTTRequest();
    Serial.println("Wake Pin Pressed");
  }
  else{
    ESP.deepSleep(0);
    Serial.println("Go to Sleep");
  }
}

// Make an HTTP request to the IFTTT web service
void makeIFTTTRequest() {
  Serial.print("Connecting to "); 
  Serial.print(server);
  
  WiFiClient client;
  int retries = 5;
  while(!!!client.connect(server, 80) && (retries-- > 0)) {
    Serial.print(".");
  }
  Serial.println();
  if(!!!client.connected()) {
     Serial.println("Failed to connect, going back to sleep");
  }
  
  Serial.print("Request resource: "); 
  Serial.println(resource);
  client.print(String("GET ") + resource + 
                  " HTTP/1.1\r\n" +
                  "Host: " + server + "\r\n" + 
                  "Connection: close\r\n\r\n");
                  
  int timeout = 5 * 10; // 5 seconds             
  while(!!!client.available() && (timeout-- > 0)){
    delay(100);
  }
  if(!!!client.available()) {
     Serial.println("No response, going back to sleep");
  }
  while(client.available()){
    Serial.write(client.read());
  }
  
  Serial.println("\nclosing connection");
  client.stop();
}

Credits

Maker 101

Maker 101

42 projects • 172 followers
Maker 101; Beginner and intermediate level Maker projects!

Comments