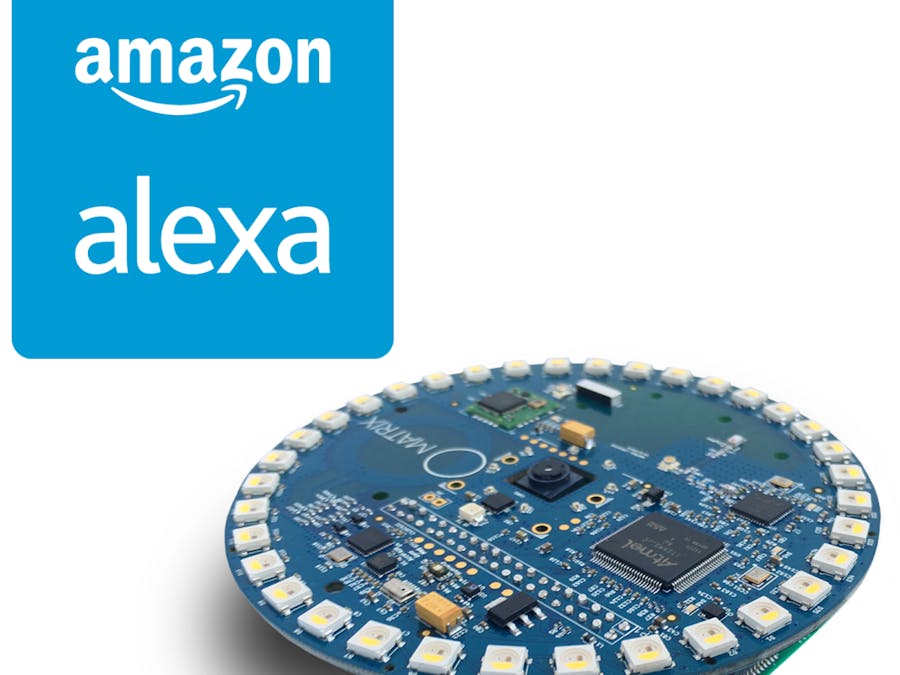
This tutorial will help you build your own Amazon's Alexa using a Raspberry Pi and MATRIX Creator, the first Microphone Array add-on for Raspberry Pi.
We will use Alexa Voice Services (AVS), it is the service used by Amazon Echo that allows us to accomplish many of the challenging tasks in this project.
Step 1: Parts that you'll need- Raspberry Pi 2 or 3
- 5V 2.0A Power Supply
- Speaker (Needs Aux input)
MATRIX Creator has 8 MP34DB02 MEMS audio sensor omni-directional microphones.
- Low power consumption
- 120 dBSPL acoustic overload point
- 62.6 dB signal-to-noise ratio
- Omnidirectional sensitivity
- –26 dBFS sensitivity
Welcome to the MATRIX Creator! To enjoy your new board you’ll need to set it up. First, you need to have Raspbian installed on your Raspberry Pi. If you don’t have it, you can download it and follow the instructions.
Then you need to install the software that will allow you to program the MATRIX Creator. To do it, you need to configure APT. The following steps should do it:
echo "deb http:packages.matrix.one/matrix-creator/ ./" | sudo tee --append /etc/apt/sources.list
Now update the package list.
sudo apt-get update
Then you can install the required packages.
sudo apt-get install matrix-creator-init cmake g++ git
Now reboot the Raspberry Pi. After rebooting, the FPGA and SAM3 MCU will be programmed automatically. That is, after every reboot the FPGA will have the default firmware.
If you wish, you can also learn more about other features of MATRIX Creator on GithubQuestions? Post them on raspberrypi.stackexchange.com! Use the tag #matrix-creator.
Go to Alexa Voice Service (AVS) website and create a new developer account.
- Create an account using your email and fill in the form with your personal information. You will be asked to agree; accept in order to use AVS.
- You will then be asked about monetization. We don't earn money with this so select “No” for both options.
- Once you complete the registration process, it’s time to configure AVS.
In the main page of AVS dashboard, go to ALEXA. Then click on “Get Started” under the “Alexa Voice Service” section. A simple list with available devices will then be displayed. Let's start by creating a new device.
Step 6: Set Alexa Voice Service (AVS) - Alexa - 3Under Device Type ID choose a name for your device and Display Name. Then in the security profile you need to select the device, each device has a unique profile. So select your device and it show a some important information. So copy Security Profile Description, Security Profile ID, Client ID and Client secret. Keep this information private it's only for your device. And keep this information it's important in next steps.
Step 7: Set Alexa Voice Service (AVS) - Alexa - 4Configure the type of device, in this case select Home appliance. Fill in all forms and continue with the process. Next you will be asked about Amazon Music; we recommend not enabling this feature yet. Finally, submit the configuration.
Your device should now be listed in the dashboard. Now we need to configure more technical details to set up with Raspberry Pi.
Step 8: Set Host Name in Raspberry Pi - 1It's necessary to configure some things in Raspberry Pi so let's start. In the command line:
sudo raspi-config
You will see a menu option. Go to Advanced options and select Hostname. Set your own HOST_NAME. It’s an important configuration, so keep that in mind.
Step 9: Set Alexa Voice Service (AVS) - Alexa - 5Go back into AVS configuration and we need to set other configurations. So press Edit Button. Here you find all device configuration, there go to Web Setting an edit it.
It shows a page. Set:
Allowed Origins: http://HOST_NAME.local:5000
Allowed Return URLs: http://HOST_NAME.local:5000/code
So save this configuration.
Step 10: Configure MATRIX Creator HALNow it's necessary to clone MATRIX Creator HAL.
git clone https://github.com/matrix-io/matrix-creator-hal.git
cd matrix-creator-hal
mkdir build
cd build
cmake ../
make
sudo make install
The HAL libraries are now installed on your Raspberry Pi.
Step 11: Configure MATRIX Creator Alexa Demo - 1Now clone GitHub source code with:
git clone https://github.com/matrix-io/matrix-creator-alexa-voice-demo.git
Then go to following directory and install the following software:
cd matrix-creator-alexa-voice-demo
sudo apt-get update
sudo apt-get install  memcached python-pip mpg123
Then run the next command:
sudo pip install -r requirements.txt
Now edit creds.py:
ProductID = "PRODUCT_ID"
Security_Profile_Description = "SECURITY_PROFILE_DESCRIPTION"
Security_Profile_ID = "SECURITY_PROFILE_ID"
Client_ID = "CLIENT_ID"Client_Secret = ""
This information was also in Step 6.
Step 12: Configure MATRIX Creator Alexa Demo - 2So now run the auth_web.py with:
./auth_web.py &
[12/Aug/2016:00:41:16] ENGINE Listening for SIGTERM.
[12/Aug/2016:00:41:16] ENGINE Listening for SIGUSR1.
[12/Aug/2016:00:41:16] ENGINE Bus STARTING
CherryPy Checker:
The Application mounted at '' has an empty config.[12/Aug/2016:00:41:16] ENGINE Started monitor thread 'Autoreloader'.
[12/Aug/2016:00:41:16] ENGINE Started monitor thread '_TimeoutMonitor'.
[12/Aug/2016:00:41:16] ENGINE Serving on http://0.0.0.0:5000
[12/Aug/2016:00:41:16] ENGINE Bus STARTED
It's necessary to compile the microphone software at this point, so go to the micarray directory.
cd micarray
mkdir build
cd build
cmake ../
make
That is the compilation process for the microphone software. Now you have all software configurations on your Raspberry Pi.
Step 14: Browser ConfirmationMake sure your Raspberry Pi is connected to your local network, open a web browser, and go to this address:
http://HOST_NAME.local:5000
You will see an Amazon page as shown above.
Step 15: Run Alexa with Raspberry and MATRIX CreatorReturn to the Raspberry, go to the matrix-creator-alexa-voice-demo folder, and run:
./alexa_voice_demo.py
You did it! You’ve created your very own Amazon Alexa with a Raspberry Pi and a MATRIX Creator.
MATRIX Creator Team
 Kevin Patiño


Comments