

Hardware components | ||||||
 |
| × | 1 | |||
 |
| × | 1 | |||
Software apps and online services | ||||||
| ||||||
This tutorial shows how you can connect Arduino YUN to the Adafruit IO platform for sharing the DHT-11 sensor value, the photoresistor value, and also control the LED on board, a relay, and a PWM output. The PWM output can control the brightness of a light or the speed of a motor.
For using an Arduino YUN with this tutorial, you must have connected the Arduino YUN to your LAN and then to internet. If Arduino is not connected to internet, the tutorial not work.
Step 1: Sign Up on Adafruit IOThe MQTT protocol is the best method for IoT now. It's simple; it's a complete method to connect the objects to the cloud through the internet. Adafruit Industries have created a library and platform to use that protocol with Arduino ESP and other hardware. To use this platform you must subscribe to Adafruit IO service. Go to Adafruit IO (https://io.adafruit.com/). Then sign up for free. Then follow the instructions. After you can see the Dashboard and try the functions of Adafruit IO. Now you can create a new Dashboard using the button "Create Dashboard". You must name the Dashboard "Arduino". After we add the values to the dashboard.
Step 2: Download the softwareFor uploading the code on Arduino YUN, you can download the official Arduino IDE. https://github.com/adafruit/Adafruit_IO_Arduino and install it manually, or install the library via "Manage Library".
To install the library by manual process:
- First quit the Arduino application.
- Then uncompress the ZIP file containing the library. For example, if you're installing a library called "ArduinoParty", uncompress ArduinoParty.zip. It should contain a folder called ArduinoParty, with files like ArduinoParty.cpp and ArduinoParty.h inside. (If the .cpp and .h files aren't in a folder, you'll need to create one. In this case, you'd make a folder called "ArduinoParty" and move into it all the files that were in the ZIP file, like ArduinoParty.cpp and ArduinoParty.h.)
- Drag the ArduinoParty folder into this folder (your libraries folder). Under Windows, it will likely be called "My Documents\Arduino\libraries". For Mac users, it will likely be called "Documents/Arduino/libraries". On Linux, it will be the "libraries" folder in your sketchbook.
To install a new library into your Arduino IDE you can use the Library Manager (available from IDE version 1.6.2).
- Open the IDE and click to the "Sketch" menu and then Include Library > Manage Libraries.
- Then the library manager will open and you will find a list of libraries that are already installed or ready for installation. In this example, we will install the Bridge library.
- Scroll the list to find it, then select the version of the library you want to install. Sometimes only one version of the library is available. If the version selection menu does not appear, don't worry: it is normal.
- Finally click on install and wait for the IDE to install the new library. Downloading may take time depending on your connection speed.
- Once it has finished, an Installed tag should appear next to the Bridge library. You can close the library manager.
Now you can see the library Adafruit MQTT on the Arduino IDE.
Step 3: Connect the sensor to Arduino YUNTo use Arduino YUN with this tutorial, you must have connected the Arduino YUN to your LAN and then to internet. If Arduino is not connected to internet, the tutorial not work.
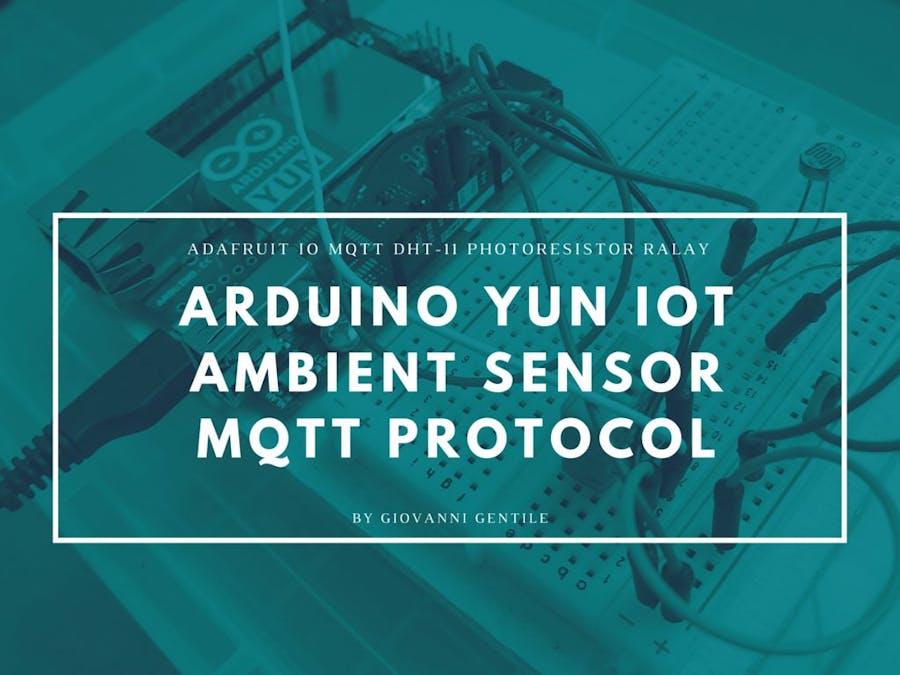
Connect the photoresistor like in photo. Connect the photoresistor to input pin A0. Now connect the DHT-11 to the Arduino YUN. See the photo. Pay attention to connect the sensor to the board, you can burn the sensor or the Arduino YUN board. Then connect the PWM (pin number 3) to the LED, and pin number 4 to the relay. After connect the relay to the 5V of Arduino pin.
Step 4: Upload the codeThere are two file in the tutorial. One is the example file by Adafruit MQTT library, the other is the file to use Arduino YUN with DHT-11 sensor, LED, PWM and relay,
Copy the code and modify the WifiSSID, PWD, and the Adafruit IO key.
Try first the first Adafruit Sketch; after you can try the DHT-11 code.
Upload the code, then open serial monitor. You can see the debugger messages.
Step 5: Setup your DashboardIf that's okay, you can surf to http://io.adafruit.com and see your Dashboard called "Arduino". Now you can populate the Dashboard with feeds, and add the relay, LED and PWM controls.
To add the sensor blocks, you can click + symbol, and after add the block that you want. For the value of sensors, you can use Gauge block; for the relay and buttons, you can create buttons with "onoff" and "relay" as names. For the PWM output, you can create a slider with "slider" as its name.


Comments