


Hardware components | ||||||
| × | 1 | ||||
_ztBMuBhMHo.jpg?auto=compress%2Cformat&w=48&h=48&fit=fill&bg=ffffff) |
| × | 1 | |||
 |
| × | 1 | |||
 |
| × | 1 | |||
 |
| × | 1 | |||
Software apps and online services | ||||||
 |
| |||||
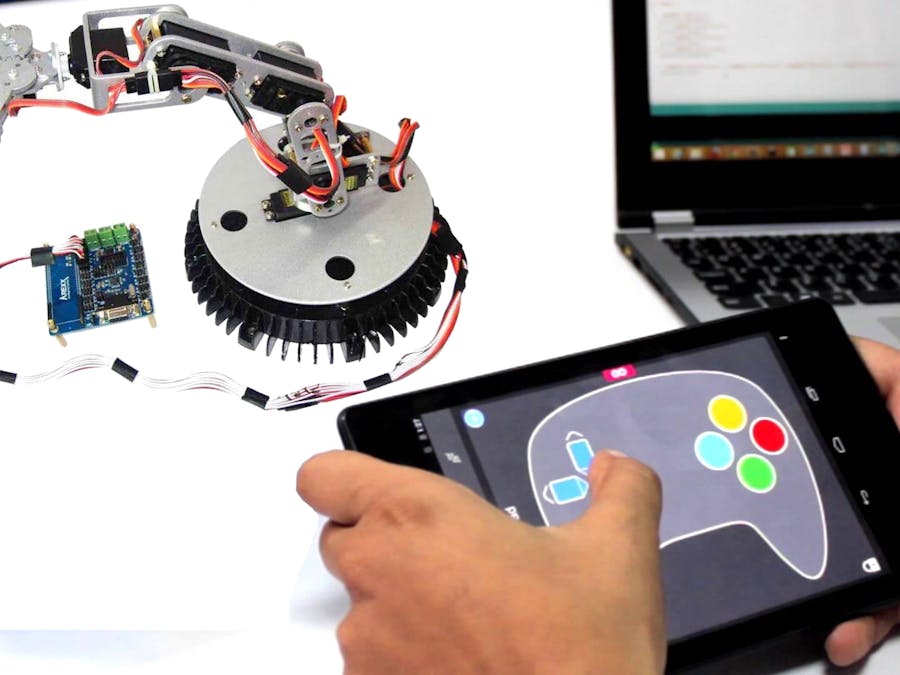
we were provided with a Robotic arm as an application of learning to publish our projects on online project sharing platforms, we decided to adapt the arm to use an android smartphone for remote control.
OverviewMost market available robotic arms come provided with control board geared with RS-232 interface for control via desktop software, according to reviews this board and the accompanying software is often unreliable, so we decided to eliminate this part and instead substitute with arduino uno coupled with 1sheeld shield for seamless interfacing with android smartphone.
Steps/Hardware
*Robotic arm manual:
http://www.robotshop.com/media/files/pdf/32-servo-robot-arm-controller-manual-ra001.pdf
1. Connect power supply to motors 1-16 header on the supplied control circuit (will be used for power supplying only).
2. Connect 6 servos to successive power and ground headers (check circuit diagram below).
3. Connect 1Sheeld to arduino uno.
4. Connect servo motors 1 through 6 to PWM pins (3,5,6,9,10,11).
5. And lastly connect USB to laptop!
/Software
1. Download and install arduino IDE:
https://www.arduino.cc/en/Main/Software
Installation instructions:
https://www.arduino.cc/en/Guide/HomePage
2. Download and install 1Sheeld library: http://1sheeld.com/downloads/
*note: follow guide for library installation in arduino tutorial linked above
3. Launch the arduino IDE and check the connection to uno board is established.
4. Paste Arm Code in the IDE.
5. Upload code to board by clicking arrow button.
[!]Caution: don't forget to switch the 1sheeld to switch mode (unplugged wire icon) before uploading code[!]
6. Switch the 1sheeld back to UART mode.
7. Download and install 1sheeld app to your smart device:
https://play.google.com/store/apps/details?id=com.integreight.onesheeld&hl=en
8. Launch the application and initialize the pairing process, follow the instructions of the 1sheeld getting started tutorial available above.
9. Enable Accelerometer and gamepad shields from shield selection list.
10. Press the shield symbol on top right to access control interface.
11. Switch to game pad panel
12. You're all set to go;
the accelerometer runs in the background and controls gripper motors 6 and 5, and gamepad uses (right and left) for motor 1
,(up and down) for motor 2
,(red and blue) for motor 3
,(green and orange) for motor 4.


Comments