


Hardware components | ||||||
 |
| × | 1 | |||
 |
| × | 1 | |||
| × | 1 | ||||
| × | 1 | ||||
| × | 1 | ||||
Software apps and online services | ||||||
 |
| |||||
 |
| |||||
AntiMould Shower Sentinel is a smart, ML‑powered device that listens for the sound of a running shower and instantly detects when the extractor fan hasn’t been switched on. By sending real‑time alerts to Home Assistant, it prompts the user to activate ventilation before humidity builds up. The result is simple but powerful: a low‑cost, automated way to prevent mould growth, protect bathroom surfaces, and keep your home healthier — all without installing new sensors or modifying existing wiring.
Problem Statement:In the UK, mould risk is significantly elevated because showers generate high moisture loads in small, enclosed bathrooms. When the extractor fan is off, relative humidity quickly exceeds 70–80%, pushing surfaces toward the dew‑point, where condensation forms. UK homes are typically well‑insulated with limited passive airflow, so this moisture cannot dissipate naturally. The combination of high humidity, cold external walls, and poor ventilation creates ideal conditions for rapid mould growth, especially on grout, plasterboard, and silicone seals.
Solution:When a user begins showering, the Edge Impulse machine‑learning model running on the Arduino Q identifies the acoustic signature of the shower. Once shower activity is confirmed, the system checks whether the extractor fan is running and continues monitoring for the next 20 minutes to ensure proper post‑shower ventilation.
If the fan is not detected during or after the shower, the Arduino Q sends a signal to Home Assistant, running locally on a Raspberry Pi 5, which then triggers a mobile notification reminding the user to switch the fan on to prevent humidity build‑up and mould growth.
The system also handles the reverse scenario: if the user forgets to turn the fan off, Home Assistant sends a notification prompting them to switch it off, helping reduce unnecessary electricity.
To build this project from scratch, follow these steps:
1.Set up your Home Assistant server on the Raspberry Pi 5
Install Home Assistant OS or supervised setup so it can act as the central automation hub.
2.Connect your Home Assistant mobile app to your local server
This enables secure local notifications and lets your phone receive alerts from the system.
3.Train Edge Impulse machine‑learning model
Collect shower‑sound samples, label them, and train a classifier capable of detecting shower activity reliably.
4.Deploy the trained model to the Arduino Q
Export the Edge Impulse model and flash it onto the Arduino Q so it can run inference locally at the edge.
5.Integrate the Edge Impulse model with Home Assistant
Send shower‑detection and fan‑status events from the Arduino Q to Home Assistant, enabling automated alerts and energy‑saving reminders.
Step 1: Set up your Home Assistant server on the Raspberry Pi 5Please keep in mind that in this setup, the Raspberry Pi 5 acts as the Home Assistant server, while the Arduino Q functions as the client running the ML model. The Arduino Q detects both shower and extractor‑fan sounds, and based on this detection, it sends events to Home Assistant. Home Assistant then triggers mobile notifications to alert the user when ventilation is needed or when the fan has been left running unnecessarily.
- 128 GB SD Card — Class 10 or better recommended
- Raspberry Pi 5 — Board and case (optional but recommended)
- Keyboard and Monitor — HDMI-compatible display
- Official Raspberry Pi 5 Power Supply — 27W USB‑C PD supply
First, you’ll need to flash Home Assistant OS onto the SD card and boot up the Raspberry Pi. The full instructions for this initial setup are provided in the link below, so please follow them carefully:
https://www.home-assistant.io/installation/raspberrypi/
If you don’t have an Ethernet connection available on your Raspberry Pi 5, follow the steps below after installing Home Assistant OS to connect to Wi‑Fi.
1. Open the HA OS Terminal
if you have a keyboard/monitor connected to the Pi, use the local console.
2. Scan for available Wi‑Fi networks
Code
nmcli device wifi listThis shows SSIDs around you.
3. Connect to your Wi‑Fi network
Replace YOUR_SSID and YOUR_PASSWORD with your actual Wi‑Fi details:
Code
nmcli device wifi connect "YOUR_SSID" password "YOUR_PASSWORD"If successful, you’ll see a confirmation message and the Pi will join your Wi‑Fi.
Step2: Connect your Home Assistant mobile app to your local serverNow that Home Assistant is fully configured on your Raspberry Pi 5 and successfully connected to your Wi‑Fi network, the next step is to enable communication between Home Assistant and the Home Assistant mobile app so your system can deliver real‑time notifications to the user.
Install the Home Assistant Mobile AppYou need the official app to enable secure local notifications and device tracking.
1.Download the Home Assistant app from the App Store (iOS) or Play Store (Android)
2.Ensure your phone is connected to the same Wi‑Fi network as your Raspberry Pi 5
3. Launch the app
4.Wait for it to detect http://homeassistant.local:8123 or your Pi’s IP address
5. Log In With Your Home Assistant Account
This links your phone to your Home Assistant user profile.
After login, the app will automatically register your device. You will see your phone listed under Settings → Devices & Services → Devices
Enable Notifications
Notifications must be allowed both in the app and on your phone. In the app: go to App Configuration → Notifications and enable them
On your phone: allow notifications for the Home Assistant app in system settings
Test a Notification
Please follow the below steps to test a notification :
- Verifies that your phone can receive alerts from Home Assistant.
- In Home Assistant, go to Developer Tools → Services
- Select
notify.mobile_app_<your_phone_name> - Send a test message like:
{"message": "Test notification"} - Confirm the notification appears on your phone
When testing the full notification flow—from the Arduino Q to the Home Assistant server and finally to mobile notifications—I used a simple Python script on the Arduino Q to verify connectivity. To enable this communication, you must generate a Long‑Lived Access Token in your Home Assistant profile; this token securely links the Arduino Q with Home Assistant and your mobile device. Also ensure that the Raspberry Pi (server), Arduino Q, and mobile phone are all connected to the same Wi‑Fi network for reliable local communication.
You must enable Long‑Lived Access Tokens in Home Assistant:
Profile → Long‑Lived Access Tokens → Create Token
To run Python code on the Arduino Q, you’ll first need to complete a few essential setup steps. The following workflow outlines everything required to prepare the board, configure the environment, and ensure it can execute your Python scripts reliably.
https://docs.edgeimpulse.com/hardware/boards/arduino-uno-q
A brief demo of the workflow is available in the Edge Impulse video link provided below.
import requests

# Home Assistant URL (use your local IP or homeassistant.local)
HA_URL = "http://homeassistant.local:8123/api/services/notify/mobile_app_your_phone"
# Replace mobile_app_your_phone with your mobile device name in Home Assistant


# Replace with your long-lived access token
TOKEN = "YOUR_LONG_LIVED_ACCESS_TOKEN"

headers = {
    "Authorization": f"Bearer {TOKEN}",
    "Content-Type": "application/json",
}

data = {
    "message": "This was sent via the Home Assistant REST API",
    "title": "Hello from Python"
}

response = requests.post(HA_URL, headers=headers, json=data)

print("Status:", response.status_code)
print("Response:", response.text)
After running the Python script, I received a notification on my iPhone sent directly from the Arduino Q. This confirms that the end‑to‑end communication path is working correctly. Now we can move on to building the Edge Impulse ML model in the next step.
In Edge Impulse, we will follow a structured workflow to build the model. First, we create a dataset and label the audio samples using the four target classes: “Shower‑ON‑Extractor‑Fan‑Off”, “Shower‑ON‑Extractor‑Fan‑On”, “Shower‑Off‑Extractor‑Fan‑Off”, and “Shower‑Off‑Extractor‑Fan‑On”. After preparing and labeling the dataset, we begin training the machine‑learning model in Edge Impulse.
Based on the validation results, we may need to refine the training parameters or collect additional samples to improve classification accuracy. Once the model achieves a satisfactory performance level, we proceed to deploy it to the Arduino Q using the generated Arduino library, enabling real‑time inference directly on the device.
To connect the Arduino Q board to the EI account, please follow the steps outlined in the link below.
The Arduino Q does not include a built‑in microphone, so I connected a USB Type‑C microphone through a USB hub to provide audio input.
After installing the firmware, open the command window and type the following daemon command:
edge-impulse-linux
Once the device is connected, navigate to the Data Acquisition section.
Begin collecting audio data by recording the audio through Arduino Q. Here I recorded shower sound, Extractor fan sound and combination of both in edge impulse tool and labelled it as “Shower‑ON‑Extractor‑Fan‑Off”, “Shower‑ON‑Extractor‑Fan‑On”, “Shower‑Off‑Extractor‑Fan‑Off”, and “Shower‑Off‑Extractor‑Fan‑On”.
Model training in Edge ImpulseIn the Create Impulse section, please set the Preprocessing block as MFE and select "Classification" as the learning block.
Then generate the features and visualise to get high level overview of each labels.
In the NN settings, configure the training cycles as 100 and learning rate as 0.005. In the Neural Network section, configure the layers as indicated.
I have used reshape layer to convert the audio data to 1D array and applied 1D convolution layer for model training. For improving the accuracy, I have used the drop out layer as well.
The model achieved an accuracy of 100% during the training phase, which is sufficient to proceed to the next step.
During the testing phase, the model is evaluated using new datasets that were not incorporated in the training process. The Model achieved 100 % which is sufficient for hardware deployment.
After validating the model, run the following command in the terminal to proceed.
First we need to download the trained EIM file in the local machine.
edge-impulse-linux-runner --download modelfile.eimNext, follow the steps below to install the Linux SDK on your Arduino Q. These steps are also available in the linked documentation, where I’ve highlighted the key actions for convenience.
Install a recent version of Python 3 (>=3.7).
Install the SDK
pip3 install edge_impulse_linuxClone this repository to get the examples:
git clone https://github.com/edgeimpulse/linux-sdk-python(Optional) If you want to use the camera or microphone examples, install the dependencies:
cd linux-sdk-python
pip install -r requirements.txt
The classify.py example located in linux-sdk-python/examples/audio is not directly compatible with the Arduino Q, as it cannot read audio data at the required frequency. I have modified the script and uploaded the updated version to my Git repository. The revised code loads audio buffers based on time‑based sampling and resamples them to match the model’s expected rate.
Download and keep the classify_EI.py and model file.EIM in inux-sdk-python/examples/audio and run the below command to execute the model classification in local.
python3 classify_EI.py modelfile.eimThe system receives continuous audio data, which is buffered and passed into the customised EI_classify.py script for processing..The script uses the embedded EIM model to generate a classification result for each audio window.
A classification label counter inside EI_classify.py tracks how many consecutive times each label has appeared. When the label is either “Shower‑ON‑Extractor‑Fan‑Off” or “Shower‑ON‑Extractor‑Fan‑On”, and the count exceeds DETECTION_COUNT_SHOWER_ON (15 seconds), the system concludes that the shower is active.
When this condition becomes true, the system enables a timer that will later verify whether the Extractor Fan is still switched ON after 5 minutes (a configurable duration.
If the extractor‑fan‑ON condition is not satisfied, the system sends a notification prompting the user to switch on the extractor fan.
When the label is either “Shower‑Off‑Extractor‑Fan‑ON” or “Shower‑ON‑Extractor‑Fan‑On”, and the count exceeds DETECTION_COUNT_FAN_ON (1 minute), the system determines that the extractor fan should be considered active.
When this condition becomes true, the system enables a second timer that will later check whether the Extractor fan is still active after 20 minutes (also configurable).
Shower Active Timer Callback function call- When the shower‑active timer expires, the system checks whether the label count for “Shower‑Off‑Extractor‑Fan‑On” is equal to zero.
- If the count is zero, the system concludes that the extractor fan is not running while the shower is active.
- When this condition is true, the system sends a notification to Home Assistant, prompting it to switch on the extractor fan for 15–20 minutes.
- Home Assistant then forwards this notification to the user’s smartwatch or preferred device
- When the fan‑active timer expires, the system checks whether the label count for “Shower‑Off‑Extractor‑Fan‑ON” is greater than 7 (a configurable threshold).
- If this condition is true, the system determines that the extractor fan has been running long enough to reduce humidity.
- The system then sends a notification to Home Assistant instructing it to switch off the extractor fan.
- Home Assistant relays this message to the user’s smartwatch, confirming that humidity has reduced and the fan can be turned off.
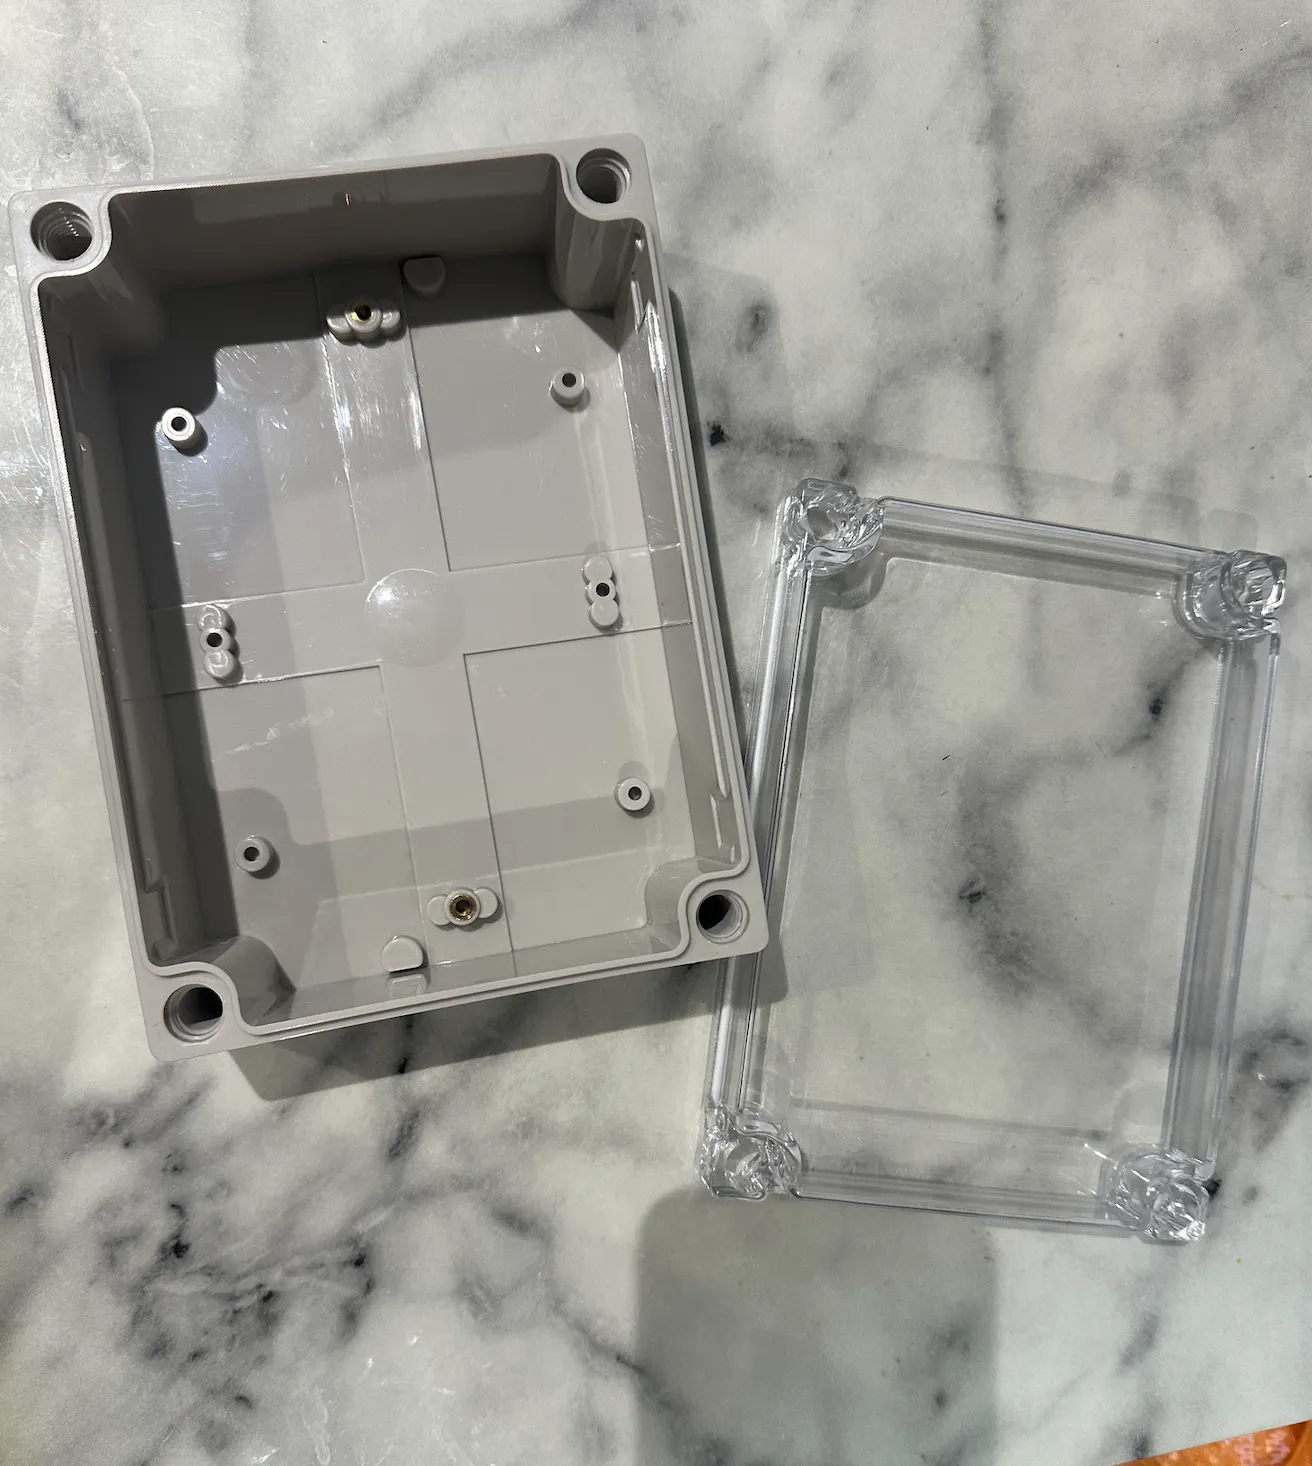
In this prototype, I used a weather‑resistant enclosure, and the Arduino Q is powered by a portable power bank. For long‑term deployment, however, the 5‑volt supply should be provided through a dedicated wired power connection instead of a portable source.
This project can be further improved to achieve full autonomy by adding Home Assistant automations that automatically switch the extractor fan on or off based on shower detection events.


Comments