

Hardware components | ||||||
| × | 1 | ||||
 |
| × | 1 | |||
| × | 1 | ||||
| × | 1 | ||||
 |
| × | 10 | |||
 |
| × | 1 | |||
| × | 1 | ||||
| × | 1 | ||||
 |
| × | 1 | |||
Software apps and online services | ||||||
 |
| |||||
 |
| |||||
Hand tools and fabrication machines | ||||||
 |
| |||||
An ambient lighting system which turns on/off with the AWS IoT button, and the lighting intensity is calculated from prevailing weather conditions (cloud cover, time after sunset). I built this system because I frequently found myself reading in a very dark room, and I wanted automatically-adjusted ambient lighting.
Section 1: HardwareNote: Instead of driving an entire LED strip, you can start off with a single LED on a breadboard, wired to your microcontroller.
Step 1: Purchase all the electronic components I've listed in the Things section.
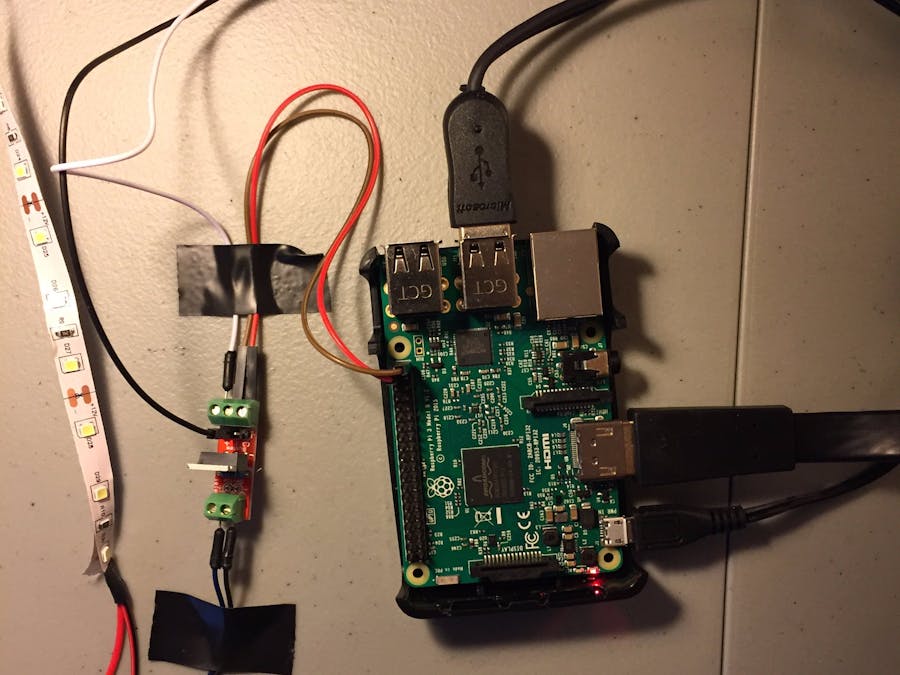
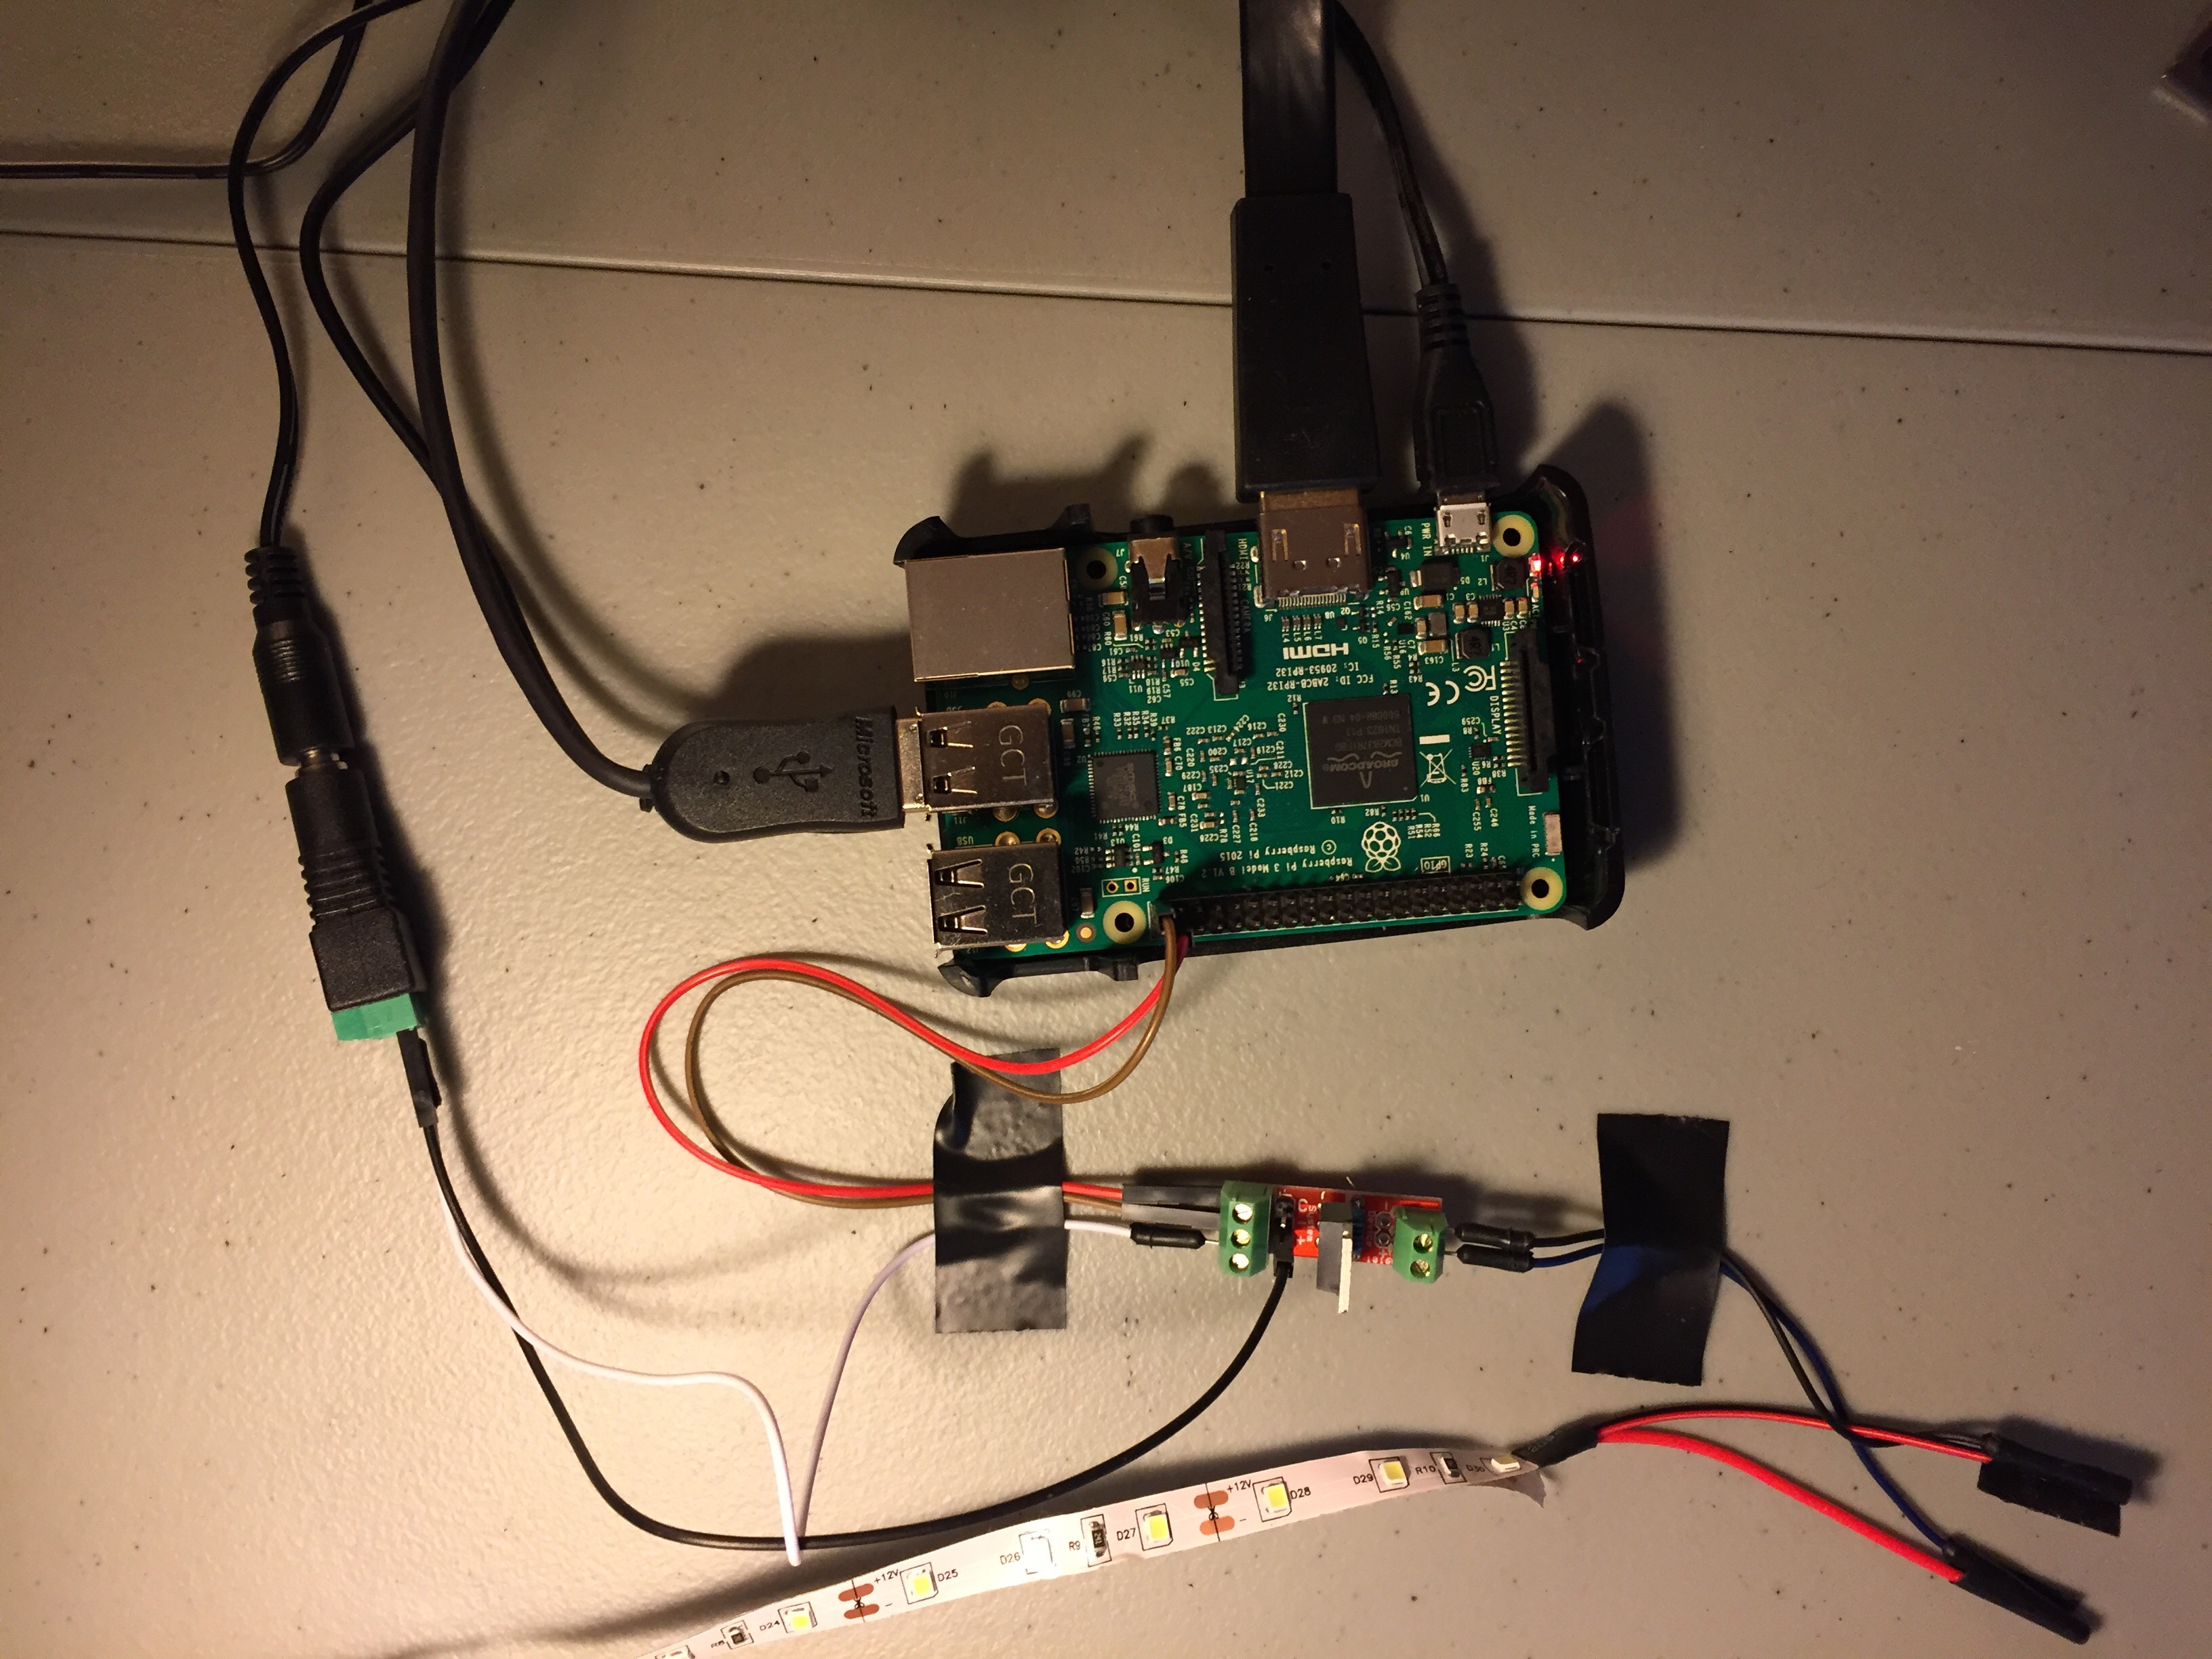
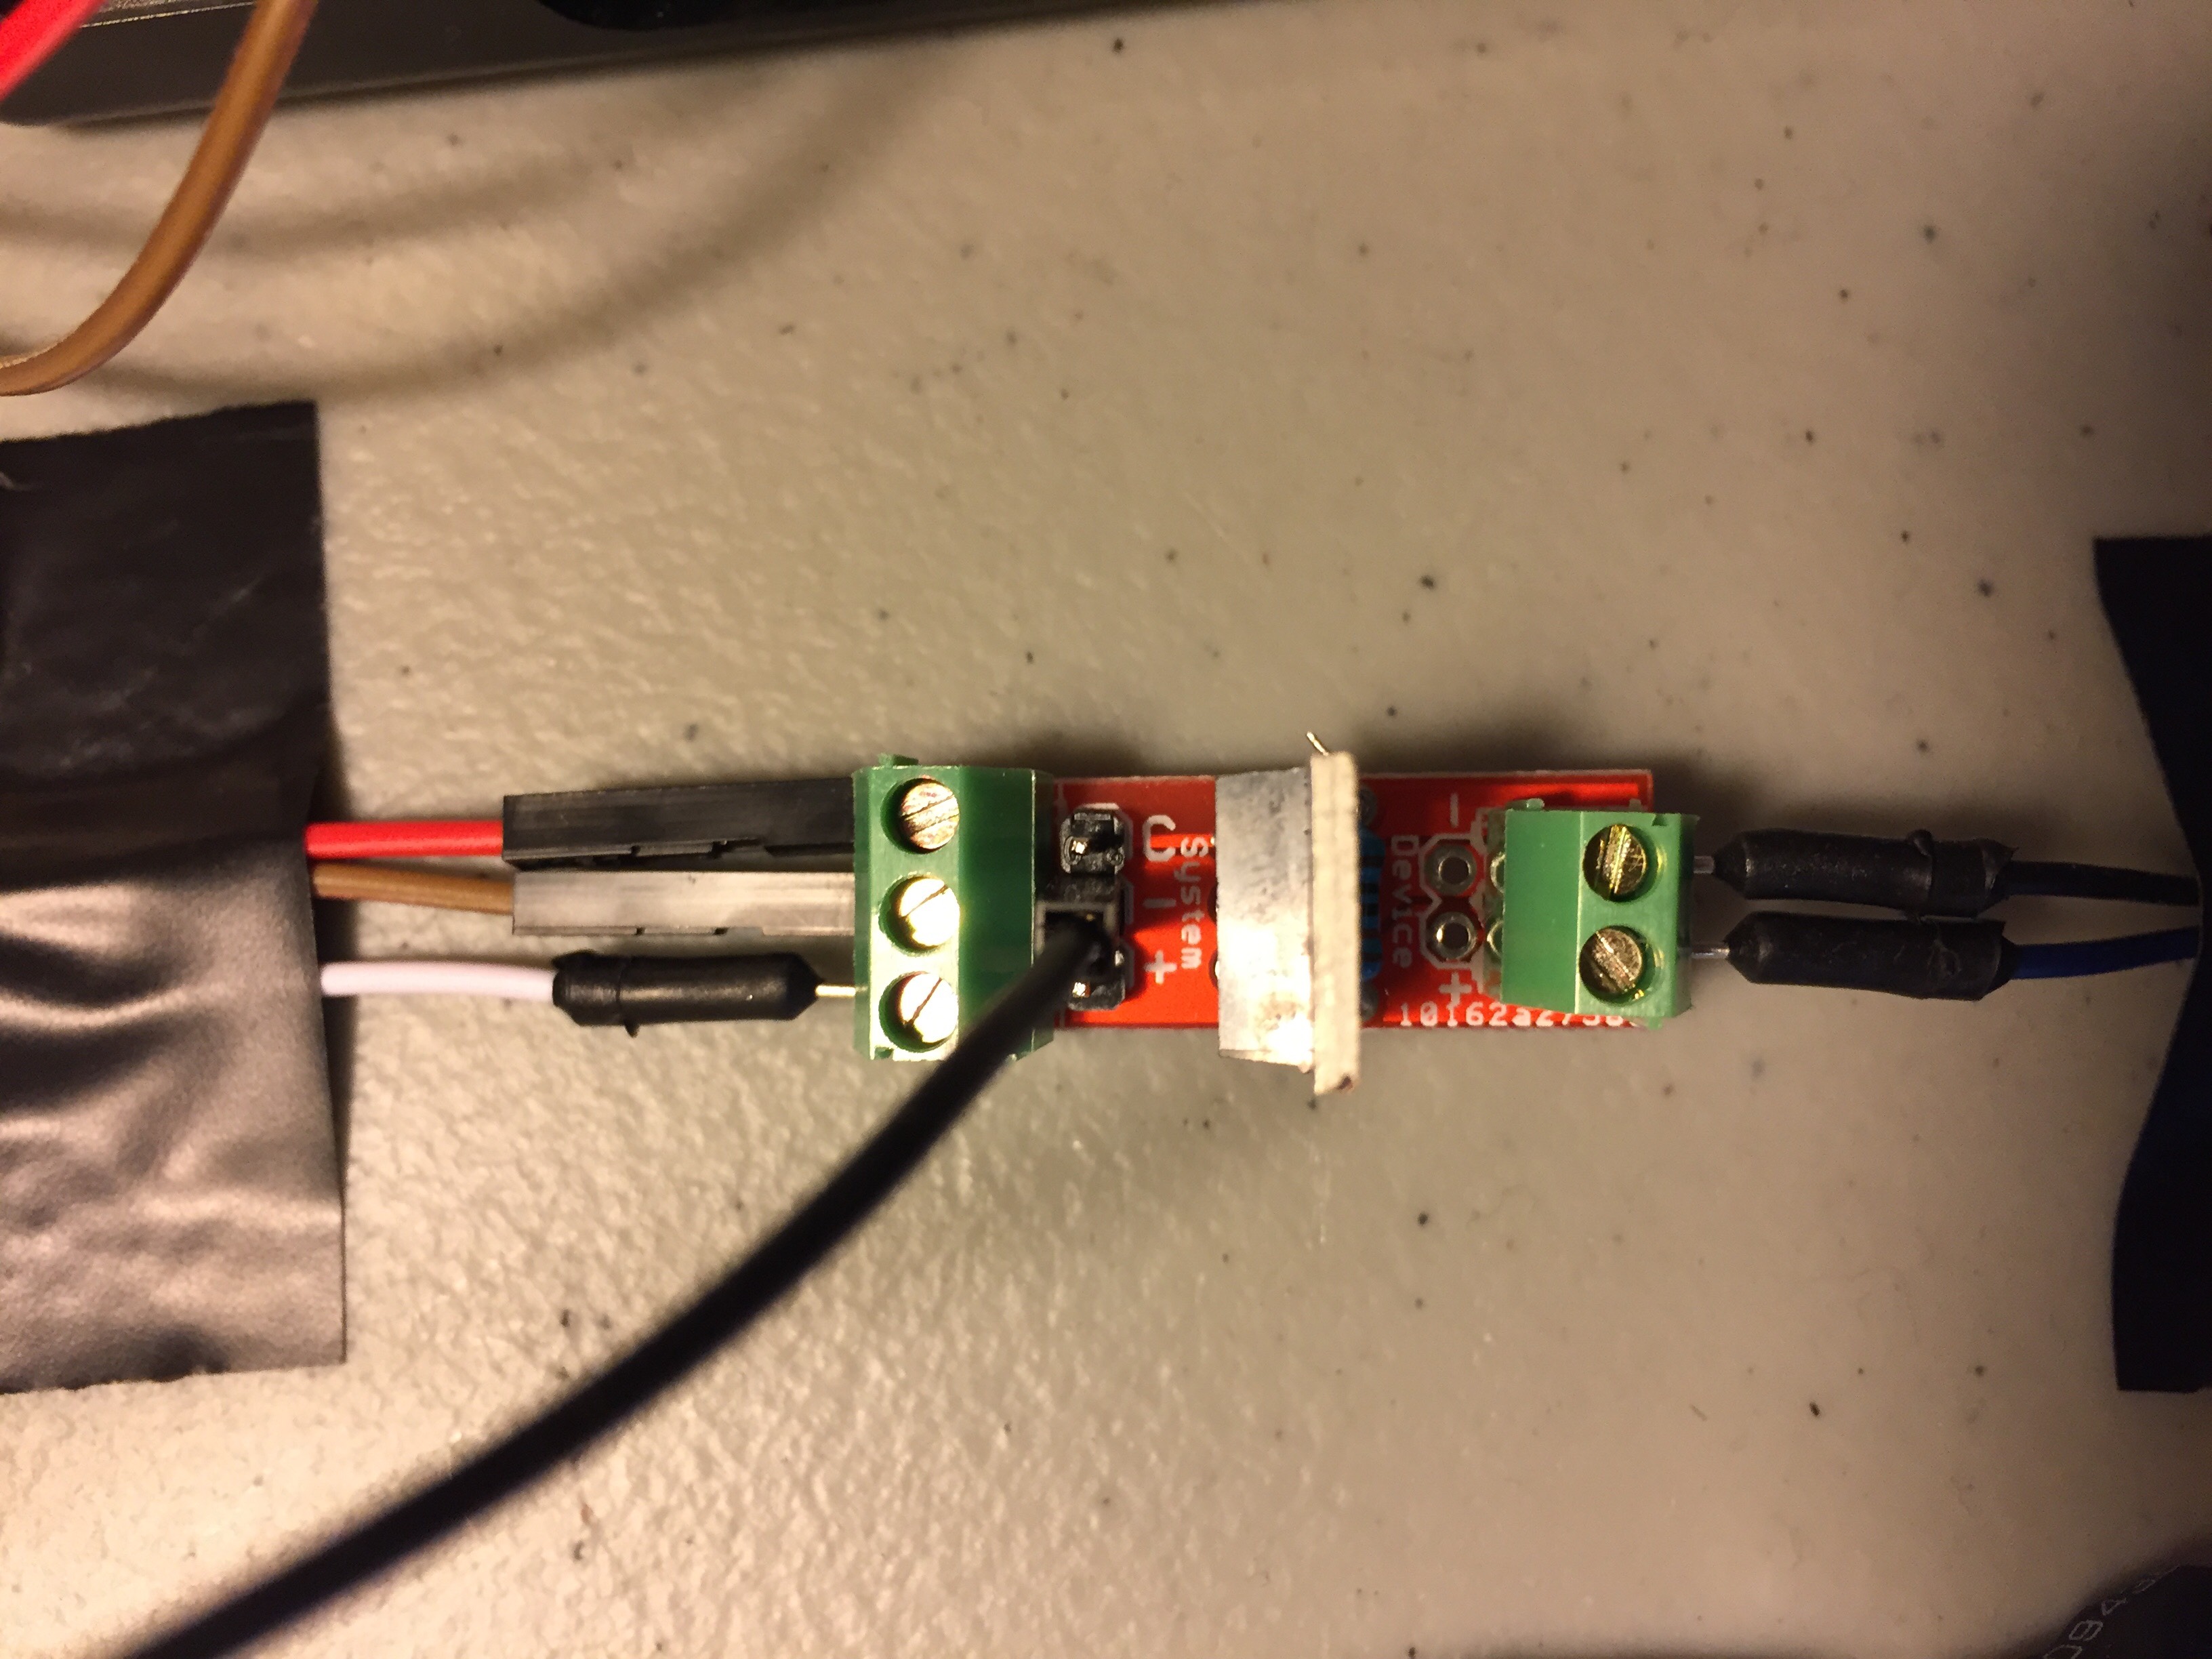
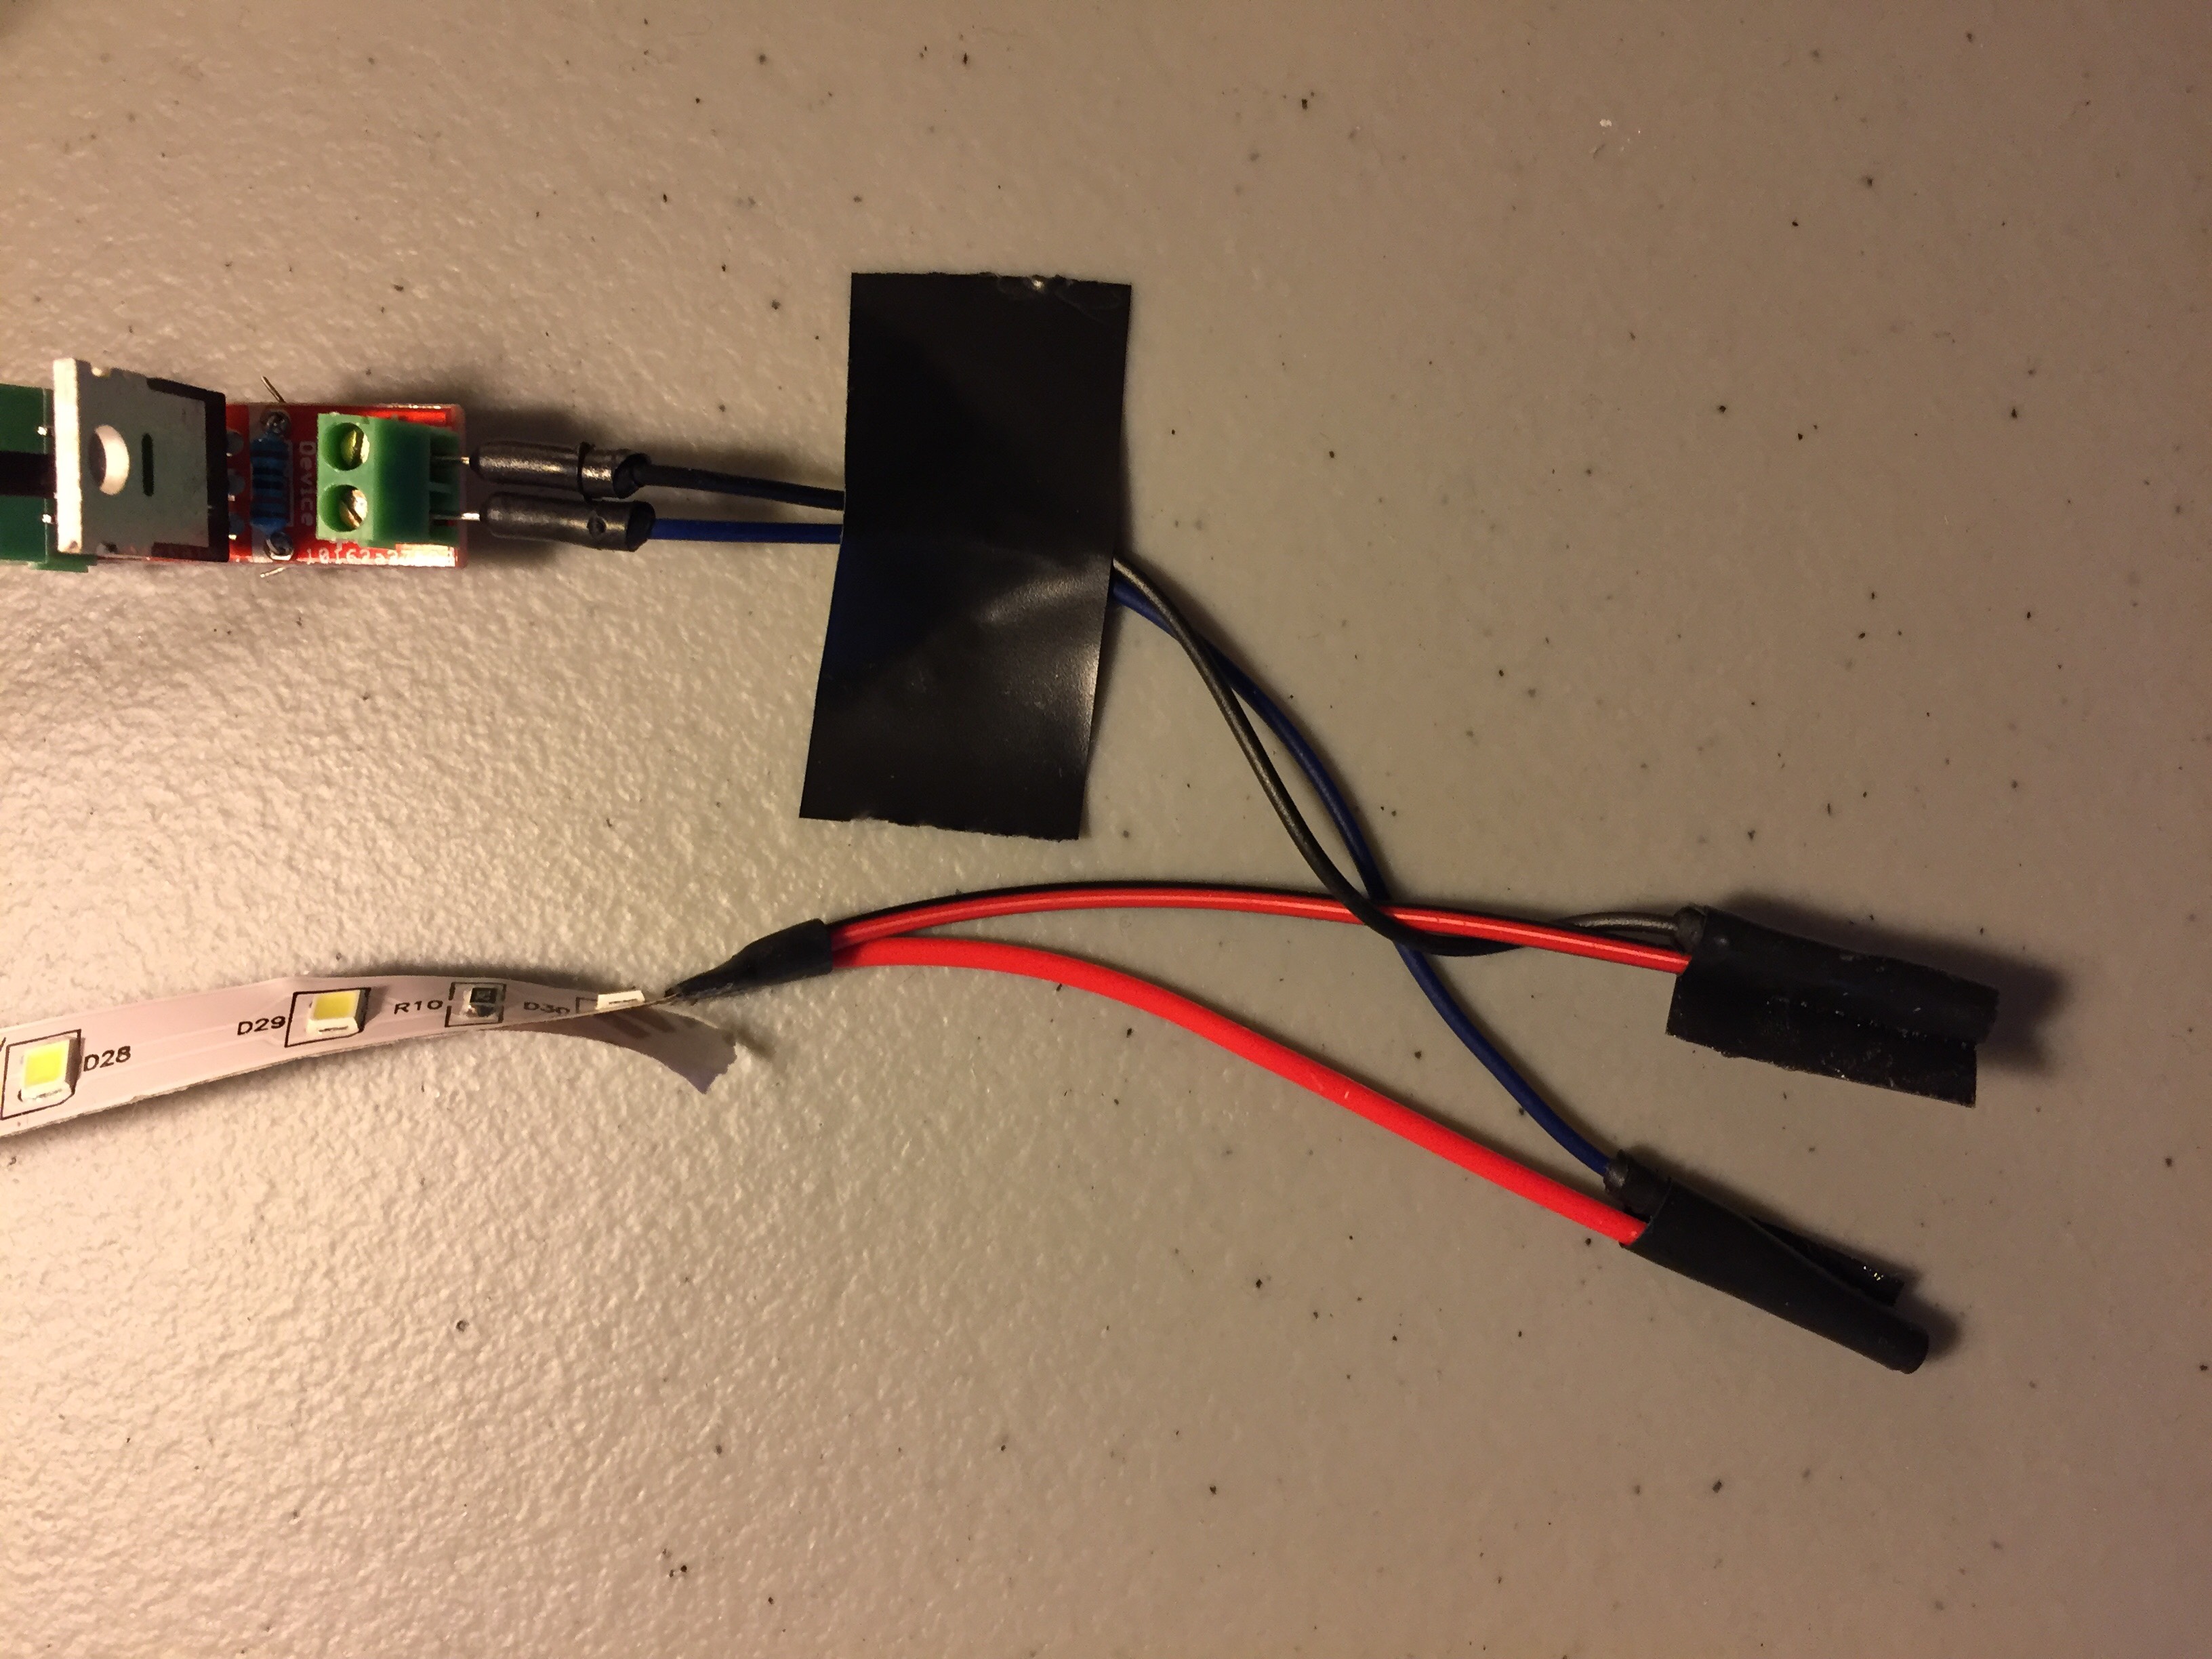
Step 2: Build the MOSFET LED driver circuit. We require this because the LED strip works on 12V, and the microcontroller only supplied 3.3V - 5V. I haven't gone into the details of this because it's available on the Amazon page I've linked in the Things section. All the components are available as a single kit, and solder as per the image on the Amazon page. Then hook it up to the LED strip and microcontroller as mentioned in one of the Customer Reviews (and also look at the pics I've attached if you need further guidance). I've copied the same instructions here:
System
- “C” = Gate, connect to microcontroller I/O pin 20
- “-” = Source, for reference connect microcontroller’s GND and the power source’s GND
- “+” = Vcc, connect to the “+” terminal of your power source
Device
- “-” = Drain, connect this to “R”, “G”, or “B” cathode (-) of the 12V LED strip
- “+” = 12V, connect to “12V” pin of the 12V LED Strip
Once you've built the circuit and you're convinced it works fine, you can set it aside, and let's move on to the AWS pieces.
Section 2: AWS IoT button ConfigurationPlease follow this easy AWS tutorial which will show you how to configure your AWS IoT button, and trigger AWS Lambdas by pressing the Button. Don't worry too much if you can't make it work 100% (like the email bit) - the key is that the Lambda should trigger successfully with button clicks.
Section 3: AWS Lambda Weather Controller- Step 1: Clone this github repo and copy-paste the content of weather_controller_lambda.js into a new NodeJS 4.3 Lambda function.
- Step 2: Like in the previous Section 2, make sure this new AWS Lambda can trigger with button clicks.
- Step 3: Also setup a Cloudwatch Events - Schedule trigger, to fire the Lambda every 15 minutes. This is to ensure the LED intensity is updated regularly to match the prevailing weather conditions. More details on this step.
- Step 4: Make sure the Lambda is responding to Button Clicks, Button DoubleClicks, and also the Cloudwatch Scheduled events.
Please follow the instructions here to connect your Raspberry Pi to AWS IoT.
PS: This part is a bit confusing if you're not familiar with the IoT console, so I'll add some extra details.
- Step 1: Go to AWS IoT > Registry (on the left panel) > Types. Add two types, Input and Output respectively
- Step 2: Go to AWS IoT > Registry (on the left panel) > Things. You should already see the AWS IoT button registered as a consequence of finishing Section 2 successfully. Click on the button that reads iotbutton_G03*.
- Step 3: You should see a page like this when you click on the iotbutton_G03*. Now click on security on the left panel.
Click on the button that says 3e4*.
Now go to policies and click on the displayed policy button. Make sure the policy document looks like the following:
{
 "Version": "2012-10-17",
 "Statement": [
   {
     "Effect": "Allow",
     "Action": "iot:Publish",
     "Resource": "arn:aws:iot:us-west-2:726444022762:topic/iotbutton/G030JF0513034VDM"
   },
   {
     "Effect": "Allow",
     "Action": "iot:GetThingShadow",
     "Resource": "arn:aws:iot:us-west-2:726444022762:topic/iotbutton/G030JF0513034VDM"
   }
 ]
}
- Step 4: Go back to the IoT Thing Registry page, and now let's add the Raspberry Pi as an IoT thing. Let's call it LedLights:
Hit the Create Thing button on the bottom of the page. You should now see a page that looks like the following:
Go to security > Hit "Create Certificate" button.
Make sure to download all those certificates, as well as the Root CA for AWS IoT. Copy these 4 certificates onto your Raspberry Pi, into the ~/.aws/ directory.
Now go back, and click on the certificate button. Make sure to hit the activate button from the drop down on the top right:
The select Policies on the left panel, and enable a policy that you created using this tutorial.
Section 5: IoT Button and LedLights device shadowsMake sure the IoTButton device shadow looks like this:
{
 "desired": {
   "welcome": "aws-iot",
   "clickType": "SINGLE"
 },
 "reported": {
   "welcome": "aws-iot",
   "clickType": "SINGLE"
 }
}
And make sure the LedLights Device Shadow looks like this:
{
 "desired": {
   "welcome": "aws-iot",
   "pwm": 0,
   "manualOverride": "NO"
 },
 "reported": {
   "welcome": "aws-iot",
   "pwm": 0,
   "manualOverride": "NO"
 }
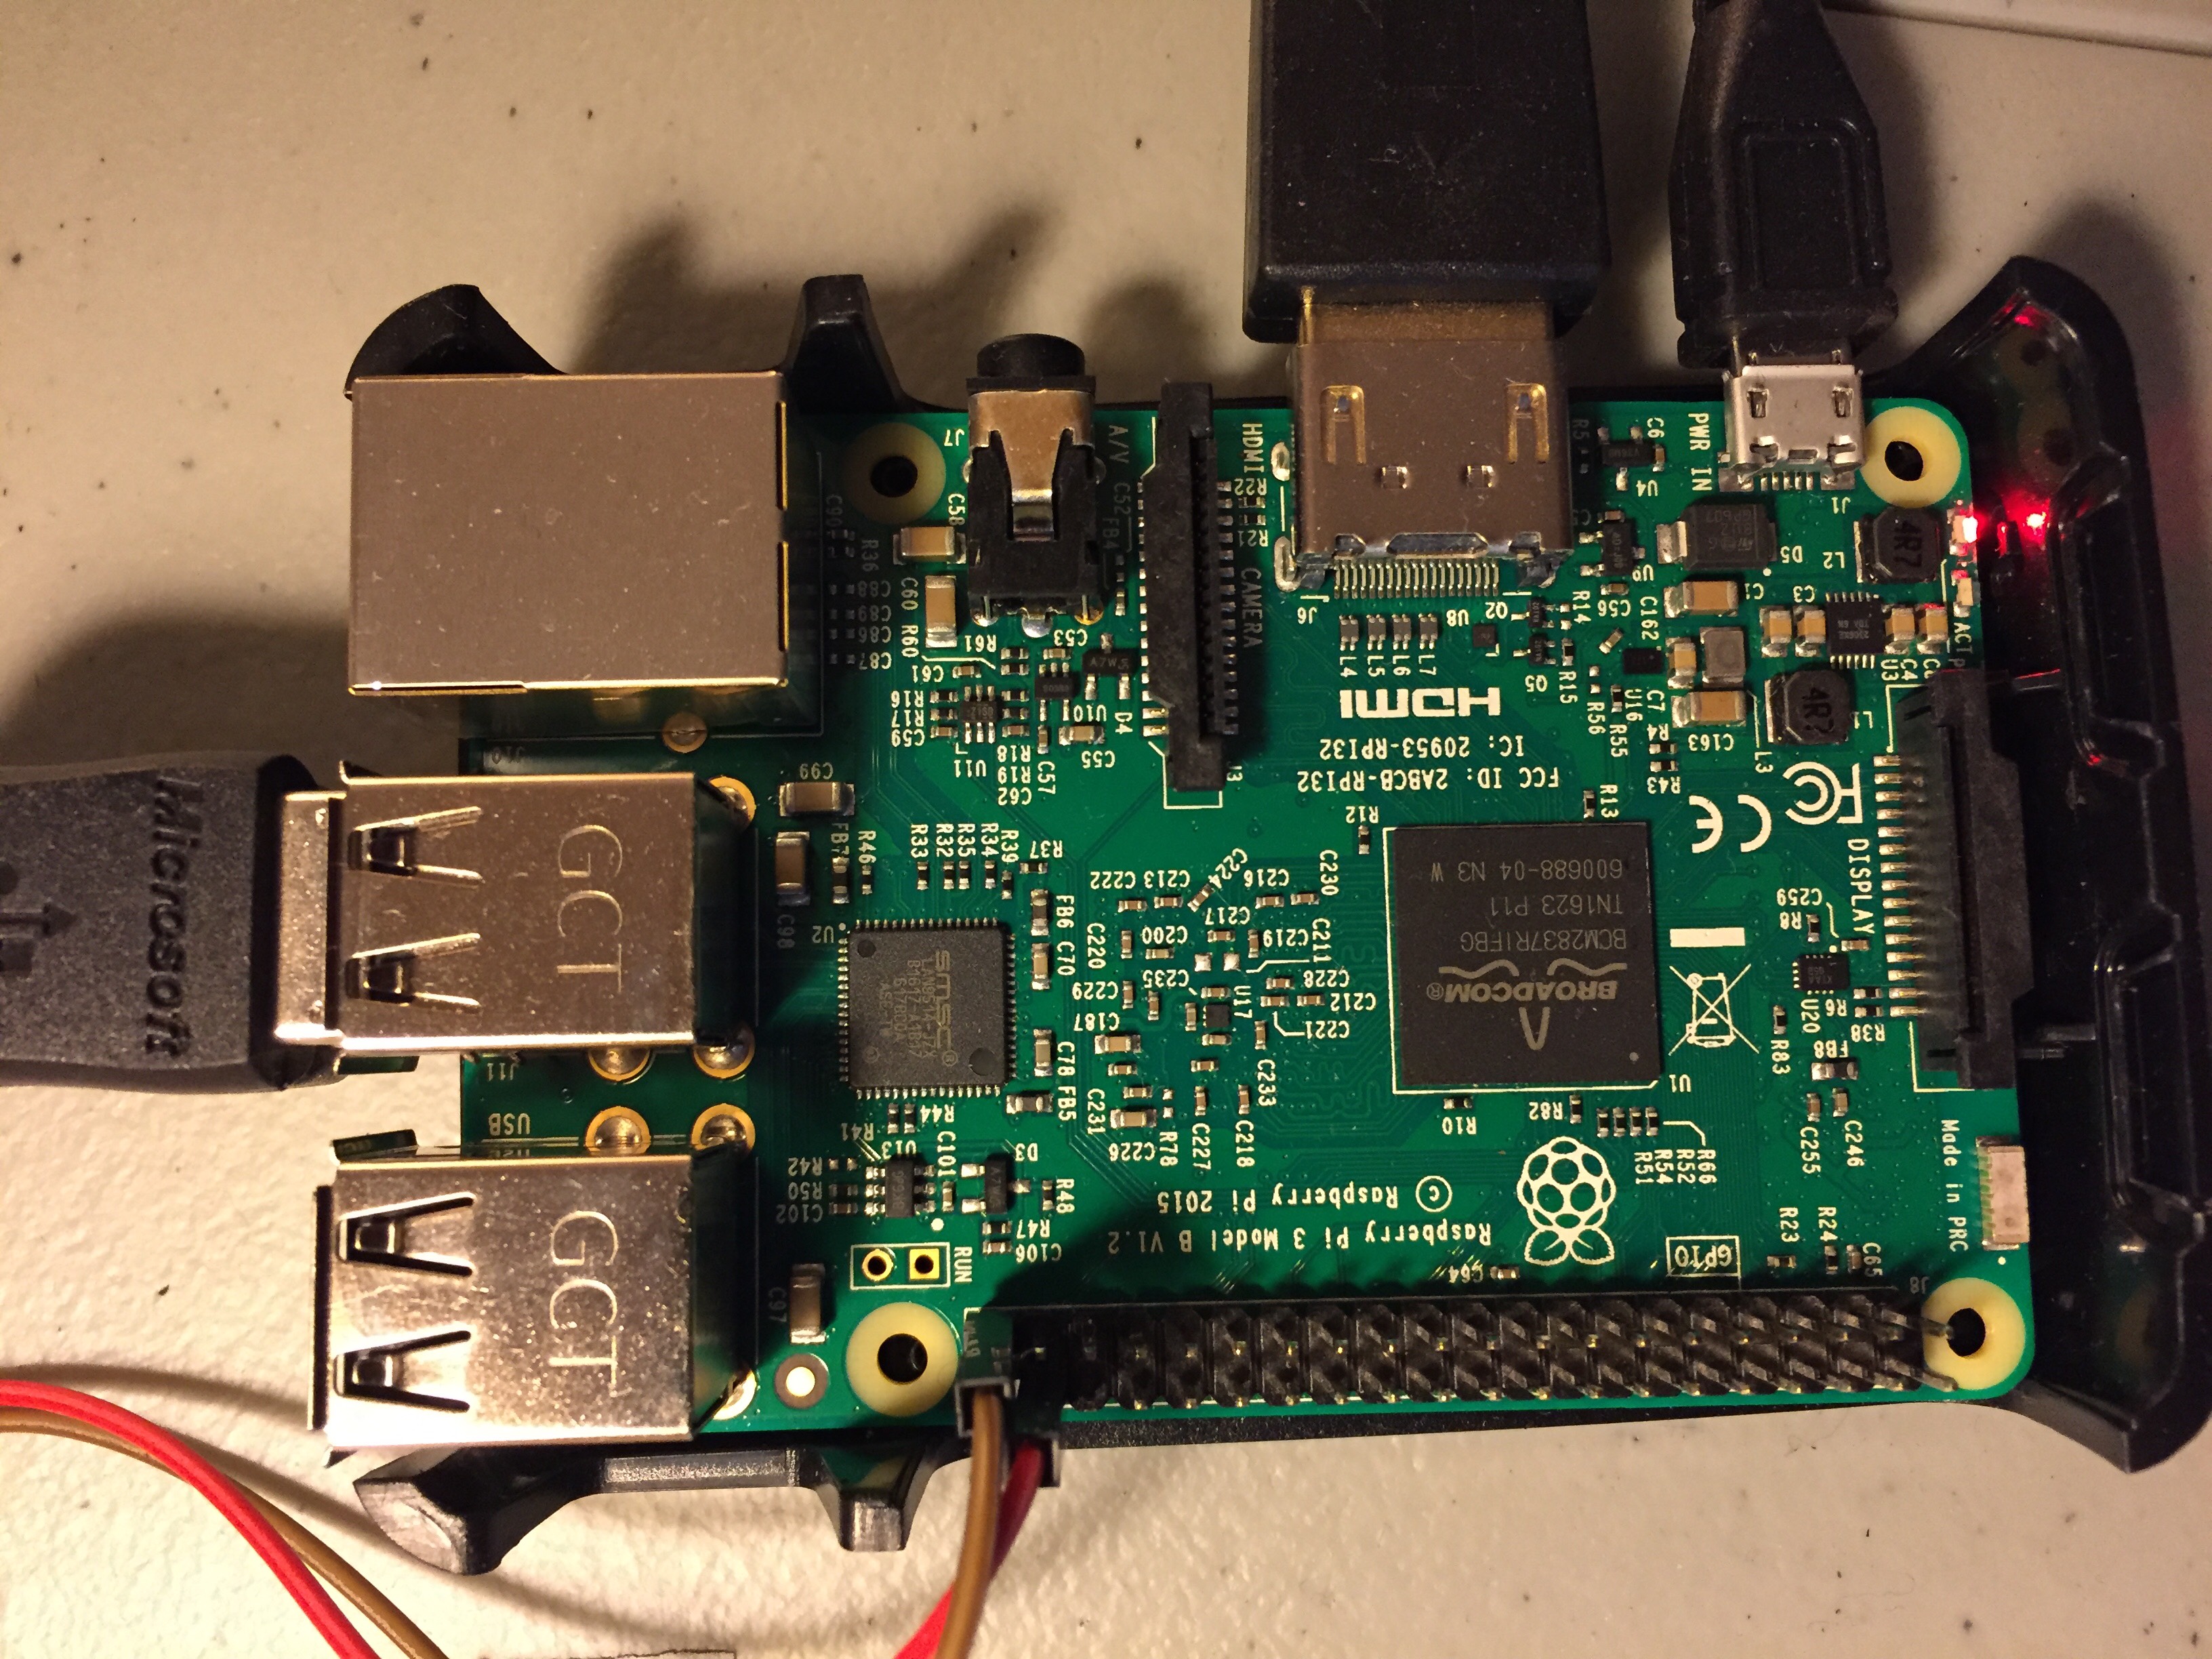
- Step 1: SSH into your Raspberry Pi, clone this repo.
- Step 2: Make sure the 4 keys for the LEDLights are in ~/.aws as explained in Section 4.
- Step 3: Run:
pi@raspberrypi:~/Desktop/weather_lights_public $ bash start.sh
Now, click the AWS IoT Button. The lights should turn on, with an intensity proportional to the cloud cover. If it's after sunset, they'll go to max intensity. Click again, they will go off. Turn them on again, double click. That's manual override - set to max intensity. Double click again - they'll dim according to cloud cover!
Raspberry Pi Pins used


Comments