


Hardware components | ||||||
 |
| × | 1 | |||
 |
| × | 1 | |||
Software apps and online services | ||||||
| ||||||
This project was made for the data visualization project for my Physical Computing class. The whole idea is for the LED strip to represent where planes are in the sky with each LED light. The lights move and change color based on the plane's activities.
I used a Particle Photon 2 for the project because it is super neat and easy to connect this microcontroller to the internet. 10/10 microcontroller, would recommend (I bought 2 more).
All runways are in reference to Chicago O'Hare International Airport (ORD).
Webhook/APIQueryThis was done using the OpenSky Network and their REST API which has extensive documentation here.
The easiest and most demonstratable example of how this API works can be done with an anonymous API request following the basic query setup and putting that into a web browser. For example, a query to find all aircraft in a rectangle around 28C/10C would look like this:
Now ideally, one should be able to put that into a GET request service, such as the Particle one. However it never seemed to work for me. No matter what authentication I tried. No matter what access token. Parameters. Headers. Response template. NOTHING would get me past the ETIMEDOUT error (the particle error when the API took too long to respond). I put it in the OpenSky discord and Particle Forum and nothing worked. If you find a way, please let me know; that would make this all so much simpler.
To get around this, I used an old Raspberry Pi 3 that I had laying around to pull from the OpenSky API, then push that data to my particle using Particle.publish(). The code can be seen in the "code" section of this project.
One good thing is this relay method works. Another good thing is that it can use OAuth2 client credentials for me so that I can get 4000 API credits per day. One bad thing is that if I ever want to change the geo-fence for the runway, I have to go into the raspberry pi and change the code myself.
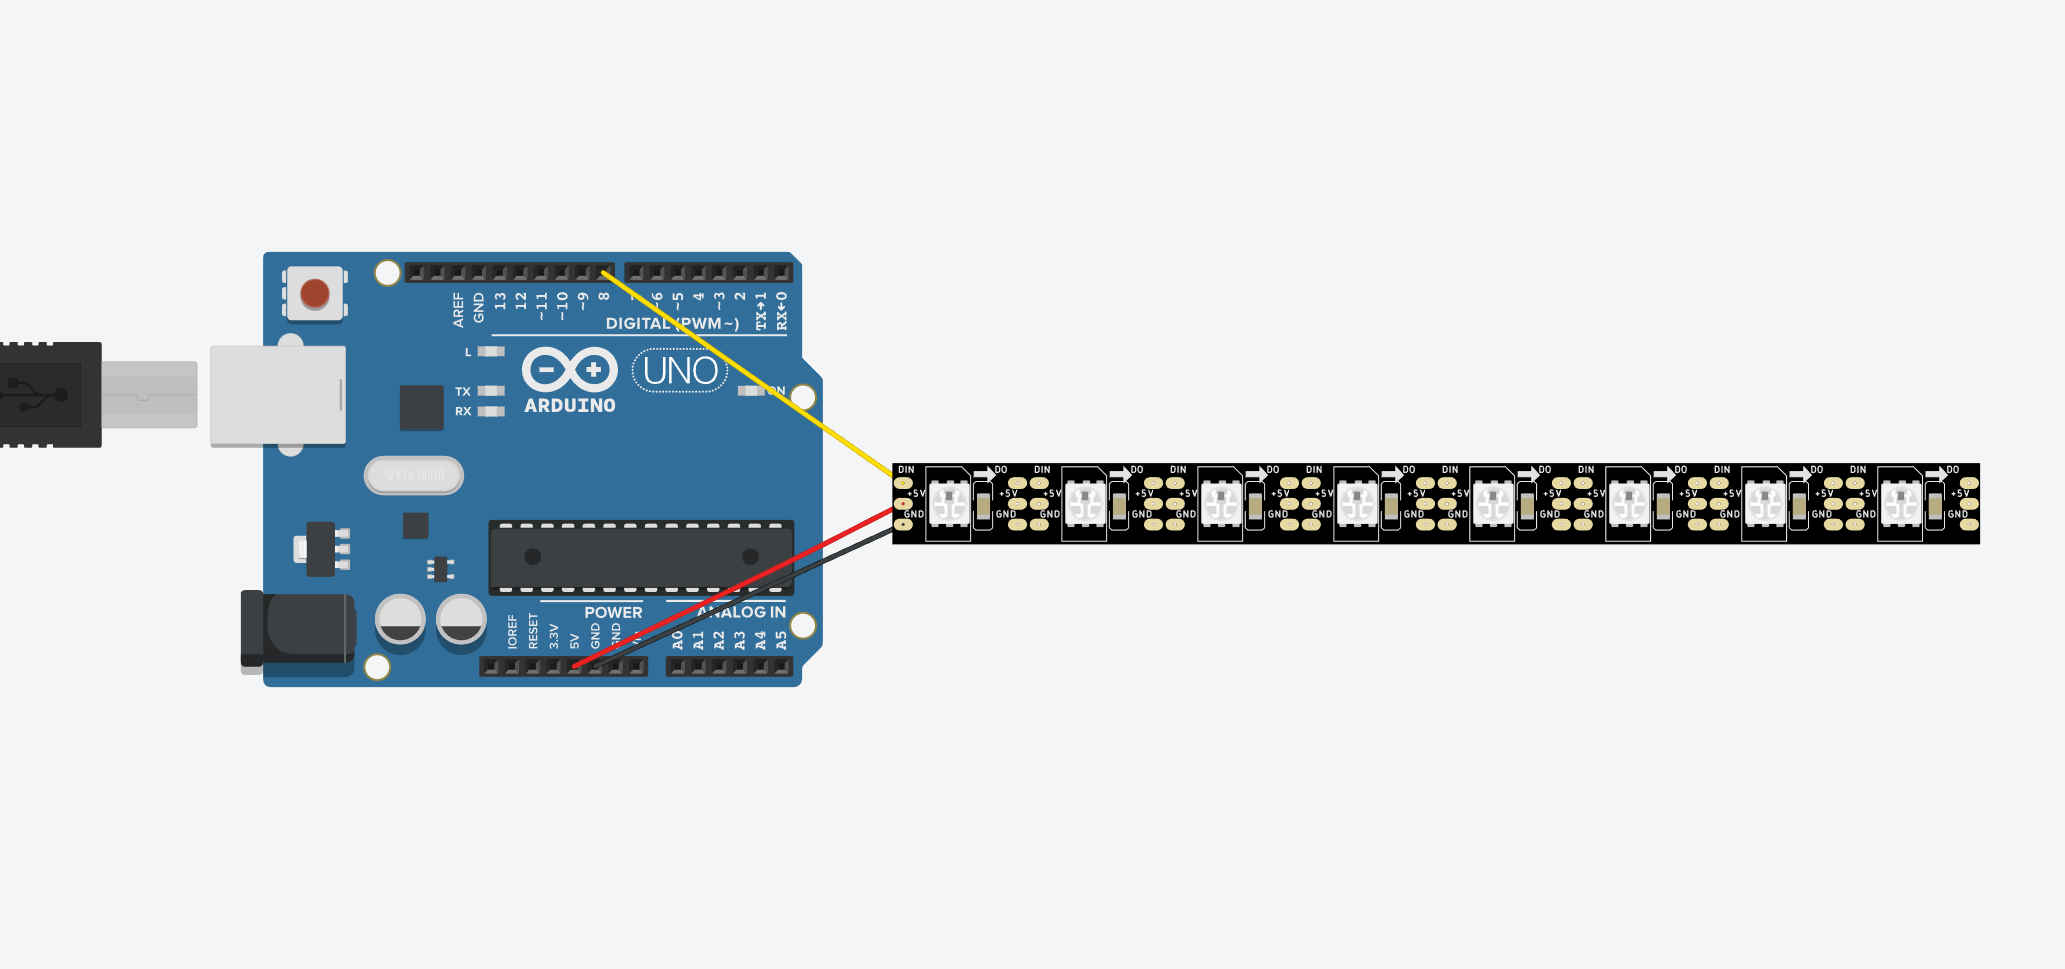
Photon 2 ProgrammingThis is where all the fun begins. I'm going to provide visualizations on how each step is done, and not really get into the programming itself. For more info, go look at the "Main" code down below on this project. I documented it pretty well with in-line comments so you can follow along with the actual code if you'd like. I will reference lines so its easier to follow.
Parsing DataFirstly, the JSON file returned by OpenSky API has all the planes in the imaginary box. ALL the planes. Cruising, departures, ground...everything is there. So first we have to sort them! I used this to get each data value, and this handy tool to make my life easier. Here is how I did it (Line 45):
Its important to note that after I determine the plane is one that I want, I take all of its data and put it into an airplane object so I never need to touch the JSON again. The plane object looks like this:
class Airplane {
public:
    float lon;
    int alt;
    String callsign;

    Airplane(float pLon, int pAlt, const char* pClsgn) {
        lon = pLon;
        alt = pAlt * 3.281;
        callsign = String(pClsgn);
    }

    //dont worry about what I just deleted//
};
These objects are added into an array so I can store and sort them easily.
Sorting the PlanesI'm not sure what the OpenSky API sorts its planes by when it returns the JSON, but its definitely not distance from ORD. Therefore, I have to take the jumbled array of objects and put them into an array that will turn on the lights.
Its important to note that the length of the array that holds the jumbled airplane objects will always be less than the length of the array that represents the lights. I had 8 lights, so it was represented by an array that was 7 indexes long. Each light represented 1.5 miles of airspace. So it looked like this:
There will never be more than 4 planes because if there were, an Air Traffic Controller really messed up because according to FAA JO 7110.65 5-5-4, traffic must be separated by 3 miles. That means at most there should be 1 plane every other space.
Now how to sort them? Its pretty simple. Its between lines 100 and lines 156 where it happens with a bunch of "if" statements. Every plane gets its longitude checked and placed into the correct array slot for that position. If there is no plane there, a fake one is made with -1000 m of altitude to make it obvious to pick out. Thats all the explanation your getting :).
Turning On the LightsPretty simple. First, go turn off all the lights that dont have a plane corresponding to them. Then, if the light does have a plan, turn it on and set the color to represent the altitude the plane is at. I used a switch-case because I'm cool (Lines 182-219).
ConclusionAnd thats really it! When you break it down its pretty simple, but programming it from the ground up was no easy task! There's still a couple problems with mystery planes and weird geo-fence errors, but overall the project is 98% functional.
The data updates every 10 seconds per the last line of the Rasp Pi code and the lights respond accordingly as the Photon is always looping. Even at this rate, my 4000 API Credits per day will take ~12 hours of continuous use to run out. My Pi is connected to a smart outlet so that I can turn it off and on from home and it doesn't use up my credits when I dont need it to.
I hope you enjoyed reading about my project, and dont hesitate to ask any questions or suggestions! In the future, I want to make 8 runways so I can fully map out all ORD approaches on my bedroom wall!


Comments