


Hardware components | ||||||
| × | 1 | ||||
| × | 1 | ||||
| × | 1 | ||||
| × | 1 | ||||
Software apps and online services | ||||||
 |
| |||||
https://www.donluc.com/?p=4438
https://www.facebook.com/share/p/15T1pZZKtk/
https://www.facebook.com/share/p/16JJMycCZT/
https://learn.dfrobot.com/makelog-314976.html
#DonLucElectronics #DonLuc #AIQRCodeScanner #UNIHIKER #Display #IoT #Project #DFRobot #Fritzing #Programming #Electronics #Microcontrollers #Consultant
A QR Code is a type of two-dimensional matrix barcode invented in 1994 by Masahiro Hara of Japanese company Denso Wave for labelling automobile parts. It features black squares on a white background with fiducial markers, readable by imaging devices like cameras, and processed using Reed–Solomon error correction until the image can be appropriately interpreted. The required data is then extracted from patterns that are present in both the horizontal and the vertical components of the QR image.
Whereas a barcode is a machine-readable optical image that contains information specific to the labeled item, the QR code contains the data for a locator, an identifier, and web-tracking. To store data efficiently, QR codes use four standardized modes of encoding: numeric, alphanumeric, byte or binary, and kanji.
DL2505Mk031 x UNIHIKER K10
1 x Lithium Ion Battery - 1000mAh
1 x Switch
1 x USB 3.1 Cable A to C
DL2505Mk03pDL2505Mk03p.mp
People can contact us:http://www.donluc.com/?page_id=1927
Electronics, IoT, Teacher, Instructor, R&D and Consulting- Programming Language
- Microcontrollers (PIC, Arduino, Raspberry Pi, Arm, Silicon Labs, Espressif, Etc...)
- IoT
- Wireless (Radio Frequency, Bluetooth, WiFi, Etc...)
- Robotics
- Automation
- Camera and Video Capture Receiver Stationary, Wheel/Tank and Underwater Vehicle
- Unmanned Vehicles Terrestrial and Marine
- Machine Learning
- Artificial Intelligence (AI)
- RTOS
- Sensors, eHealth Sensors, Biosensor, and Biometric
- Research & Development (R & D)
- Consulting
- Etc...
Facebook:https://www.facebook.com/neosteam.labs.9/
YouTube:https://www.youtube.com/@thesass2063
Twitter:https://twitter.com/labs_steam
Pinterest:https://www.pinterest.com/NeoSteamLabs/
Instagram:https://www.instagram.com/neosteamlabs/
Patreon:https://patreon.com/DonLucElectronics59
DFRobot: https://learn.dfrobot.com/user-10186.html
Elecrow:https://www.elecrow.com/share/sharepj/center/no/760816d385ebb1edc0732fd873bfbf13
TikTok:https://www.tiktok.com/@luc.paquin8
Twitch:https://www.twitch.tv/lucpaquin
Hackster:https://www.hackster.io/luc-paquin
LinkedIn:https://www.linkedin.com/in/jlucpaquin/
Don Luc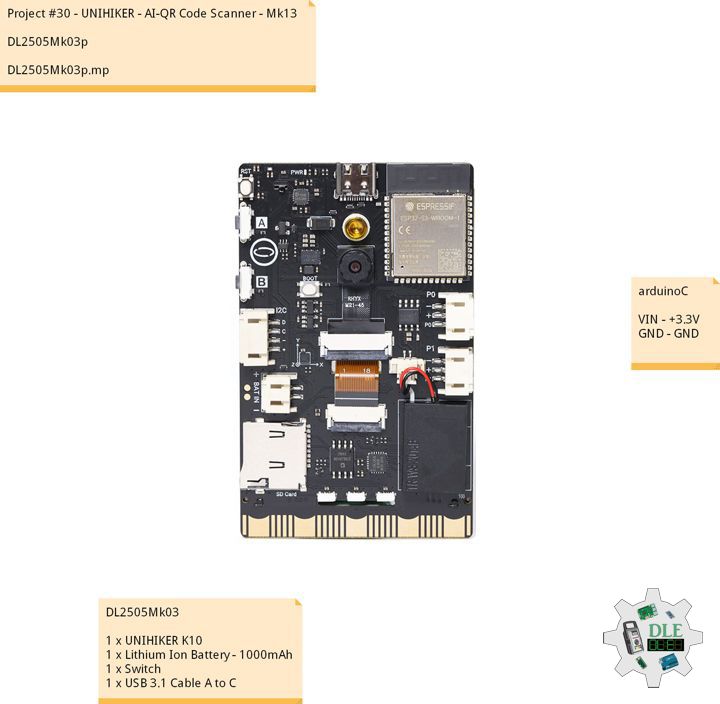


_3u05Tpwasz.png?auto=compress%2Cformat&w=40&h=40&fit=fillmax&bg=fff&dpr=2)
Comments