AboutI was asked by a friend to create a simple piece of hardware, packaged in a robust and simple case. It would have to be able to control a digital camera, and run 24/7. Additionally, it needed to be able to shoot the camera between certain times on certain days, and have variables to adjust the exposure and flash times. Battery consumption had to be low, as the device was mounted in the field and away from mains - the final version runs at 0.1 mAh!
Starting CodeI started off with some excellent code by Tjurik and re-purposed it to suit the device. Tjurik had originally worked with my friend to develop software which met his needs, and this really sped the project up - thanks!
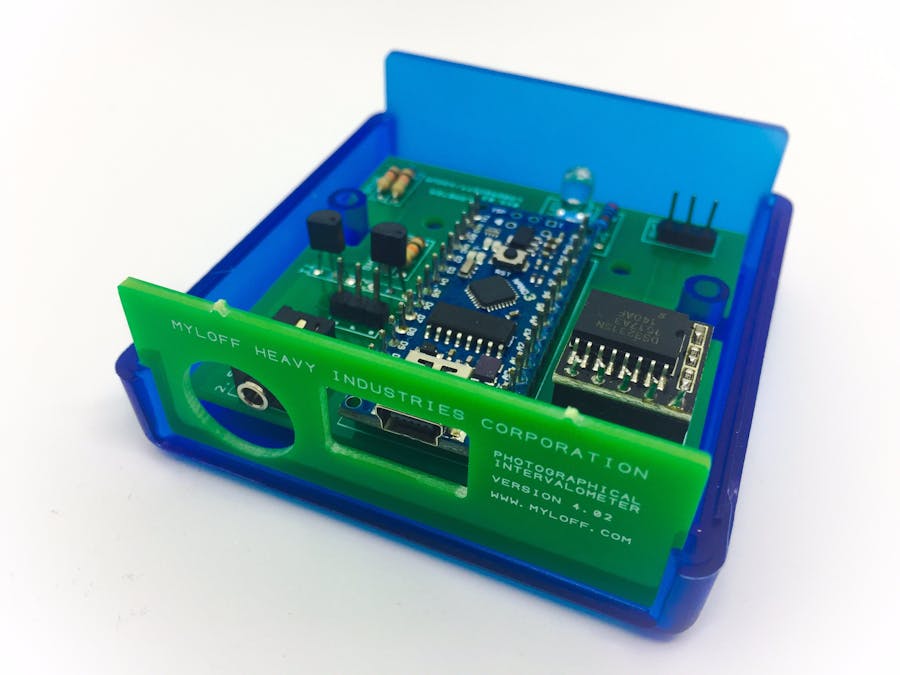
1 / 7 • This was the hardware proof of concept.. Bit scrappy but the two prototypes are still out there earning their keep!
Adjusting the code is really quite simple. We can adjust the amount of exposures per trigger, the start and end times and days, etc. as per below:
// Main Adjustable Values:
const int   SHUTTER_TIME_MS         = 2000;   // Length of Shutter Pin pulse.
const int   INTERVAL_SECS           = 4;      // Number of seconds to wait between photos  - for 1 minute use 60, one hour use 3600, etc.
const int   NUMBER_OF_EXPOSURES     = 1;      // Number of photos to take for each 'loop'/command to take a photo.
const int   KEEP_ALIVE_PERIOD_SECS  = 1500;   // In seconds  - set to 0 if we want no keep alive  (25 minutes * 60 sec)
const int   FOCUS_LEAD_TIME_MS      = 2;      // in milliseconds
// RTC Time Setting Script - Currently out of use..
//bool gForceClockSet = false; // "false" forces setting of the clock when compiling.
// Adjustable Values for Working Days - True for yes, take photo, False for no - don't take photo:
bool  VALID_DAYS[] = {
                                     true,   // Sunday
                                     true,   // Monday
                                     true,   // Tuesday
                                     true,   // Wednesday
                                     true,   // Thursday
                                     true,   // Friday
                                     true,   // Saturday
                    };
// Set to all 0 if wanting to always take photo;
int START_HOUR                        = 0;    // Start Hour    0 to 23
int START_MINUTE                      = 0;    // Start Minute  0 to 59
int STOP_HOUR                         = 0;    // End Hour      0 to 23
int STOP_MINUTE                       = 0;    // End Minute    0 to 59


Comments