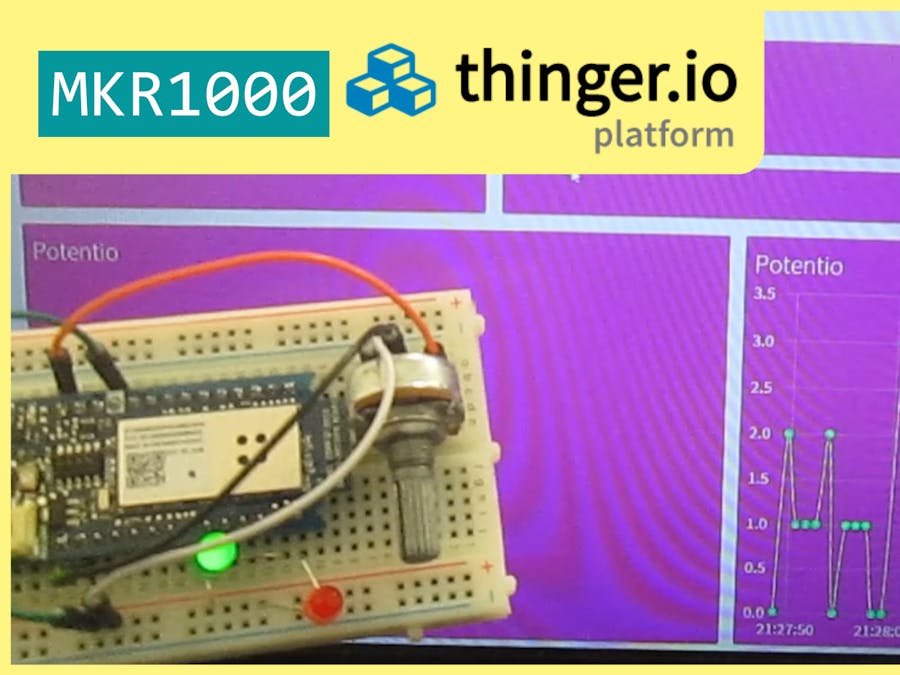
A simple IoT (Internet of Things) experiment using an Arduino MKR1000 and the Thinger IoT platform. Watch the video below to see it in action, then follow the instructions to build your own!
Arduino MKR1000 & Thinger
1. What You Need 🎁
To build this project, you will need the following items:
First, you have to sign up or login to Thinger.io. Then create a virtual device: click Devices menu, and click +Add Device button. Fill out the forms: Device ID, Device description & Device credentials, then click Add Device.
Adding Device
3. Schematics 🔧🔨
Connect your parts to Arduino MKR1000 as the following picture:
Schematics
4. Sketch 📋
Make sure the WiFi101 & Thinger library are installed. Open Arduino IDE then copy the sketch below. Insert your Thinger username, Device ID, Device Credentials, WiFi name and WiFi password. Make sure you have chosen the right option for Board and Port under Tools menu. Upload it!
Go to Dashboards menu & click +Add Dashboard button. Then fill out the forms: Dashboard Id, Dashboard name & Dashboard description, then click Add Dashboard button.
Adding Thinger Dashboard
Go to your dashboard, then create widgets to control and/or monitor your device. On your dashboard click +Add Widget& feel free to use any Thinger's widgets. On this project, I use:
On/Off State (to control my LED on/off),
Slider (to control the brightness of my LED),
Donut Chart (show my potentiometer value as a gauge), and
Time Series Chart (show my potentiometer value as a bar graph).
Thinger Dashboard
6. Have Fun! 😎
After everything is done, make sure your Arduino MKR1000 has a good internet connection. On your Thinger's dashboard you can control your LEDs and monitor your potentiometer value! Have fun!


Comments