


Hardware components | ||||||
_ztBMuBhMHo.jpg?auto=compress%2Cformat&w=48&h=48&fit=fill&bg=ffffff) |
| × | 1 | |||
| × | 1 | ||||
Software apps and online services | ||||||
| ||||||
 |
| |||||
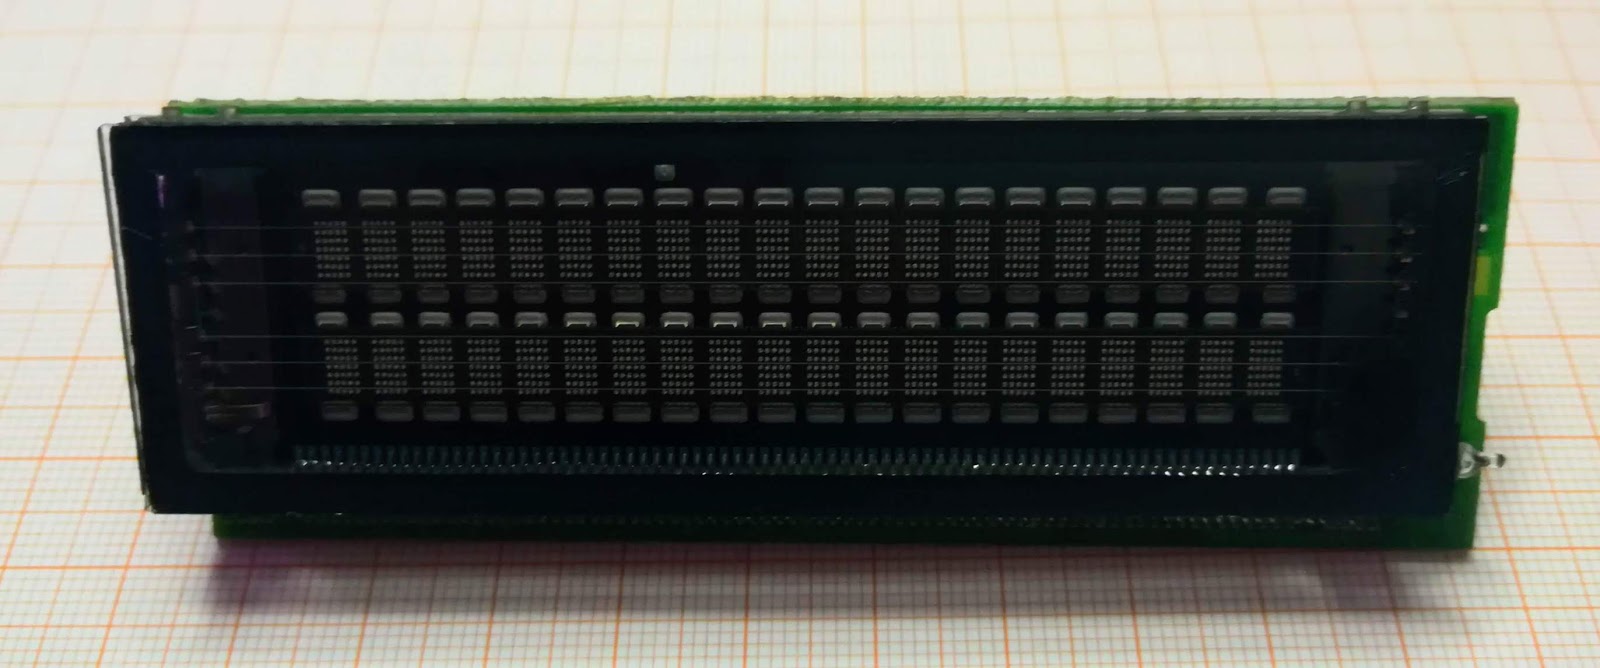
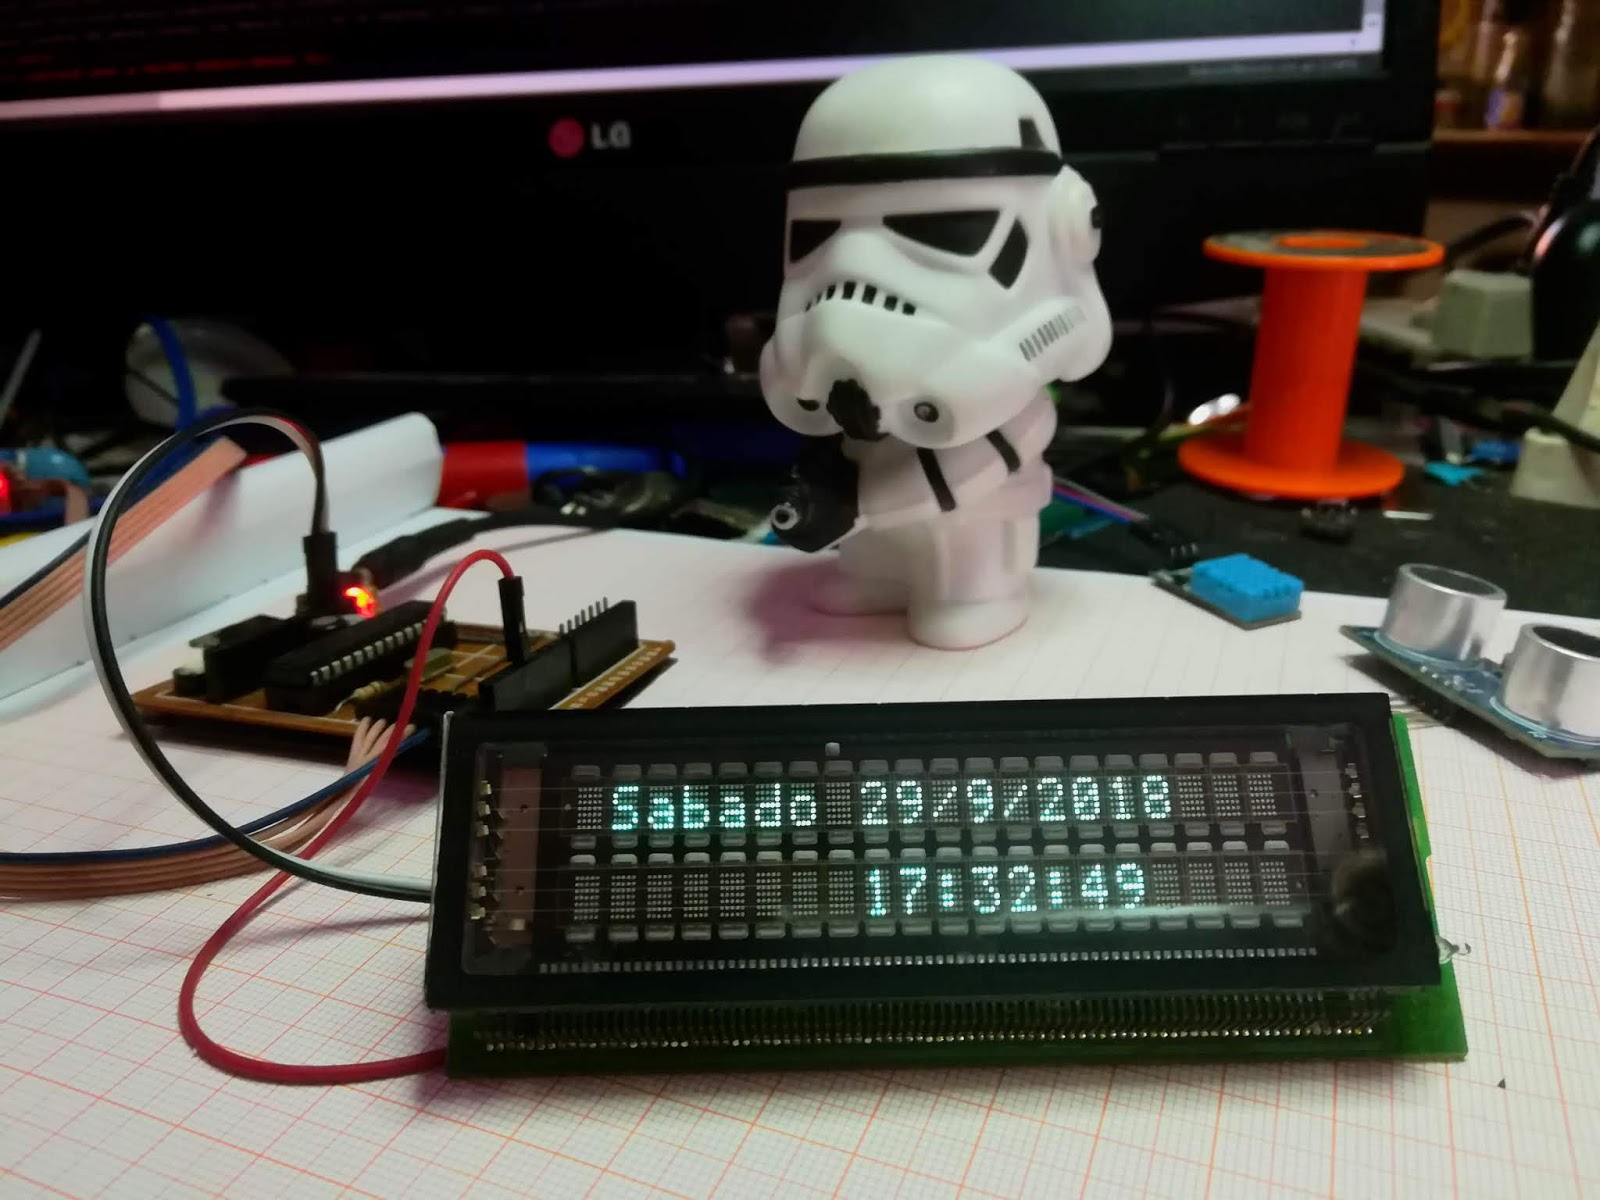
I remember back in 2018 that I got this screen (from an old guitar pedalboard) and didn't know how to make it work. I was just starting out in the Arduino world, and only knew how to operate a 16X02 display with the standard Arduino library.
With this display there were no libraries, and I only had the datasheet. With this I documented and it was that I understood in real life how UART communication works.
Fortunately, it didn't take me long to discover the Arduino SoftwareSerial library.
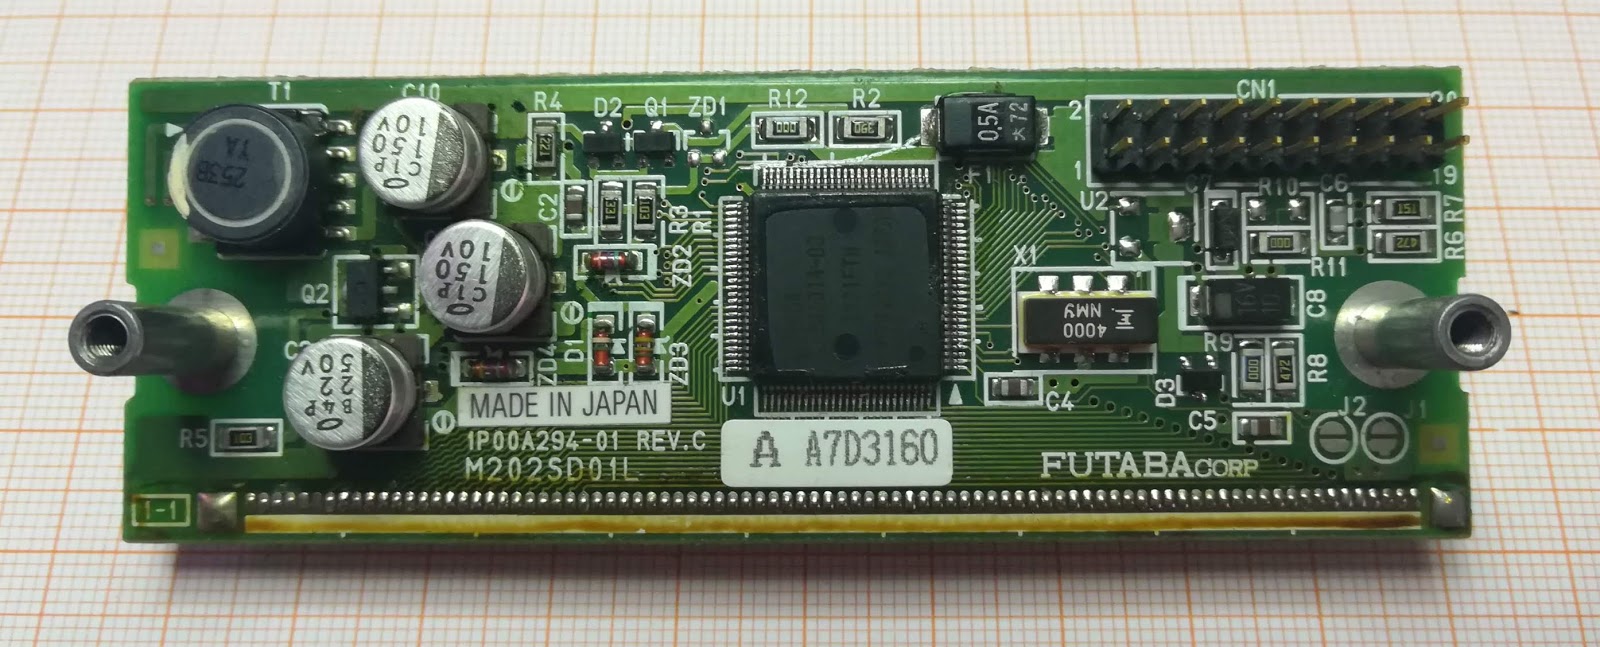
So I set out to build the hardware-based functions of the VFD.
As a newbie I remember that the whole process took me like a week.
The best thing about this was that it taught me how to deal with life's problems where resources are limited.
Control code
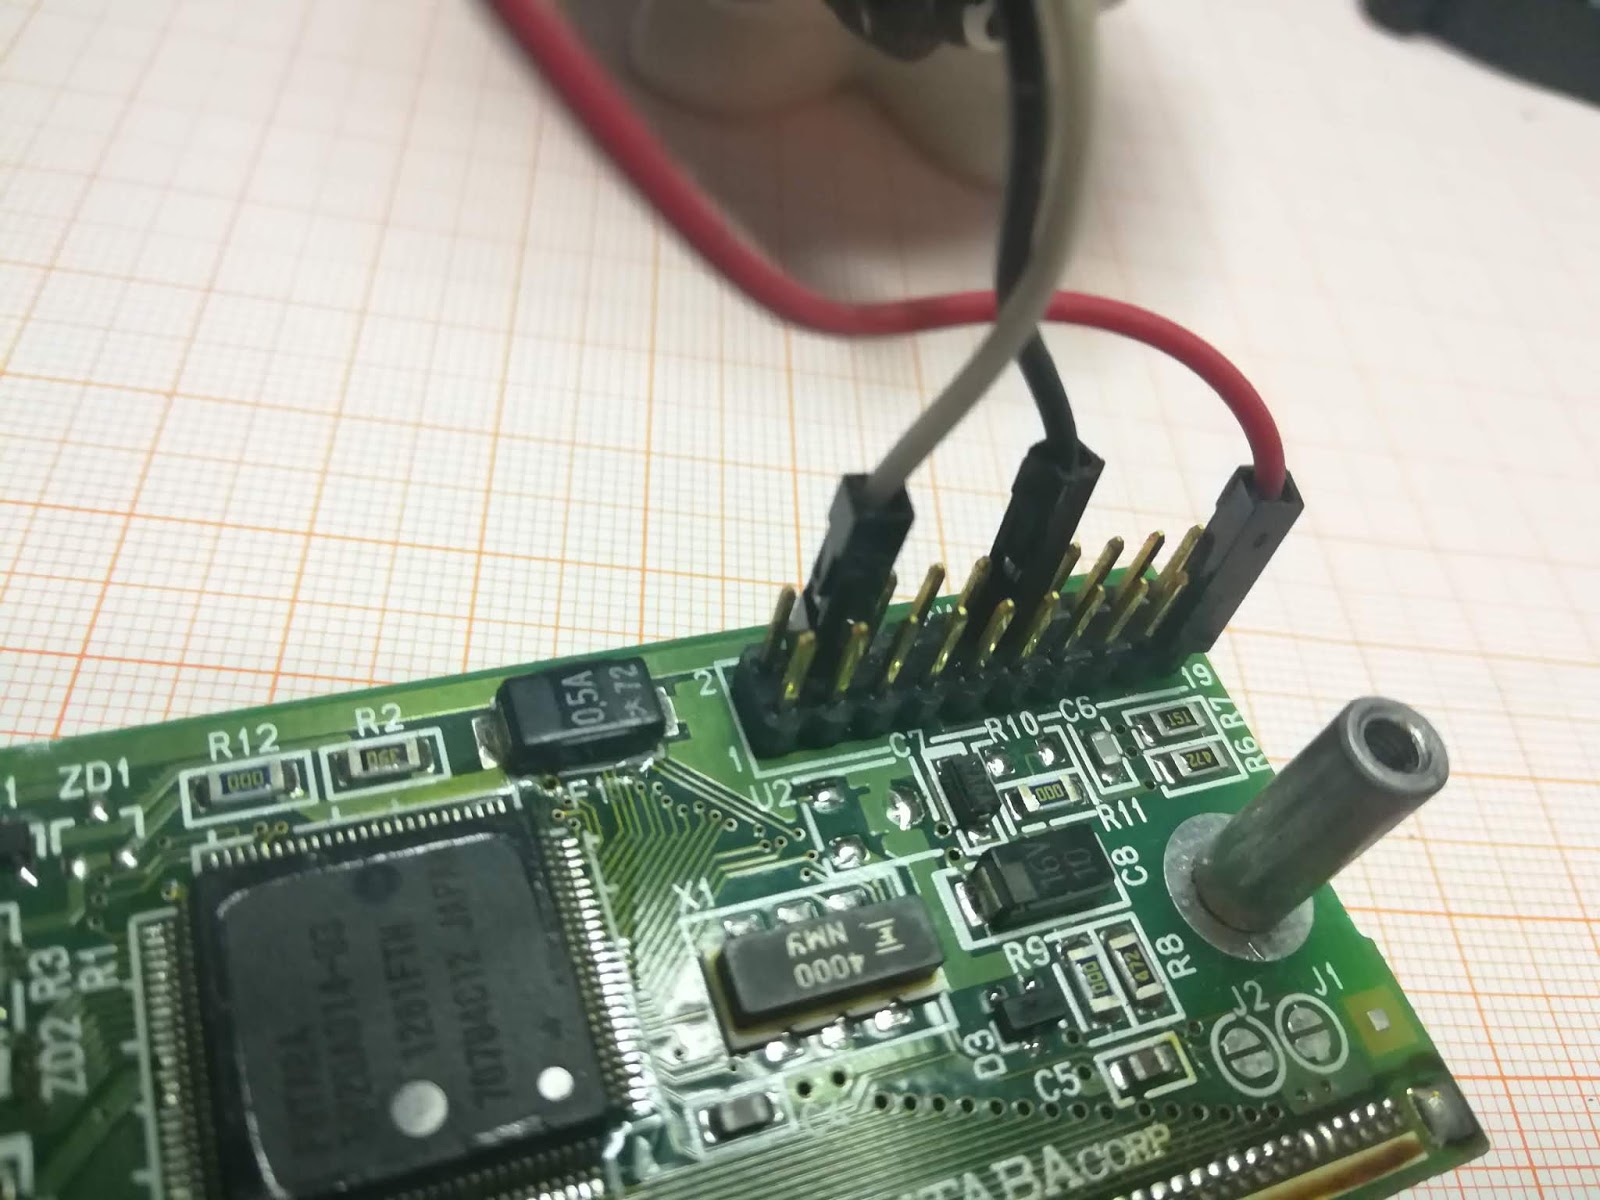
In the first tests I connected the RX pin to the TX output of my Arduino board and using the 9600 serial monitor function I was able to print characters on the display. (I'm getting closer already).
Since Arduino offers many resources, I researched the UART communication part and got a library that helps me communicate with serial UART communication devices, and this is the "SoftwareSerial" library.
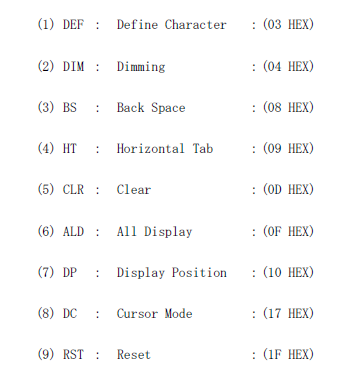
Once the communication was achieved, I needed to generate the functions in the Arduino IDE with the manufacturer's information, as shown below:
Since Arduino offers many resources, I researched the UART communication part and got a library that helps me communicate with serial UART communication devices, and this is the "SoftwareSerial" library.
Once the communication was achieved, I needed to generate the functions in the Arduino IDE with the manufacturer's information, as shown below:

2 projects • 6 followers
Code apprentice.
20 years as an electronics Tech and now I start with the programming of embedded systems.
Code has become my new passion


Comments