

Hardware components | ||||||
 |
| × | 1 | |||
Software apps and online services | ||||||
 |
| |||||
Usind NodeMCU board, blink a LED using DeviceHub.net IoT Platform
DeviceHub.net provide an integrated solution for IoT projects development, combining cloud integration with business intelligence in order to integrate both hardware and web technologies. They offer data gathering, cloud logic, triggers, real time remote control and analytics in a friendly user interface.
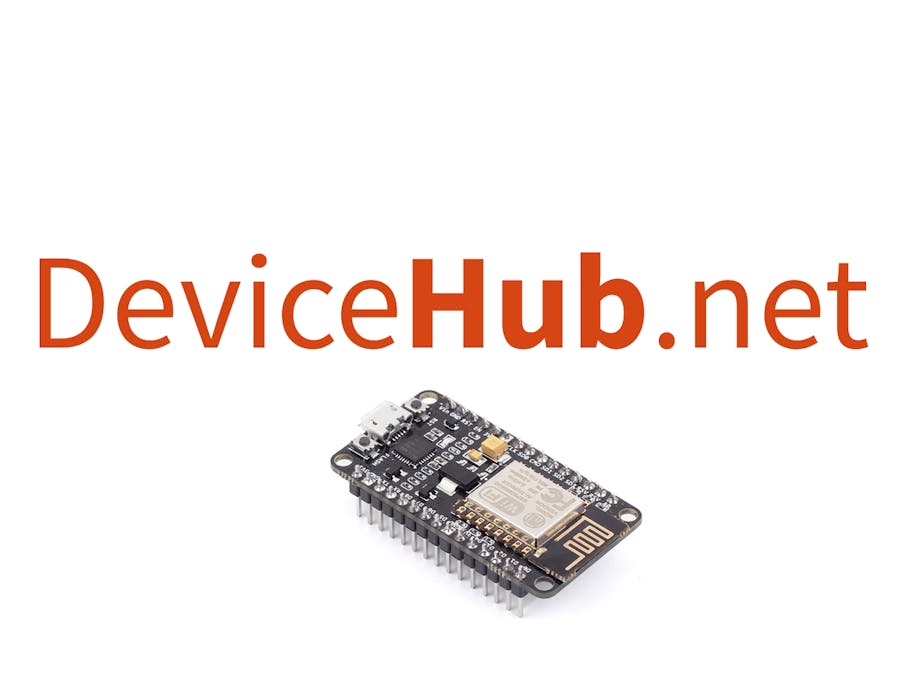
NodeMCU board
NodeMCU with ESP8266 inboard is an Open-source, Interactive, Programmable, Low cost, Simple, Smart, WI-FI enabled device!
Check out the pinnout :
In this example we will blink the LED included in the board by a HTTP request.
DeviceHub Platform
You can create at the platform multiples components, and in this example we will use a digital actuator and an analog sensor.
Digital actuator:
It applies when controlling devices that have only two logical states, on and off. Great to pair with a relay to connect things to power main.
Analog sensor:
It applies to sensors that return values with a large variation, such as temperature or humidity and they are more comprehensibly displayed in a graphic.
Note: you need to connect pin D0 to RST to NodeMCU awake again.


Comments