

Hardware components | ||||||
 |
| × | 1 | |||
Software apps and online services | ||||||
 |
| |||||
 |
| |||||
| ||||||
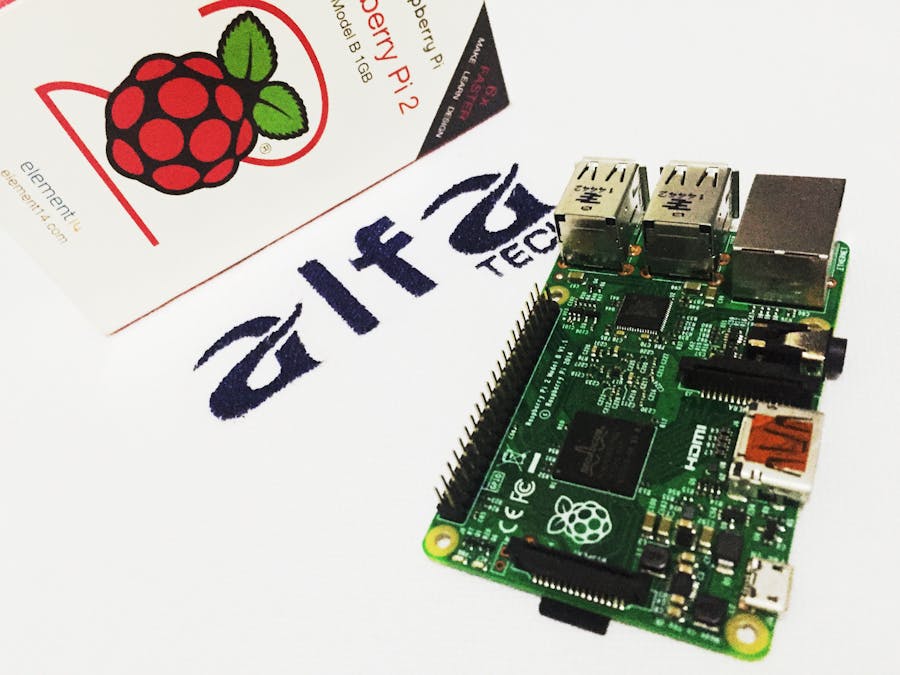
The Raspberry Pi 2 Model B is the second generation Raspberry Pi. It replaced the original Raspberry Pi 1 Model B+ in February 2015. Compared to the Raspberry Pi 1 it has:
- A 900MHz quad-core ARM Cortex-A7 CPU
- 1GB RAM
Like the (Pi 1) Model B+, it also has:
- 4 USB ports
- 40 GPIO pins
- Full HDMI port
- Ethernet port
- Combined 3.5mm audio jack and composite video
- Camera interface (CSI)
- Display interface (DSI)
- Micro SD card slot
- VideoCore IV 3D graphics core
In this tutorial we will use Windows 10 IoT Core OS installed on Raspberry and Visual Studio Community 2015 to build the application.
Windows 10 IoT Core is a version of Windows 10 that is optimized for smaller devices with or without a display, and that runs on the Raspberry Pi 2 and 3, Arrow DragonBoard 410c & MinnowBoard MAX. Windows 10 IoT Core utilizes the rich, extensible Universal Windows Platform (UWP) API for building great solutions.
To install the OS on Raspberry, follow the instructions provide by Microsoft on: http://ms-iot.github.io/content/en-US/win10/RPI.htm.
As described in other tutorials made by me , Taurus platform is an internet platform of the things that allows you to create components such as sensors and actuators and act on them.
In this tutorial we will send the state of a pin Raspberry , describing as 0 and 1 Low to High for a registered sensor on the platform.
To create a new project in Visual Studio 2015 using the C # language , just go to File / New / Project / Visual C # / Blank App ( Universal Windows) , as shown in the following figure.
It was implemented in the program a button for sending data and some textblocks to display the connection status and being sent, as shown in the figure below.
The data will be sent to the registered sensor on the platform and displayed to the user as follows:
The project is available for download at : https://www.dropbox.com/s/69g6gxegnlmjn48/App3.rar?dl=0.
Best Regards!


Comments