

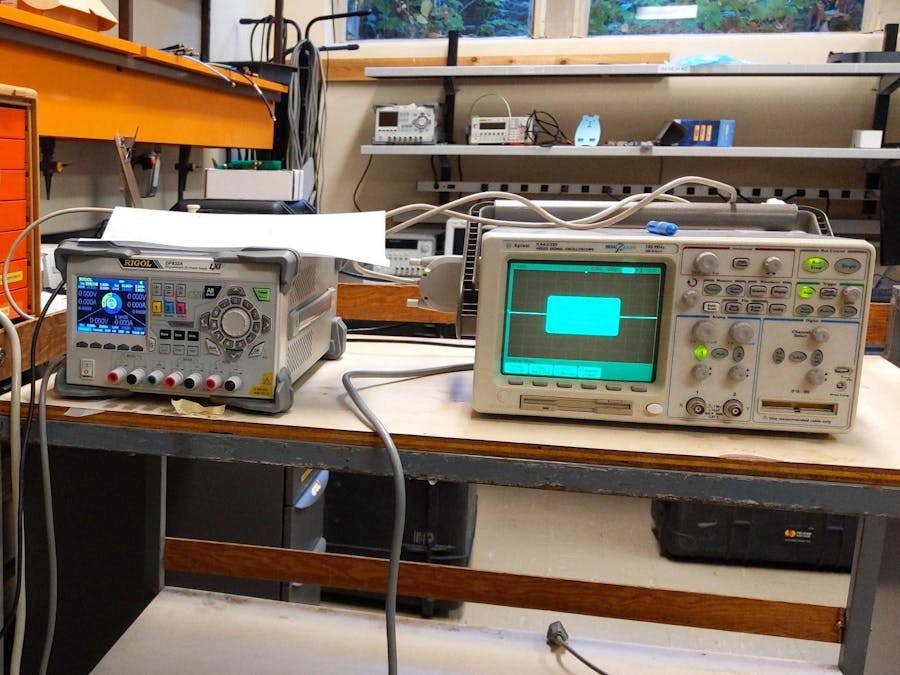
If you've worked with a lot of electronics, you probably have worked with test & measurement equipments at some point. Whether it's benchtop oscilloscopes or handheld multimeters, these equipment are necessary tools for any successful project!
What you might not know are that most modern T&M equipment often come with remote control capabilities. This means that using proprietary or open-source software packages, you can control them from your computer connected locally. This is great if you’re able to access your lab equipment 24/7, but what if you’d like to work in a fully remote setting?
To achieve a fully remote connection, you would either need to set up a remote desktop yourself or rely on proprietary software that your equipment vendor provides, both of which require significant setup time and, in some cases, very expensive subscriptions. This takes a lot of time and resources that an average T&M amateur might not have.
We want to change that. At Labspire, we make it easy to connect your test&measurementequipment to the cloud through our cloud platform and pre-configured Raspberry Pi image. Our goal is to provide a way of remotely controlling your lab equipment from anywhere: your laptop, your work computer, maybe even your tablet!
Our platform works like this: you get a low-cost server such as a Raspberry Pi to sit as an "instrumentation server", which will then serve all the local connections to our "cloud server". It makes your T&M equipment similar to IoT (Internet of Things) devices, and you can then access these connections inside our platform!
After many iterations to improve the UI/UX, our remote automation technologies are now ready for a beta release for students, faculty, industry, and hobbyists worldwide.
In this tutorial, we will guide you through the process of interfacing with some virtual T&M equipment that we have set up via our beta Labspire platform. You will sign up for an account, then learn to talk to a simulated oscilloscope over the cloud in Python!
Sign Up for LabspireTo sign up for our services, first, visit our dashboard site at https://labs.labspire.com. You should be greeted with a sign-up page that looks like this:
Create your account and log in, and you should be redirected to our lab dashboard.
Labspire DashboardAfter sign-in, you should enter a dashboard like this:
This dashboard is where you will manage your connections and gain accesstokens for your remote operation. Our entire platform is based around these token. They expire over time, and you will need to book them every time you want to connect to an instrumentation server.
There are two ways of obtaining tokens for your connections:
The Instrumentation method is meant for working as an individual, where only one person will gain access to your server at any given time. For this tutorial, we will be working with Labspire demo servers, so we will not be needing this method. The details for how to connect your own Pi will be explained in a later tutorial.
The other method is through our Groups feature. Each group is managed by an adminuser and consists of events. Each event is linked to an instrumentation server, and you can book specific times within it for your own limited-time tokens. This is the method we will be using for the tutorial today.
For this tutorial, you will need to get an access token for the SimulationDemo. Navigate to the Groups panel and click on SimulationDemo under LabspireDemos group.
Once you click into it, you will be greeted by a booking system. Browse through the times and click on one that works for you.
Once you reserve a slot, you will get an access token that appears on the top of the screen that looks like this
Your tokens are time-limited and only work at the given time. They are made on a per-reservation basis, so they will expire and change if you cancel your reservation! Copy the token and go back to home.
Click on the button that says LaunchJupyterLab to continue.
Labspire JupyterFor instrument connections, you will work with Python inside a Jupyter-based environment that we provide. Now, we understand that you may not super familiar with the two, but don't worry, this tutorial will to go through our one of our many provided built-in Examples to get you quickly up to speed.
For this tutorial, open up Examples > Basics > IDN:
A notebook that looks like this should open up:
Paste the token into the first cell where it says "enter token":
Then you're set and ready to go! You can run through each block of code by clicking on the run button (circled in red) at the top. The block you run is defined by the blue highlight pointed out below.
Follow the instructions in the example, and it will guide you through asking instruments for their ID's! You will end up talking to three different instruments: an oscilloscope, a power supply, and a waveform generator (AWG).
SIDENOTE: These notebooks start out in a read-only folder, so if you'd like to save your changes, copy it into your own folder first. Click on File > Save Notebook As....
You should see that the notebook is currently saved in a separate folder:
Move it to your own folder by removing the pathing in front of it:
You should now see it on your left-hand bar!
You can open up our full demo notebook under Examples > Demos > Simulation Demo for a more in-depth look at each of the equipment:
You just talked to your first instrument remotely! Feel free to dig around the other examples or try out our other demos.
If you come across any issues through this tutorial, you can consult our wiki for more detailed instructions or visit our forums if you have any questions. The wiki also contains instructions on how to install and configure your own Raspberry Pi, so check that out if you'd like to work with your own instruments.
We'd love to get feedback back from you! Drop a comment below or talk to us on our forums!


Comments