

Hardware components | ||||||
 |
| × | 1 | |||
Converted from my blog - http://icodethings.info/2016/08/07/hexiwear-1-drawing-images-oled/
Back in July I entered the Hexiwear contest on Hackster with an idea for a IoT connected security system, and won a free Hexiwear.
I just finally received the unit yesterday, and started for on programming it.
It was pretty difficult to figure out how to get started. Later on I’ll be posting some tutorials on how to program for it, along with some basic getting started templates.
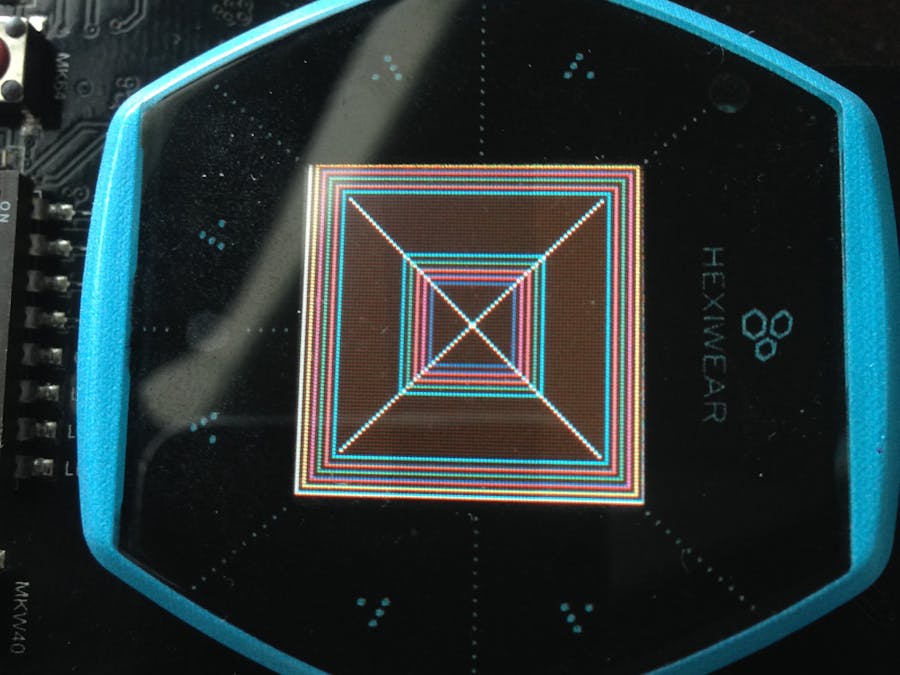
Exporting the ImageThe immediate issue I ran into after figuring out how to import the example projects into KDS (Kinetis Design Studio), was how to convert images to the array of 8-bit integers for displaying on the OLED screen.
Hexiwear/Mikro provided a tool for converting fonts and images for use on the Hexiwear, called the Resource Collector, but it wasn’t very clear how to use it. I tried several different ways of using it, but most of the results I got displayed on the screen where either random colors, or tiny scaled down versions of the image. Also I could see that the exported integer array wasn’t the right size for a full-screen image.
After trying lots of different methods, I finally figured out what to do. First off, the image MUST be 96×96 pixels as that’s the resolution of the OLED display. The image must also be in 16-bit colors.
To do it in GIMP:
- Draw your image on a 96×96 canvas. It will take a bit of adjustments to figure out what colors display the best on the OLED.
- Export your image as a Bitmap (*.bmp), and when the export settings dialog comes up, change these settings:
- Under “Compatibility Settings” check “Do not write color space information”, this is important as otherwise the bitmap won’t even appear in the resource list in the resource collector.
- Under “Advanced Options”, change it to “16-bit: R5 G5 B5”, without changing this the image won’t appear correctly on the OLED.
Now run the Resource Collection tool, click on “Add Image”, and select your exported bitmap file. Now click on “Generate Resources”, it will ask you pick a locations to save a Resource (*.res) file. You can pick to save it anywhere, it’s a file that you can load again later and it will load in all the images and fonts you had loaded in when you saved it out. I personally don’t use it, as I don’t even use the exported files, I just copy the code.
Now it will say that your resources have been generated, and ask if you want to open the location.
The array you need to display the image is in the *.c file it generated. You need to check if the array’s length is 18438, otherwise something went wrong and you need to try again.
Now you can copy that array into your Hexiwear project and display it on the OLED. You need to make one change when adding it to your project though, the exported array internalize will look something like this:
const code char demo_screen_bmp[18438]
and you’ll need to change it to:
const uint8_t demo_screen_bmp[18438]
Otherwise you’ll have errors when trying to compile your project.
To display it, simply include “OLED_driver.h”, and call:
OLED_DrawImage( image_array );
after the OLED has been initialized in “main.c”.
Now hopefully you can export and display your image on the Hexiwear’s OLED. In a few weeks I’ll be writing some tutorials on how to program with the Hexiwear along with uploading some basic Hexiwear projects to GitHub that can be used as minimal templates for starting a new project.


Comments