I wanted a way to control the extractor fan in my bathroom without having to flick the switch. but at the same time making so that the extractor fan does not turn on in the middle of the night when you turn on the light and wake up the entire house hold.
I'm not a coder by any means, but I'm willing to try and work it out, so please if you can help with the code and or make it neater, please comment and help this awesome community.
I got the NodeMCU up and running and then just added the relay trigger on D5 so that when the humidity in the bathroom reaches 90% the relay turns on the fan. The fan will run until the humidity drops down to 65%. (+/- 5min) You may need to adjust the humidity on and off values depending on your location, as it might not work as well in a humid climate.
** EDIT**
After much testing I have the DHT22 sensor turning on the extractor fan at 95% humdity and then it runs for 5 min before turning off. I've also moved the DHT22 sensor out of the extractor fan as it is more accurate and works better when it is not in the direct air flow.
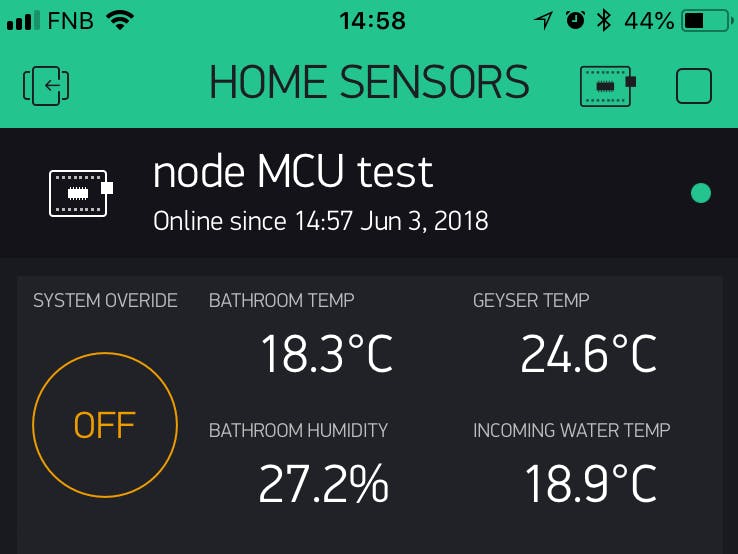
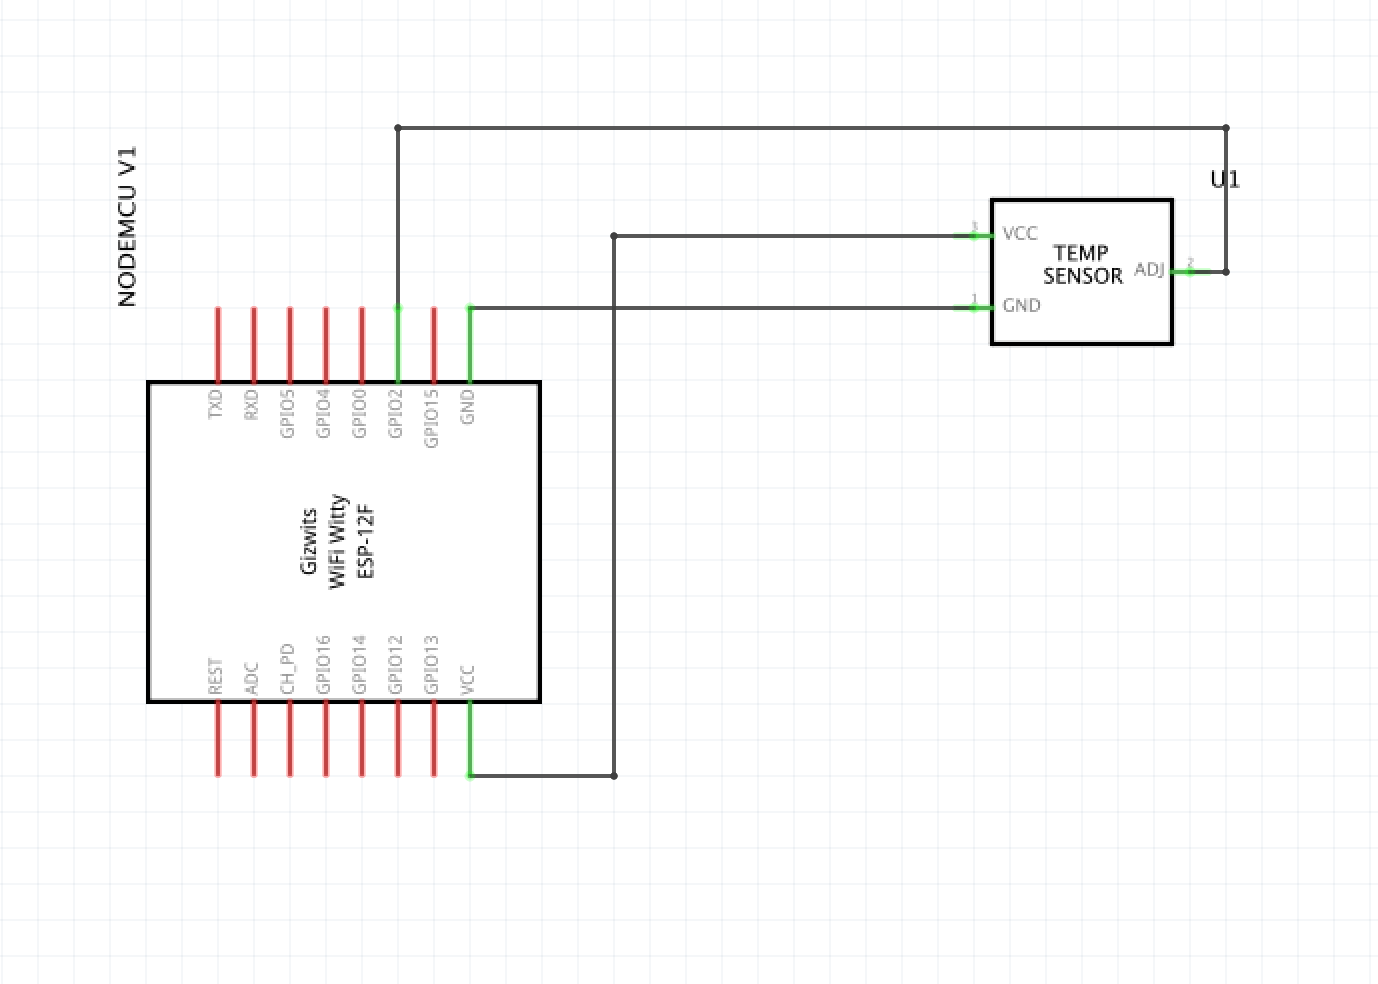
Some more pics of the NodeMCU V1 board connected up as well as the app.
The Cayenne My Devices App was what the project was originally built on, but it did't seem to work as well as the Blynk App, so I have moved all of my projects over to the Blynk system.
I have also added some additional DS18B20 temp sensors to the system.


 KeithMcLintock


Comments