


Hardware components | ||||||
 |
| × | 1 | |||
 |
| × | 1 | |||
 |
| × | 1 | |||
Software apps and online services | ||||||
 |
| |||||
For my MEGR 3171 class we were given an extra credit opportunity to build some sort of device that we could showcase here on Hackster.io. I did not have any knowledge of building any devices like you find on this site before. I am in love with this site, but even though there were so many beginner projects available to build I was unable to start a basic project. I have decided to post a very basic tutorial on how to set up your particle photon and flash example codes from their website.
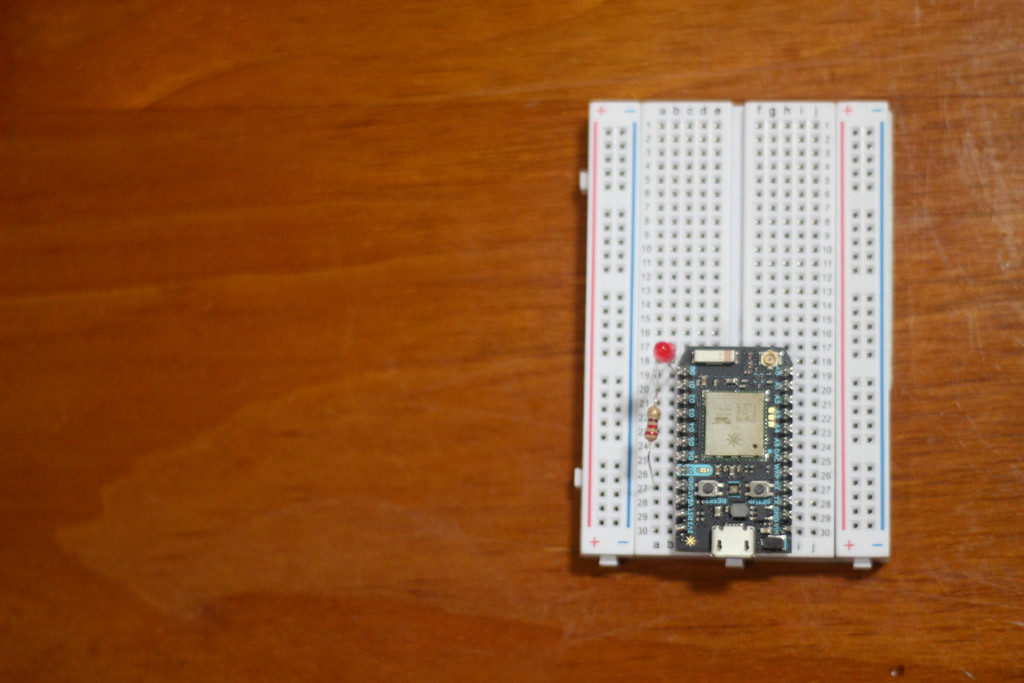
The Set UpOnce you get your Particle Photon kit, it will come with the Photon, a small breadboard, two resistors, a LED, and a photoresistor. It also has a basic diagram for two starter projects. A micro usb power cord is in the bottom of the box to power your photon. I found it easiest to follow the set up instructions at www.particle.io/startup. I set mine up using the particle app on my android powered phone through the WiFi network in my apartment.
Flashing the Code to the PhotonOnce the photon is set up and connected to the internet, it is very easy to flash code to the photon. I went to the particle build website. This is a location where you can start tinkering with writing code for different projects and flashing it to your photon.
https://build.particle.io/build/new
For this example I decided to use one of the example codes that was provided for the photon. Once you get to the website and sign in, it should look something like this towards the bottom left hand corner.
Write/pick your code on the list to the left. I picked the blink an LED code. Once you are ready to flash your code to the photon, click on the device tab in the lower left hand corner. (It looks like a pair of crosshairs) Select the device you want to flash it to. Then in the upper left hand corner select the lightning bolt icon to flash it to the photon.
The photon will start flashing a purple looking color while it flashes. It took me about 5 minutes for it to flash and turn back to the blue "breathing" color. Once it is blue again your device is all ready. If you flashed the blinking LED code it should also have a blinking LED on the board.
Viola!! You have now successfully flashed a code to the photon. It is actually a very easy process using the particle website. I have been tinkering around with other codes. This project has opened a whole to venue of opportunities to further my knowledge of IoT and give me some "street" cred with the electrical engineers in my line of work.


Comments