

Hardware components | ||||||
 |
| × | 1 | |||
 |
| × | 1 | |||
 |
| × | 1 | |||
 |
| × | 1 | |||
Software apps and online services | ||||||
 |
| |||||
Hand tools and fabrication machines | ||||||
 |
| |||||
Why I made this:
Nodemcu:
How to use it:
Read more- while watching my fav series I when I need to =vol or forward it 10sec I need to go to the laptop(connected to tv) from the sofa to do these adjustments.
- as I am so lazy and tired of this and that's why I made this.
- M5Stack will work as a remote.
- so here we are working as a client for the server.
- so if I do these operations given then it will write /A or /B after IP so that server can do the procedure as assigned
if (M5.BtnA.wasReleased()) {
      http.begin("http://192.168.4.1/A");
        int httpCode = http.GET();
        M5.Lcd.fillScreen(BLUE);
        M5.Lcd.setTextColor(WHITE);
        M5.Lcd.setTextSize(3);
        M5.Lcd.setCursor(65, 10);
        M5.Lcd.print("10BACK");
        http.end();
    }
    else if (M5.BtnC.wasReleased()) {
      http.begin("http://192.168.4.1/B");
        int httpCode = http.GET();
        M5.Lcd.fillScreen(BLUE);
        M5.Lcd.setTextColor(WHITE);
        M5.Lcd.setTextSize(3);
        M5.Lcd.setCursor(65, 10);
        M5.Lcd.print("10FOR");
        http.end();
    }
    else if (M5.BtnB.wasReleased()) {
      http.begin("http://192.168.4.1/C");
        int httpCode = http.GET();
        M5.Lcd.fillScreen(RED);
        M5.Lcd.setTextColor(WHITE);
        M5.Lcd.setTextSize(3);
        M5.Lcd.setCursor(65, 10);
        M5.Lcd.print("PL/PS");
        http.end();
    } else if (M5.BtnA.wasReleasefor(700)) {
      http.begin("http://192.168.4.1/D");
        int httpCode = http.GET();
        M5.Lcd.fillScreen(BLUE);
        M5.Lcd.setTextColor(WHITE);
        M5.Lcd.setTextSize(3);
        M5.Lcd.setCursor(65, 10);
        M5.Lcd.print("+5VOL");
        http.end();
    }
    else if (M5.BtnC.wasReleasefor(700)) {
      http.begin("http://192.168.4.1/E");
        int httpCode = http.GET();
        M5.Lcd.fillScreen(BLUE);
        M5.Lcd.setTextColor(WHITE);
        M5.Lcd.setTextSize(3);
        M5.Lcd.setCursor(65, 10);
        M5.Lcd.print("-5VOL");
http.end();- so for sample I pressed the A button then it will write /A after IP then Nodemcu will write A in Serial.
void A(){
  Serial.println("A");
  digitalWrite(4,1);
  delay(500);
  digitalWrite(4,0);
}- and it also blinks an led connected on D2(GPIO4) of Nodemcu.
- Then python will read it and do procedures as assigned.
if da==b'A':
pyautogui.press('j')- 'j' to back 10sec and like this play/pause and vol up/down works.
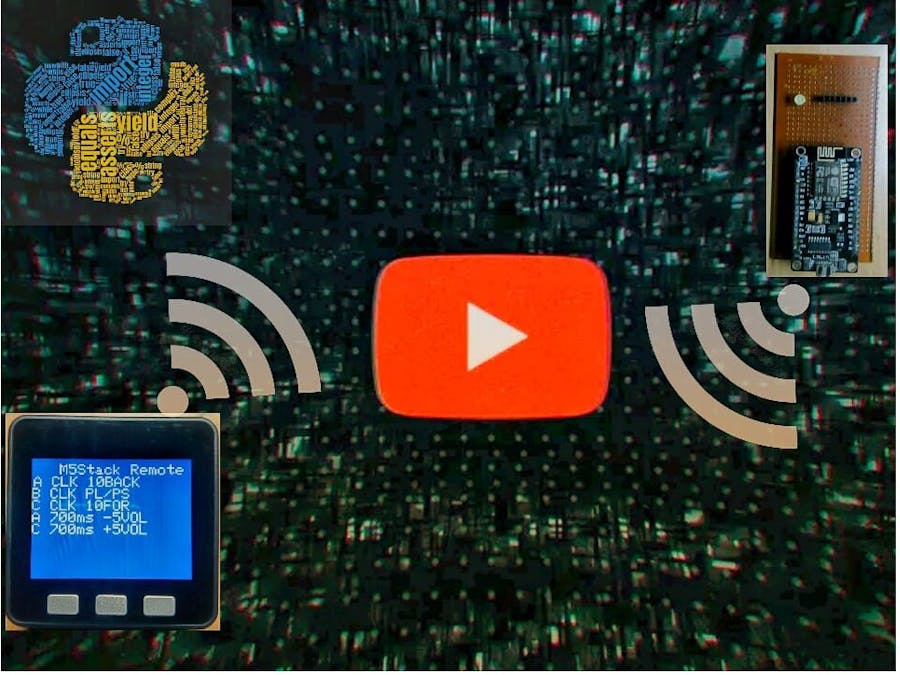
- Here is the menu for how to control vids with it.
- Click A to back 10sec or -10sec.
- Click B to play/pause.
- Click C to forward 10sec or +10sec.
- Press C for 700ms to +5Vol.
- Press A for 700ms to -5Vol.
- I connected an led to Nodemcu on GPIO4(D2) that will indicate that it connected with the client and working.
- if you have time then you can make it like this.
- connect Nodemcu to Pc and open Arduino then select board and port and upload if you haven't uploaded the code then
- in my case port is COM5 that's why I put COM5 here put your port of Nodemcu to make it work.
m5 = serial.Serial('COM5', 115200, timeout=.1)- then run the python program but don't close Arduino then it won't work.
IF YOU HAVE ANY PROBLEM WITH IT THEN COMMENT TELL ME IN COMMENTS BELOW.


Comments