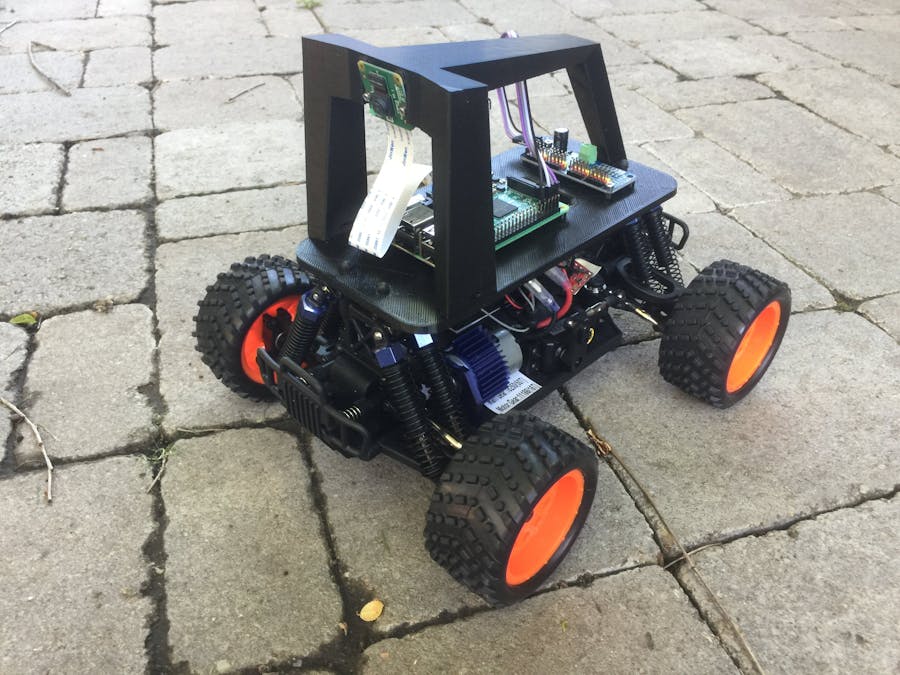
Introduction:
- Voice controlled robot is a mobile autonomous robot whose motions can be controlled by the user by giving specific voice commands. The speech recognition software running on a PC is capable of identifying the 5 voice commands ‘Forward’, ‘Backward’, ‘Left’, ’Right’ and ‘Stop' issued by a particular user. After processing the speech, the necessary motion instructions are given to the mobile platform via a Bluetooth connection.
- The speech recognition software is speaker dependent. The special feature of the application is the ability of the software to train itself for the above voice commands for a particular user. The graphical user interface running along with the software provides a very convenient method for the users to train. It also provides many other facilities in operating the robot.
Connections for L293D Motor Driver IC:
- For controlling the motors, I prefer using a L293D Motor driver module(Click here to buy one) but using the IC should be enough.
- Use the below pin out diagram for reference:
L293D Pin Out Diagram
- Output 1 -> Right Motor
- Output 2 -> Left Motor
- Output 3 -> Left Motor
- Output 4 -> Right Motor
- Input 1 -> Pin 13 on Spresense
- Input 2 -> Pin 11 on Spresense
- Input 3 -> Pin 10 on Spresense
- Input 4 -> Pin 12 on Spresense
- Connect Vcc 1 and Vcc 2 to +5V
- Connect all GND to GND pins on Spresense
Connections for HC-05 Bluetooth Module:
- HC-05 Bluetooth Module is the best and ideal to be used with Spresense Board.
- Use The reference diagram below for pin configuration:
Pin Out HC-05
- Connect the following pins from HC-05 to Spresense Board:
GND -> GND
VCC -> +5V
TX -> Pin 0 of Spresense Board
For RX pin, connect a resistor of 2.2KΩ to RX pin trail on the breadboard and another resistor of 1KΩ from RX pin trail to another trail on the breadboard, then connect a jumper wire between 1KΩ resistor and Pin 1 of Spresense Board.
Programming and Uploading:
- Use the Arduino IDE to upload the code to Spresense Board and make sure that the Board configured in the tools menu is "Spresense".
- Disconnect the Jumper Wires of Pin 0 and Pin 1 (TX and RX of Bluetooth module) as it will create error during upload.
- Upload the below code to Spresense board.
- Then reconnect the Jumper Wires to Pin 1 and Pin 0.
Speech Recognition Using Android Platform:
- In this unit we capture the speech signals coming from the microphone attached smartphone running on android system and using AMR Voice application processes the signals to recognize the voice commands ‘Forward’, 'Backward', 'Left', 'Right', and 'Stop'.
- The AMR Voice application captures the orders and sends them to Spresense Board using Bluetooth Module.
- To install the AMR Voice application, just go to the link given above, download the APK file and install it.
Connecting Bluetooth:
- Open the Bluetooth settings in your android smartphone and select HC-05 from available devices, connect to the module.
- Now in your Android Smart phone open AMR Voice app, at the top right corner menu, select "Connect Robot".
- Now select the HC-05 from the list.
Final Output:
- For commanding the Robot use the Following 5 commands:
Forward; Backward; Left; Right; Stop
- You can see that the Robot accepts these commands and act accordingly.


Comments