

Hardware components | ||||||
| × | 1 | ||||
Software apps and online services | ||||||
 |
| |||||
With Adafruit (not Arduino) Gemma I start my first step into wearable clothing. I ordered the Adafruit Gemma Sequin starter set and would like to let you participate in the Unboxing here.
In the Starter Set the Gemma v2 is delivered: this has an on/off switch on board. In sum, it is a tiny device, which should be removed before a wash. The sequins are different: tiny, bright LEDs, which should also hold a washing machine, Adafruit says.
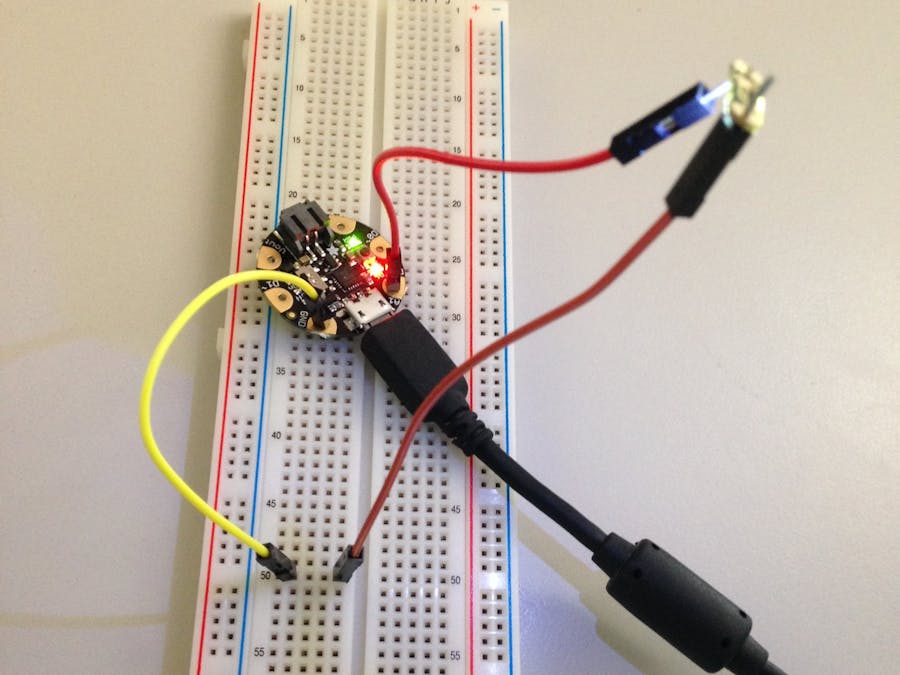
I tested first, if the LEDs also work without Gemma: the construction shows a power supply on a Breadboard, which supplies a white LED with voltage. Left hand in the image of Gemma with green status LED.
Pretty bright the tiny - in front of a red notepad.
Step 2The next step is to teach Windows the drivers: following the Adafruit instructions, this works quite well. However, already 2 hours have to be planned for detailed reading and implementation. We do not want to risk anything and send the Gemma immediately to the electronic sky.
This includes the offline IDE from Arduino, since the online IDE does not have the device to choose from.
The schemata can be seen quite well here: on each sequin, + and - is printed.
Interesting I find the attached, conductive thread and needles, so I now intend to equip my woman's handbag with light: when opening the zipper or the Velcro there is then light.
Step 3Oh still something: no output is supported on the serial monitor. So carefully deal with the code and passed through before! Before the code can be flashed, it is to be put into the firmware update mode: please press the button lightly on the Gemma and flashen during the red flashing.
Update 04.07.2017: first test with crocodile clip and thin conductive thread
You will find more under my account.


Comments