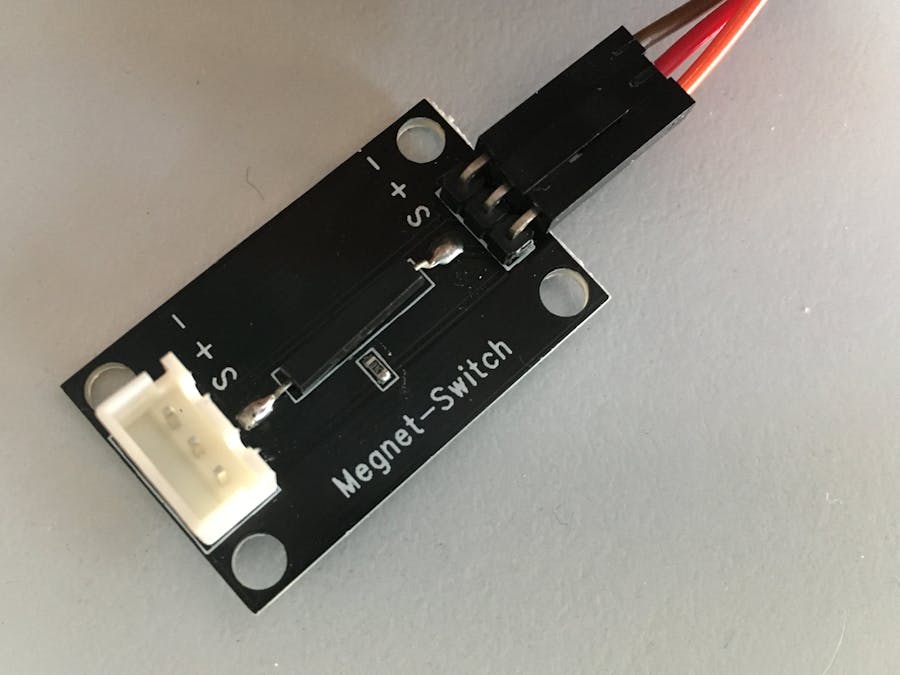
This is about a magnetic switch, which Itead Studio has lovingly dubbed "Megnet Switch". It already reacts to the approach of a magnet even at a distance of 2 cm and can be easily used as a trigger for further actions or conditions such as door / window open / closed.
It is easy to use by querying the signal value (S). The connectors have been broken out twice on the breakout board and are available both for Grove (the white connector) and via direct communication with jumpers.
if(digitalRead(magnet)==LOW) //when the digital output value of tilt is low, turn off the LED.
{
digitalWrite(LED, LOW);
Serial.println ("Magnet erkannt - magnet available");
}
Paused again briefly: does it work without a device? Yes, with the help of a multimeter, the signal can be picked up and the condition checked. Without a magnet there are 5 volts, with a magnet near the sensor the voltage drops to almost 0 volts.
Reed switches or self-made tilt switches can also be used as alternatives.


Comments