

Hardware components | ||||||
_baVEVgguW1.jpg?auto=compress%2Cformat&w=48&h=48&fit=fill&bg=ffffff) |
| × | 1 | |||
_ztBMuBhMHo.jpg?auto=compress%2Cformat&w=48&h=48&fit=fill&bg=ffffff) |
| × | 1 | |||
 |
| × | 1 | |||
| × | 1 | ||||
 |
| × | 1 | |||
 |
| × | 1 | |||
Software apps and online services | ||||||
 |
| |||||
 |
| |||||
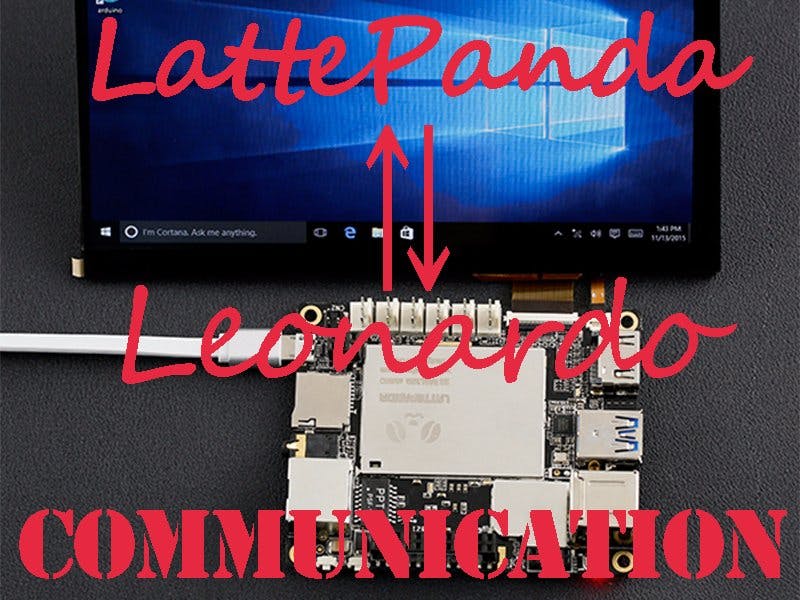
These days, I'm learning serial port communication and want to write a simple demo on my LattePanda. LattePanda is a Win10 single board computer, it integrated Arduino Compatible Processor, so I can run this demo just on one LattePanda board! This post is mainly about serial communication from the Arduino to the PC and communicate from PC to Arduino in C#.
If you don't have a LattePanda, you can connect the Arduino to your PC instead! Hope this tutorial useful for you.
Feel free to ask me if you have any problems while running this demo!
Step 1: What You Need:Software:
Hardware:
- PC
Or
Just a LattePanda.(LattePanda=Arduino Leonardo+Win10 PC).
Step 2: Communicate From the Arduino to the LattePanda CPUFunction:
- Arduino:Send '1'
- Computer: Receive '1'
You can try to send the data of your sensor or any other parameter if you want. I found an easiest way to do this.
C# code:
using System;
using System.IO.Ports;
using System.Threading;
namespace ConsoleApp1
{
   class Program
   {
       static SerialPort _serialPort;
       public static void Main()
       {
           _serialPort = new SerialPort();
           _serialPort.PortName = "COM4";//Set your board COM
           _serialPort.BaudRate = 9600;
           _serialPort.Open();
           while (true)
           {
               string a = _serialPort.ReadExisting();
               Console.WriteLine(a);
               Thread.Sleep(200);
           }
       }
   }
}
Arduino sketch:
void setup() {
Serial.begin(9600);
}
void loop() {
Serial.print('1');
delay(200);
}
Press Start, and you will see the result like the picture above. We received the data from Arduino successfully.
Step 3: Communicate From the LattePanda CPU to the Arduino- Computer: Send '1' or '0'
- Arduino: Receive '1' and turn on the light. Receive '0' and turn off the light.
Just make two button to realize this function. See the picture above.
C# Code:(Winforms)
using System;
using System.Windows.Forms;
using System.IO.Ports;
namespace lightcontrol
{
   public partial class Form1 : Form
   {
       SerialPort port;
       public Form1()
       {
           InitializeComponent();
           this.FormClosed += new FormClosedEventHandler(Form1_FormClosed);
           if (port==null)
           {
               port = new SerialPort("COM7", 9600);//Set your board COM
               port.Open();
           }
       }
       void Form1_FormClosed(object sender,FormClosedEventArgs e)
       {
           if(port !=null &&port.IsOpen)
           {
               port.Close();
           }
       }
       private void button1_Click(object sender, EventArgs e)
       {
           PortWrite("1");
       }
       private void button2_Click(object sender, EventArgs e)
       {
           PortWrite("0");
       }
       private void PortWrite(string message)
       {
           port.Write(message);
       }
   }
}
Arduino sketch:
const int LedPin = 13;
int ledState = 0;
void setup()
{
 pinMode(LedPin, OUTPUT);
 Serial.begin(9600);
}
void loop()
{
   char receiveVal;
   if(Serial.available() > 0)
   {
       receiveVal = Serial.read();
      if(receiveVal == '1')
         ledState = 1;
      else
         ledState = 0;
   }
   digitalWrite(LedPin, ledState);
   delay(50);
}
If you click the button 'ON', you will see the light (pin13) turns on. There's another way to do this, you can see the tutorial here.
Step 4: SummaryThese are the simplest way to communicate between arduino and your PC.
Most of the projects need Arduino to send data to computer and use computer to analize data or do other thing. So communicate is necessary and very important.
Hope it's helpful for you. If you have any questions please let me know.


Comments