

Hardware components | ||||||
| × | 1 | ||||
Software apps and online services | ||||||
 |
| |||||
On chips ESP32-S3 with an integrated USB Serial/JTAG Controller, it is possible to use the part of this controller that implements a serial port (CDC) to implement the serial console, instead of using UART with an external USB-UART bridge chip
The ESP32-S2/S3 bootloader does not have USB serial support for Windows 7 or 8. (See https://github.com/espressif/arduino-esp32/issues/5994) please update to version 10 which is supported by espressif! Alternatively you can try this community-crafted Windows 7 driver (https://github.com/kutukvpavel/Esp32-Win7-VCP-drivers)
The ESP32-S2/S3 Arduino board support package is currently part of the 2.0.0 or later release.
Start the Arduino IDE and navigate to the Preferences menu. You can access it from the File menu in Windows or Linux, or the Arduino menu on OS X.
A dialog will pop up just like the one shown below.
We will be adding a URL to the new Additional Boards Manager URLs option. The list of URLs is comma separated, and you will only have to add each URL once.
Copy and paste the link below into the Additional Boards Manager URLs option in the Arduino IDE preferences.
https://raw.githubusercontent.com/espressif/arduino-esp32/gh-pages/package_esp32_dev_index.json
If you have multiple boards you want to support, say ESP8266 and ESP32, have both URLs in the text box separated by a comma (, )
Once done click OK to save the new preference settings.
The next step is to actually install the Board Support Package (BSP). Go to the Tools → Board → Board Manager submenu. A dialog should come up with various BSPs. Search for esp32.
find ESP32 by Espresif Systems
Click the Install button and wait for it to finish. Once it is finished, you can close the dialog (To ensure stability, I think we should choose version 2.0.3-RC1)
In the Tools → Board submenu you should see ESP32 Arduino and in that dropdown it should contain the ESP32 boards along with all the latest ESP32-S2/S3 boards.
In the Tools > Boards menu you should see the ESP32 Arduino menu. In the expanded menu, look for the menu option for the ESP32S3 DevMode, and click on it to choose it.
OK, we finish setup software.
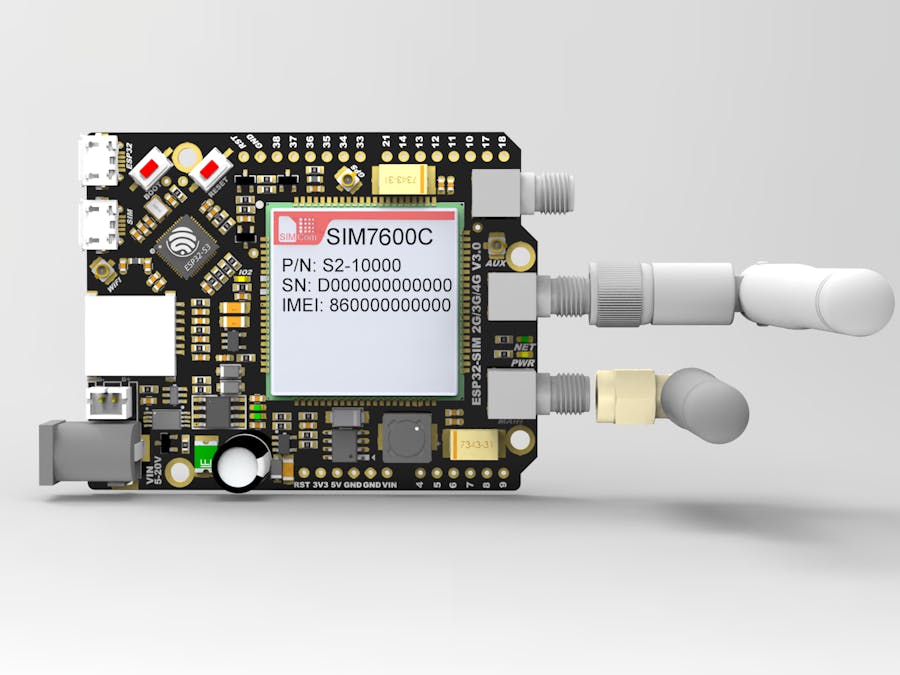
With Dev KIT ESP32SS3 SIM7600CE made by AhtLab have offer a USB connector for the USB Serial/JTAG Controller — in that case, no extra connections are required.
See more: https://ahtlab.com/san-pham/kit-wifi-esp32-s3-sim7600ce-m1s/


Comments