

Hardware components | ||||||
| × | 1 | ||||
| × | 1 | ||||
 |
| × | 1 | |||
Hand tools and fabrication machines | ||||||
 |
| |||||
 |
| |||||
 |
| |||||
 |
| |||||
See my Joule Thief PCB, which powers this project and the LED Tea Light Adapter!
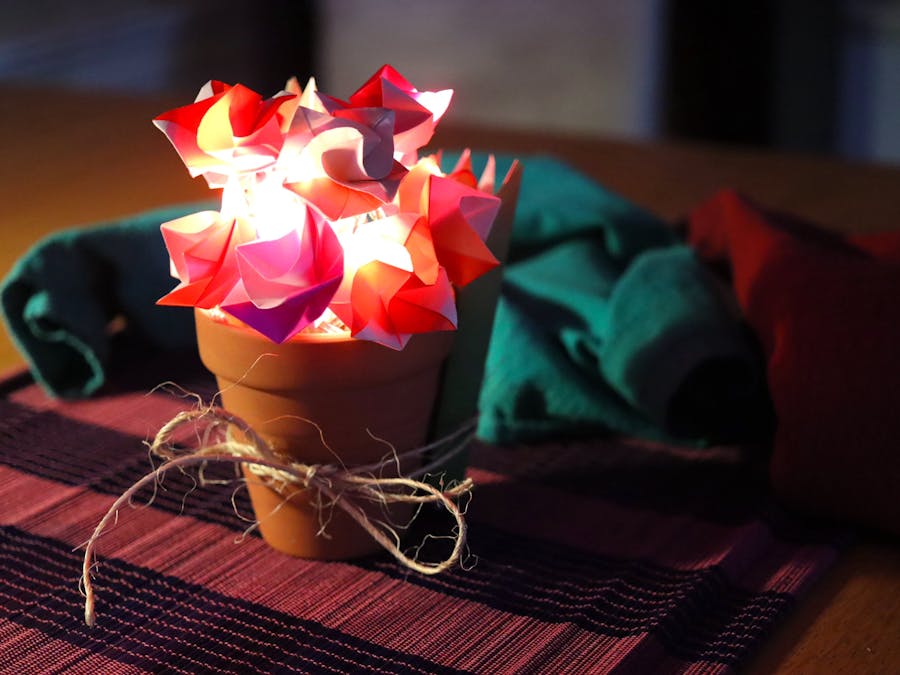
What is it? This is a pretty little light-up bouquet, made from origami, a Joule Thief circuit, some IKEA string lights, and a kintsugi'd flowerpot. Plus some twine.
The circuitThe Joule Thief is a circuit that allows you to run small projects off of "dead" batteries! There's a full explanation here. I've tested AA, AAA, and CR2032 batteries with it, but for this, I'm using a 2-AA battery holder (mainly because my single-battery ones didn't get here on time 😅). I'll be interested to see whether using two mismatched batteries causes Problems... since these are "dead" batteries anyway, efficiency isn't really a concern.
I tested the assembled PCB with a 5mm LED, then replaced it with the string lights' positive and ground wires – after checking which was which. I soldered the battery holder wires to the big gold pads at the end of the board, with an SPST slide switch added into the ground wire, which I hot-glued to the side of the flowerpot in an unobtrusive spot.
Here's a basic drawing I made partway through the process (with a nicer one to come!):
TL;DR: After assembling the PCB, you basically...
- turn the onboard switch ON (or solder a jumper across),
- attach the string lights where the onboard LED would go, and
- solder the battery wires to the contacts with a switch in the ground wire.
(...Of course, my process also involved recklessly clipping off the tester LED like an impatient fool, which severed one of the traces leading to it, so that I had to solder the string lights directly to the legs of the transistor. Try not to do that!)
OrigamiI followed this tutorial for the roses, using 11.5cm square origami paper with one colored and one white side. I had an assorted pack and picked out the most vibrant red/orange/pink colors. Since the tutorial uses double-sided red paper, I tried and liked both orientations, which adds a bit more variety.
Because I only picked out 11 pieces of origami paper, one of the 12 LEDs was left uncovered. I folded the start of a crane (through the "flip upwards" diamond part) from green paper, like a leaf, and stuck it over the final LED. I like the effect!
For the battery, I just folded it over a bunch of times in one direction, trimmed one end for a "grass" effect, then slipped it over the battery pack and hot-glued it to itself (to make a sleeve). It can slip off when the batteries need replacing.
The little flowerpot is one I broke awhile ago and stuck back together. I used a strong two-part epoxy and brushed gold powder over it for a "kintsugi" effect. That's mostly hidden in the back, but I like that it adds another upcycled element besides the batteries. :)
I had some plastic-coated steel wire lying around, so I used that for "stems" on the first few flowers. I doubled each piece of wire so that the blossoms were connected in pairs; this gave me more positioning control and left no exposed wire ends. It works well – the silvery steel in its clear casing is insulated from the circuitry, and it kinda blends in with the string lights' wires.
The rose "petals" each have a little slot at the bottom/back, which is where I inserted the LEDs and stems. I formed a loop in the end of each wire so that it wouldn't poke anybody by accident, and inserted an LED and a stem in diametrically opposite flaps. This helped the flowers keep their shape. I added extra dots of hot glue inside a few of the blooms, where extra help was needed.
After about 6 blossoms (3 pieces of wire), I stopped adding the wire because it was getting pretty tangly, and just glued the flowers on and wrapped them around the core of the bouquet. That worked really nicely, and I was able to plop the whole thing into the flowerpot with no trouble! Since there were no exposed electrical contacts, I dropped the Joule Thief PCB down one side and hot-glued the switch to the edge of the flowerpot nearby.
I tied the whole thing with a twine bow for the final touch, and it's done!
Short link to this project: bit.ly/hackflower


Comments