

Hardware components | ||||||
_ztBMuBhMHo.jpg?auto=compress%2Cformat&w=48&h=48&fit=fill&bg=ffffff) |
| × | 1 | |||
| × | 1 | ||||
| × | 1 | ||||
Software apps and online services | ||||||
 |
| |||||
Rate of perceived exertion is one way of determining how hard you are working when exercising.
You are given an exertion scale of between 6 and 20 (Figure 1), with 6 meaning minimal exertion and 20 meaning flat out and you just mentally rate where you think your level of exertion falls.
This scale was invented by Dr Gunnar Borg and hence is often referred to as the Borg scale [1].
The numbers on the scale may seem a little weird but this range allows you to quickly estimate your heart rate simply by multiplying the scale number by 10, so if you rate your exertion at 20 your heart rate would be around 200 bpm.
I was playing around with a data logging shield and though it would be interesting to automate this idea.
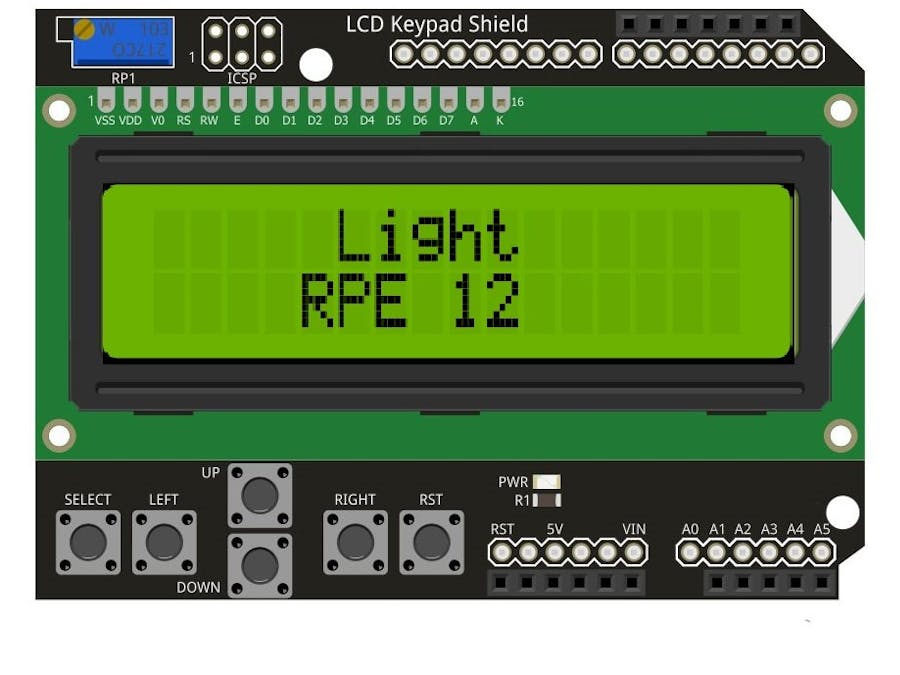
Hardware description:The hardware consists of an Arduino UNO, a Deek robot data logging shield v1.0, and an LCD shield with buttons.
The UNO, data logging shield and LCD shield are layered together like a cake. The shields take care of all of the connections, there is nothing to wire up.
I have removed pin 10 from my LCD shield, this pin is used for the LCD backlight but has been implemented incorrectly on some shields such as the one I bought [2], this is no loss in the context of this project as the data logging shield uses this pin as chip select.
The software was an exercise in code reuse.
I took the clock read functions from project “ds3231.ino” from the RTClib library.
I used some simple code to run the LCD.
I used the Arduino SD ReadWrite example [3] to work out how to write the data to the SD card.
I initially tested the code using the Arduino serial console I think this a good way to debug changes so I have left it in place in the uploaded code; uncomment the line//#define test to switch off the writes to the SD card and send the data to the serial console.
Assumption:You have already set the clock on the logging shield as the program here does not do that.
Libraries used:SPI
SD
RTClib
LiquidCrystal
Data format:The data is stored as comma separated values (CSV) in the format of – Year, Month, Day, Hours, Minutes, Seconds, RPE value.
On pressing select to start the date, time and a RPE value 6 will be written to the data file, on pressing select at the end of a session the date, time and a RPE value zero will be written to the data file.
Functioning:At turn on the unit initializes the SD card and opens the file to record the data.
All records are appended to the same file whose name is coded into the program (data.txt).
You are warned if the SD card cannot be initialized, the data file opened or the data cannot be written to the card.
Hit the select key to begin logging and keep adjusting the level in line with your perceived exertion using the up and down buttons.
At the end of an exercise session hit the select key to stop recording.
Granularity and limits:The data is recorded to a minimum resolution of 1 second, if multiple button presses occur within that time frame each will be recorded as having occurred at the same time.
This is something to be aware of if you are going to run the data file through another program say to generate a graph.
References:[1] RPE information https://en.wikipedia.org/wiki/Rating_of_perceived_exertion (Retrieved 18/June/2019)
[2] LCD shield errata link https://forum.arduino.cc/index.php?topic=96747.0 (Retrieved 7/June/2019)
[3] SD read write link https://www.arduino.cc/en/Tutorial/ReadWrite (Retrieved – 8/June/2019)


Comments