

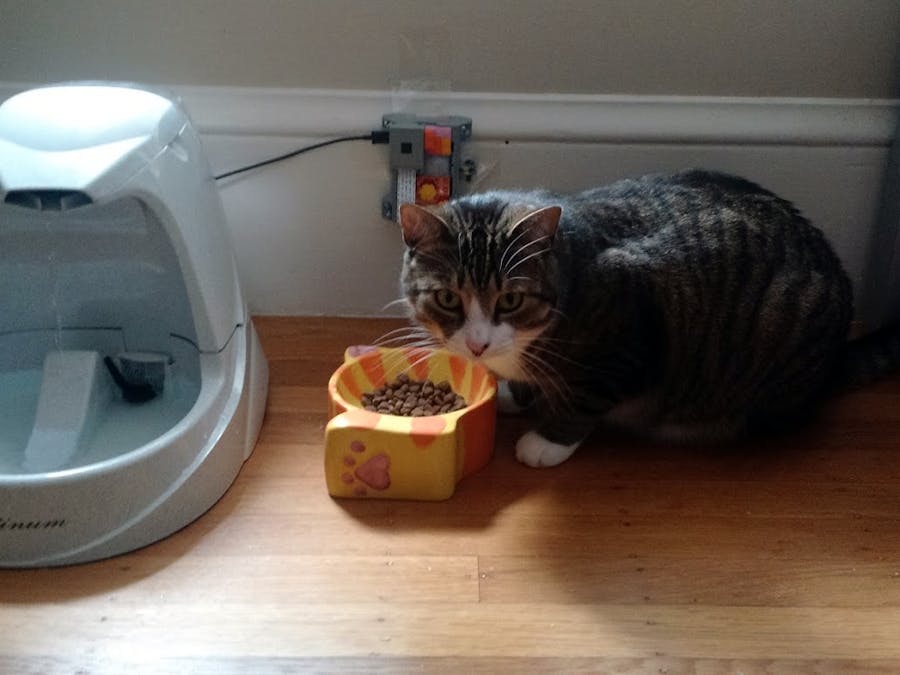
Hardware components | ||||||
 |
| × | 1 | |||
 |
| × | 1 | |||
 |
| × | 1 | |||
 |
| × | 3 | |||
Software apps and online services | ||||||
 |
| |||||
 |
| |||||
| ||||||
| ||||||
The software is written in Node.js, simply because JavaScript is the language I am most comfortable with, also it is fun!
This is the basic flow:
- Detect motion (Use Johnny-Five IR.Motion obj)
- Take photos (
Raspistill, command line tool)
- Cat facial detection (KittyDar)
- Store the photos in cloud storage (Cloudinary)
- Publish the data (URL) to PubNub for realtime streaming
- Stream on web (subscribe the data from PubNub)
The hardware-software communication is done with Johnny-Five, open-source JavaScript robotics programming framework. I am using it to talk with a PIR sensor. When the sensor detect my cat (or any moving objects) nearby Raspberry Pi, it triggers the camera.
Photos are taken using raspistill command line. One cool thing about Node.js is that you can execute commands by spawning child processes.
Once a photo is taken, I am using another child process to detect if any cats are on the photo, using KittyDar, an open source face detection for cats, written by Heather Arthur.
Additionally, I am sending the photos (only photos with cats) to a cloud storage, and at the same time, I stream the photo to web browser using PubNub, because I work for the company!
Now, let’s build your own!
Software Setup1. Install node.js in your Raspberry PiMake sure your Pi is up-to-date!
$ sudo apt-get update
then
$ sudo apt-get upgrade
$ wget https://nodejs.org/dist/v4.4.5/node-v4.4.5-linux-armv7l.tar.xz
$ tar -xvf node-v4.4.5-linux-armv7l.tar.xz
$ cd node-v4.4.5-linux-armv7l
$ sudo cp -R * /usr/local/
Check if node is successfully installed.
$ node -v
To be able to use a hardware camera module with your Pi, you need to enable the software first.
Go to Pi Software Config Tool menu from a terminal:
$ sudo raspi-config
You should see the menu like this. Use arrow keys to select Enable Camera.
Installing DependenciesIf you wish to run the code from my GitHub repo, clone RPi-KittyCam repo on GitHub, and copy them over on Raspberry Pi.
It would be really nice if $ npm install successfully install all the dependencies, and voilà, but it does not work in that way, unfortunately. You still need to set up and install dependencies manually.
For cat facial detection, I am using kittydar, which dependencies including node-canvas, which requires Cairo.
So let’s get Cairo on your Raspbian first.
$ sudo apt-get install libcairo2-dev libjpeg8-dev libpango1.0-dev libgif-dev build-essential g++
See more info on how to install Cairo for Node Canvas, see this Installation Ubuntu and other Debian based systems
If you download the node_modules contents of my GitHub repo, skip the step 2, and proceed to step 3. Otherwise, go to the next step to manually fresh-install the next several modules. Just running npm install to fetch all dependencies may fail because there is some incompatibilities. (I will explain it later).
Now, cd to your working directry, and install dependencies.
You need canvas (node-canvas) to be able to analyze images with KittyDar.
$ sudo npm install canvas
Kittydar is an open-source cat face detection. It takes an image (canvas) and tells you the if cats are in the image.
Once your environment is set up, in this RPi-KittyCam dir, install node dependency modules.
Ideally install from npm install kittydar —save.
However, node-canvas 1.0.1 (the version specified in package.json for KittyDar) failed to build with the current Node.js (v0.12.6).
So what I did was download the zip from github repo into node_modules, alter the package.json, where canvas: ~1.0.1 to ^1.0.1 so that the latest canvas is installed as I npm install from the kittydar directory.
Get the zip from my forked repo.
Note: Although, the repo is no longer maintained by the author, I am sending a pull request for the fix.
Install Johnny-FiveJohnny-Five is a JavaScript Robotics programming framework. It makes communicating with hardware so much easier.
$ npm install johnny-five
Raspi-io is a library to be used as an I/O plugin with Johnny-Five. You need to install this to use Johnny-Five on Raspbian.
$ npm install raspi-io
This step is optional, if you don’t want to create a web interface to stream the photos, or you would rather create your own web server without depending on the 3rd party services.
Install PubNubFor realtime live-updating the web interface, I am using PubNub. To use the service, you need to sign up to obtain your API keys.
$ npm install pubnub@3.15.2
For storing photos, use Cloudinary. To use the service, you need to sign up to obtain your API keys.
$ npm install cloudinary
Create a config.js in the root dir of the app. The file should include your API keys:
module.exports = {
  cloudinary: {
    cloud_name: 'your_name',
    api_key: 'your_API_key',
    api_secret: 'your_API_secret',
  },
  pubnub: {
    subscribe_key: 'your_sub_key',
    publish_key: 'your_pub_key'
  }
};
Once you have configured everything and have all source files from my GitHub repo, try running kittyCam.js.
You must run with sudo:
$ sudo node kittyCam.js
The camera will take a photo when a motion is detected by the PIR sensor. Then the child_process runs to detect if there is any cats in the photo. When there are any cat, it sends the photo to Cloudinary.
Analyzed photos are deleted from the filesystem to clear up Pi.
5. View the Live Photo Update on Web- Get the web interface source code from
gh-pagesbranch.
- Run the
index.htmlon browser
Although I am not writing a full tutorial how to write this Node app from scratch, I can explain some of the key features.
Detecting Motion from a PIR SensorI am using Johnny-Five’s IR.Motion object to detect the motion.
First, include the dependencies.
Then, create a new motion hardware instance at pin 7, and when a motion is detected, take a photo:
var raspi = require('raspi-io');
var five = require('johnny-five');
var board = new five.Board({io: new raspi()});
board.on('ready', function() {
  var motion = new five.Motion('P1-7');
  motion.on('motionstart', function() {
    // Run raspistill command to take a photo with the camera module
	// then detect cats from the photo
  })
});
In the code snippet above, where the first comment is, run raspistill command using child_process.spawn() to take a photo with the camera module:
var filename = 'photo/image_'+i+'.jpg';
var args = ['-w', '320', '-h', '240', '-o', filename, '-t', '1'];
var spawn = child_process.spawn('raspistill', args);
spawn.on('exit', function(code) {
  console.log('A photo is saved as '+filename+ ' with exit code, ' + code);
  i++;

  // Detect cats from photos - see the next section
  ...
Here, I am saving photos in sequential orders.
Detect Cat with KittyDarTo be able to keep taking photos without interruptions, as each photo is being processed, I am using another child_process, this time with fork(), an instance of spawn that runs a new instance of the V8 engine to create multiple workers.
After the comment in the code snippet above, read another JS file:
var imgPath = __dirname + '/' + filename;
var args = [imgPath];
var fork = child_process.fork(__dirname + '/detectCatsFromPhoto.js');
fork.send(args);
// the child process is completed
fork.on('message', function(base64) {
  if(base64) {
    // send the image to the cloud storage
  }
  deletePhoto(imgPath);
});
In detectCatsFromPhoto.js, start the child process and use canvas and to detect cats. Once the process is done, the image is returned in Base64:
var fs = require('fs');
var kittydar = require('kittydar');
var Canvas = require('kittydar/node_modules/canvas');
process.on('message', function(m) {
  var imgPath = m[0];
  fs.readFile(imgPath, function(err, data) {
    var img = new Canvas.Image;
    img.src = data;
    //... snip snip, some canvas setup code here...
    var cats = kittydar.detectCats(canvas);
    var base64Img;
    if(cats.length > 0) {
      base64Img = canvas.toDataURL();
    }
    process.send(base64Img);
    process.exit(0);
  });
}
To see the entire source code, please take a look at my GitHub repo!
Also to see how I used PubNub to stream the live photos on web browser, look at the source code on the gh-pages branch!
OMG, I demo’d KittyCam on Live TV Show!See my last blog post about my experience being on Twit TV! You can watch the segment on the recorded show too.
OK, I hope you enjoyed my lengthy blog post!
References- Raspberry Pi: Teach, Learn, and Make with Raspberry Pi
- Node ARM: Install Node.js on a Raspberry Pi in two easy steps
- Johnny-Five: The original JavaScript Robotics programming framework
- Raspi-IO: An IO plugin for Johnny-Five that provides support for the Raspberry Pi
- KittyDar: Face detection for cats in JavaScript
- Node Canvas: A Cairo backed Canvas implementation for NodeJS
- PubNub: The global realtime Data Stream Network for IoT, mobile, and web applications


Comments