

Hardware components | ||||||
| × | 1 | ||||
Software apps and online services | ||||||
 |
| |||||
 |
| |||||
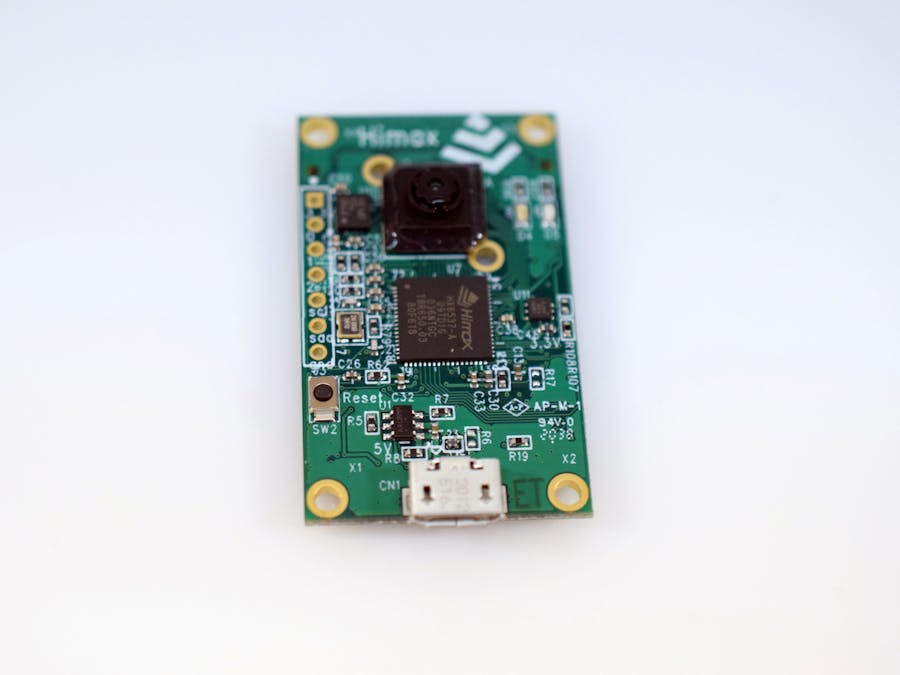
When choosing a board for computer vision applications/projects, many engineers and makers tend to reach for the tried-and-true boards, including the Raspberry Pi and Jetson Nano families. However, these are quite large and can draw more power than what's actually needed. This is where the Himax WE-I Plus board can help. It has a much smaller footprint (just 40mm x 27mm), along with a whole suite of sensors, including:
- 3-axis accelerometer (LSM9DS1)
- 2 PDM microphones
- 640px x 480px CMOS sensor capable at capturing images at up to 60fps
The microcontroller onboard is a WE-I Plus ASIC (HX6537-A) with an ARC 32-bit architecture, 2MB SRAM, 2MB flash, and clocked at 400MHz. With support for TensorFlow Lite, this development board is an attractive offer for small, low-power projects that also require object recognition.
This project uses Edge Impulse, which is an online platform that lets nearly anyone connect a board, gather data, train a model, and then deploy it easily. Begin by creating an account and adding a new project. Then make sure you have Node.js installed and use this command
npm install -g edge-impulse-clito add the Edge Impulse CLI via the Node package manager. After that's done, download the latest firmware for the board, unzip it, and run the flash utility to program the Himax device over USB. After flashing is complete, press the RESET button to launch it.
Now open a command line utility and run edge-impulse-daemon that was installed earlier, as well as sign in with your credentials. It will ask you to select the project you wish to use and the name you wish to give the Himax board. If everything is connected and configured correctly, it should appear under the "Your devices" tab in the Edge Impulse Studio.
I wanted to recognize four objects:
- A Raspberry Pi 3
- An Arduino Nano
- An ESP32 Kit
- And finally, a Benchy print
In order to capture the images, the Himax board needed some kind of stand, which is why I designed and 3D printed a housing and two legs that hold the board at a given angle.
Next, I went through and began capturing pictures for each object, with 13 being for training and 2 for training. Adding more images than that would have allowed for even greater accuracy, but it wasn't needed in this case.
After all of the data had been collected, it was time to design the impulse. There are just two blocks that had to be added: an 'Image' block to generate the flattened, grayscale features, and a MobileNet transfer learning block that takes those features and outputs a classification with a given confidence value.
I opted for a total of 20 training cycles and a learning rate of 0.0001. After saving and training the model, it was able to achieve an accuracy of 54.5%, which is quite impressive for such a small dataset.
I tested the model within the Live Classification tab in the Edge Impulse studio, which yielded some promising results. It struggled a bit with the ESP32 which was as expected from the Features Explorer, but was able to correctly identify the Raspberry Pi 3 and Benchy.
To deploy, I went to the Deployment tab. From there I was able to choose between a C++, Arduino, OpenMV, or WebASM library, or as a pre-built binary that could be flashed and executed with edge-impulse-run-impulse.
This was a fun project to create and it really shows how easy it is to integrate cheap machine vision capabilities into a project.


Comments