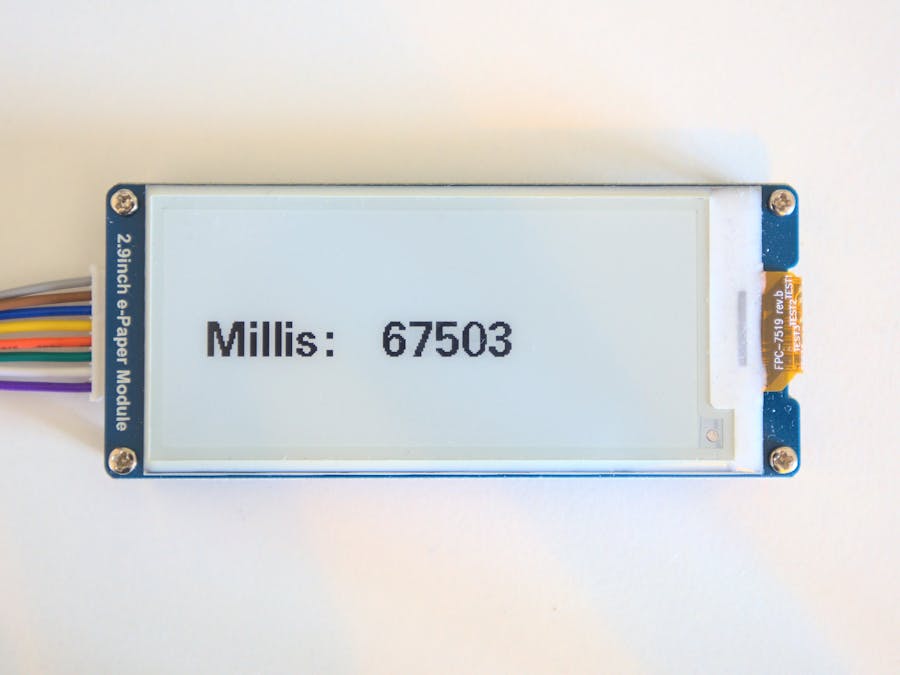
In this tutorial I show you how make a partial update of an E-paper display using the GxEPD2 library.
Because E-ink screens have a very slow refresh rate (for example the 2.9inch screen from Waveshare 2s for a full refresh) the partial refresh feature can be very useful. The screen I am using has a partial refresh time of 0.3 seconds.
First of all the e-ink display needs to be connected to the ESP32. The wiring can be different between the ESP32 boards. Here are a few examples from an example sketch for the GxEPD2 libarary:
// mapping suggestion for ESP32, e.g. LOLIN32, see .../variants/.../pins_arduino.h for your board
// NOTE: there are variants with different pins for SPI ! CHECK SPI PINS OF YOUR BOARD/
/ BUSY -> 4, RST -> 16, DC -> 17, CS -> SS(5), CLK -> SCK(18), DIN -> MOSI(23), GND -> GND, 3.3V -> 3.3V// mapping of Waveshare ESP32 Driver Board
// BUSY -> 25, RST -> 26, DC -> 27, CS-> 15, CLK -> 13, DIN -> 14
// NOTE: this board uses "unusual" SPI pins and requires re-mapping of HW SPI to these pins in SPIClass
//       see example GxEPD2_WS_ESP32_Driver.ino, it shows how this can be done easily
// mapping suggestion for ESP32, e.g. LOLIN32 D32 PRO
// BUSY -> 15, RST -> 2, DC -> 0, CS -> 5, CLK -> SCK(18), DIN -> MOSI(23), GND -> GND, 3.3V -> 3.3V
// note: use explicit value for CS, as SS is re-defined to TF_CS(4) in pins_arduino.h for Board: "LOLIN D32 PRO"// mapping suggestion for ESP32, e.g. TTGO T8 ESP32-WROVER
// BUSY -> 4, RST -> 0, DC -> 2, CS -> SS(5), CLK -> SCK(18), DIN -> MOSI(23), GND -> GND, 3.3V -> 3.3V
// for use with Board: "ESP32 Dev Module":
I have a NodeMCU ESP32 so I connected it as follows (display --> ESP32): BUSY --> D4, RST --> RX2, DC --> TX2, CS --> D5, CLK --> D18, DIN --> D23, GND --> GND, VCC --> 3V3
The codeFirst of all you need to install the libraries GxEPD2 and U8g2_for_Adafruit_GFX (Sketch --> Include Library --> Manage Libraries --> search for the name of the library --> click install).
Watch the video above for more information on the code.


Comments