Gabriele Fugazzi
Published © MIT

Night Light Assistant

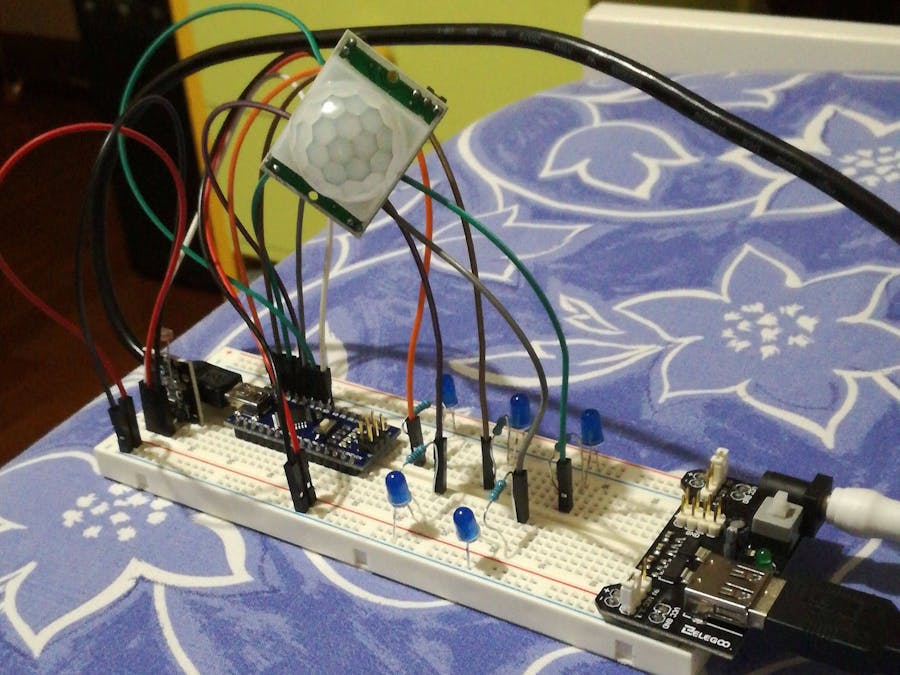
Leds activated by a PIR module. Placed under the bed it's quite effective . This device assists people waking up night-time.

BeginnerShowcase (no instructions)30 minutes9,857
Night Light Assistant

Things used in this project

Hardware components

Arduino Nano R3
Arduino Nano R3
×1
LED (generic)
LED (generic)
×5
Jumper wires (generic)
×7
PIR Motion Sensor (generic)
×1
Breadboard (generic)
×1
9V 1A Switching Wall Power Supply
×1
USB-A to Mini-USB Cable
×1
Resistor 100 ohm
Resistor 100 ohm
×1

Software apps and online services

Arduino IDE
Arduino IDE

Story

Read more

Schematics

Night Light Assistant

Schematics for the project

Code

Night Light Assistant

C/C++
Night Light Assistant Code
const int BLUE_LED_N1 = 12;
const int BLUE_LED_N2 = 11;
const int BLUE_LED_N3 = 10;
const int BLUE_LED_N4 = 9;
const int BLUE_LED_N5 = 8;

const int PIR_MODULE = 7;
const int LIGHT_SENSOR = 6;

const int LEDS_NUMBER = 5;
int leds [LEDS_NUMBER] = {BLUE_LED_N1, BLUE_LED_N2, BLUE_LED_N3, BLUE_LED_N4, BLUE_LED_N5};

void setup() {
  // put your setup code here, to run once:
  for(int i=0; i<LEDS_NUMBER; i++){pinMode(leds[i], OUTPUT);}
  pinMode(PIR_MODULE, INPUT);

}

void loop() {
  if(digitalRead(PIR_MODULE)==HIGH)
  {
    for(int i=0; i<LEDS_NUMBER; i++)
    {
      digitalWrite(leds[i], HIGH);
    } delay(20000);
  }
  else
  {
    for(int i=0; i<LEDS_NUMBER; i++)
      {
        digitalWrite(leds[i], LOW);
      }
  }
}

Credits

Gabriele Fugazzi

Gabriele Fugazzi

1 project • 8 followers

Comments