Please rely on the newly published project Build NXP iMX Embedded Linux instead of this one you are presently looking at. Although this project is still technically correct, the codeaurora repository no longer exists.
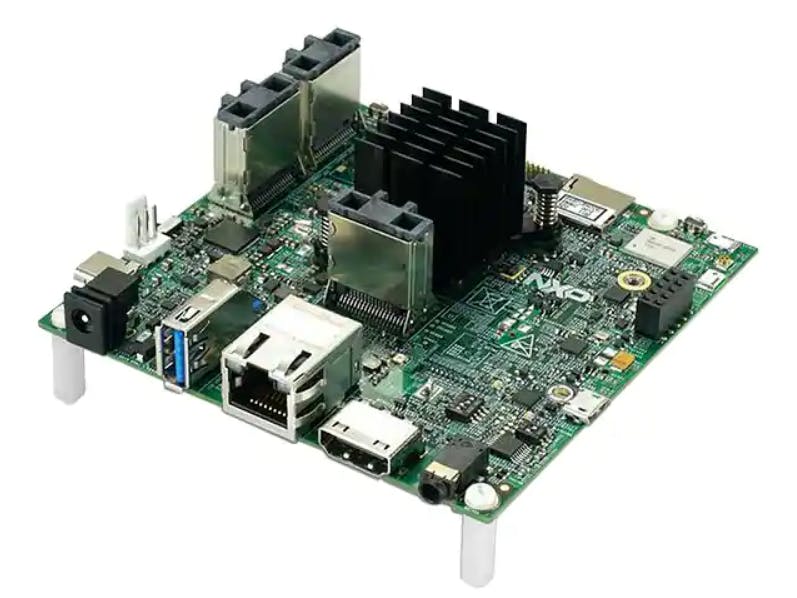
With so much documentation available it is easy to get lost when starting out.This project demonstrates how to get started with a successful Yocto build for the i.MX 8M Quad EVK
Operating SystemYou may run Ubuntu either natively on a PC or within a VM, I have tested both methods successfully.
It may also be possible to run Ubuntu on WSL (Windows Subsystem for Linux) version 2, but I have not tested this yet.
These instructions assume that you are using one of these two versions of standard desktop Ubuntu:
- Ubuntu 18.04 LTS "Bionic Beaver" is the officially supported version for Yocto Zeus.
- Ubuntu 20.04 LTS "Focal Fossa" is what we are running on our machines, Yocto Zeus seems to work just fine.
These instructions also assume that you are using the default Bash shell that comes with Ubuntu.
Install packagesNote that the standard Ubuntu terminal application supports copy and paste with these keystrokes
Copy <left shift> <control> cPaste <left shift> <control> v
Run the Ubuntu terminal application
Type in these commands to the terminal
$ sudo apt install gawk wget git-core diffstat unzip texinfo gcc-multilib
$ sudo apt install build-essential chrpath socat cpio python python3 python3-pip python3-pexpect
$ sudo apt install xz-utils debianutils iputils-ping python3-git python3-jinja2 libegl1-mesa libsdl1.2-dev
$ sudo apt install pylint3 xterm
$ sudo apt install curlNote: For Ubuntu 20.04 we must set up the Repo utility manually because Ubuntu 20.04 does not include Repo in the repositories without adding the focal-backports repository.
Follow these instructions for most versions of Ubuntu except 20.04
$ sudo apt install repoThat's it, skip all of the below and continue to the next section on setting up a Yocto directory
Follow the remaining instructions in this section for Ubuntu 20.04 or you want to make sure you are using the latest version of Repo. This is the method that I use.
Create directory ~/bin
$ mkdir ~/binAdd ~/bin to your path for your present terminal session only
$ PATH="${HOME}/bin:${PATH}"Additionally you can update your .bashrc file so that your PATH persists across all your login shells
$ cat >> ~/.bashrcCopy and paste this line to the terminal
export PATH="${HOME}/bin:${PATH}"Type <ctrl>-d to return to the $ prompt
Download repo
$ curl https://storage.googleapis.com/git-repo-downloads/repo > ~/bin/repoChange permissions of repo so that it can be executed
$ chmod a+rx ~/bin/repoCreate the directory
$ mkdir YoctoMove into the directory
$ cd YoctoConfirm our PWD (Present Working Directory)
$ pwdThe result should be something like this
/home/flint/YoctoList present configuration
$ git config --listIf the above command demonstrates that you already have a username and email configured then you can skip the remainder of this section and continue with configuring Repo.
Configure Git
$ git config --global user.name "Firstname Lastname"
$ git config --global user.email "EmailAddress@Domain.com"
Confirm that Git is configured properly
$ git config --listYou should see at least these two lines with your name and email address
user.name=Firstname Lastname
user.email=EmailAddress@Domain.comFirst some Repo Definitions
<branch name>
- This is the generational version
imx-linux-zeusis the latest at the time I wrote these instructions
<release manifest>
- This is the NXP release version on a 6 month cadence
imx-5.4.47-2.2.0.xmlis the latest at the time I wrote these instructions
Repo command syntax
repo init -u https://source.codeaurora.org/external/imx/imx-manifest -b <branch name> [ -m <release manifest>]Confirm our PWD (Present Working Directory) is the./Yocto/ directory we built earlier
$ pwdInitialize Repo
$ repo init -u https://source.codeaurora.org/external/imx/imx-manifest -b imx-linux-zeus -m imx-5.4.47-2.2.0.xmlDownload the files
$ repo syncView the contents of the directory
$ lsYou should now see the following folders / files
imx-setup-release.sh
README
README-IMXBSP
setup-environment
sourcesFirst some Yocto definitions
MACHINE=<machine>
- use EVK names for
<machine>listed in Yocto Project Users Guide, section 5.1 "Build configurations"
DISTRO=fsl-imx-<backend> where <backend> refers to the graphics type:
- xwayland = Wayland with X11 support - default distro
- wayland = Wayland only
- fb = Framebuffer (not supported for imx8)
Note: Each build folder can only support a single DISTRO
Command syntax
[MACHINE=<machine>] [DISTRO=fsl-imx-<backend>] source ./imx-setup-release.sh -b bld-<machine>-<backend>Note that the filename bld-<machine>-<backend> is my personal recommendation and you are not required to follow this format
Confirm our PWD (Present Working Directory) is the./Yocto/ directory we built earlier
$ pwdSet up the Yocto build environment
$ MACHINE=imx8mmevk DISTRO=fsl-imx-xwayland source imx-setup-release.sh -b bld-imx8mmevk-xwayland- The parent folder that we created manually
./Yocto/ - Our source directory created by Repo
./Yocto/sources/ - Our build directory created by imx-setup-release.sh
./Yocto/bld-imx8mmevk-xwayland/ - The configuration files for bld-imx8mmevk-xwayland
./Yocto/bld-imx8mmevk-xwayland/conf/
First some Bitbake Definitions
<recipe> These are pre-defined recipes specified in Yocto Project Users Guide, section 5.2
- imx-image-core = core image with basic graphics and no multimedia. This is a smaller image. It is also the image NXP uses for their daily build tests.
- imx-image-multimedia = image with multimedia and graphics. Builds an image with a GUI but without any Qt content.
- imx-image-full = image with multimedia and machine learning and Qt. Builds an open source QT 5 image with ML features.
Command syntax
bitbake <recipe>Confirm our PWD (Present Working Directory)
$ pwdYour PWD should be the build directory such as
/home/flint/Yocto/bld-imx8mmevk-xwaylandKick off the build
$ bitbake imx-image-coreThis will take a very long time and consume a lot of disk space.......
Returning to this project at a later dateNote: Bitbake will not run if the environment is not configured.
If you close the present shell (terminal) then you will lose the environment set up by imx-setup-release.sh
To set up our environment again
First make sure that PWD is./Yocto/
Then run this command
$ source setup-environment bld-imx8mmevk-xwayland


Comments