

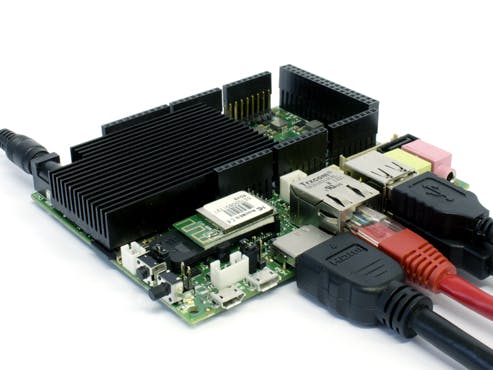


My SSD and eSATA caddy have arrived. So now we plug it all in and off we go.
Some testing on my amd64 Ubuntu Linux Machine, for comparison with the uSD cards used for the UDOO currently.
The SanDisk Black uSD card behaves in the amd64 machine, just as it did in the UDOO previously.
Now we test the SanDisk Extreme ii SSD, connected via USB3.0.
Quite a difference.
If we can get close to this performance in the UDOO, then it will be worth the money spent.
UDOO and SSD Preparation
The guide available on elinux describes all of the steps required for booting the UDOO from the SATA drive.
First prepare a small uSD card to be the boot drive. Format it with one ext3 partition, and install the u-boot bootloader as usual.
sudo dd if=u-boot-q.imx of=/dev/<MICROSD_DEVICE> bs=512 seek=2
This is sufficient to get the UDOO to boot.
Now prepare the SSD, by formatting it in the same way you formatted the uSD previously. I’m now adding an additional linux-swap partition about 2GB in size. Although there are warnings about using SSD for swap, if you’re using a full desktop on your UDOO, your browser won’t respect the memory limitation and you’ll create worse problems.
Although the 8MB free space is not currently used in the SATA SSD, because u-boot is contained on the uSD. My guess is that at some time soon the UDOO team will get the u-boot loadable on the SATA drive, and then this space will be needed.
Once the SSD is prepared, then the fastest way to replicate your already created environment is to copy disk to disk.
 cd /media
sudo cp -rp UDOO_SDroot/* UDOO_SSDroot
sudo cp -rp UDOO_SDhome/* UDOO_SSDhome
sync; sync
One final thing is to change the references in the /etc/fstab from
/dev/mmcblk0p1 to /dev/sda1 for /
/dev/mmcblk0p2 to /dev/sda2 for /home
/dev/mmcblk0p3 to /dev/sda3 for swap
Now, plug the SSD caddy into the UDOO, and put the uSD in its slot.
First boot
When first booting the UDOO, interrupt the auto boot process and enter the commands noted in the elinux instructions. Open a serial terminal to your PC with a baud of 115200 8n1. Reset the UDOO and press any key over serial terminal when prompted to cancel the autoboot. If you miss the prompt, you can press reset on the UDOO.
 setenv bootdev "sata init; sata dev 0; ext2load sata 0"
setenv root root=/dev/sda1
saveenv
boot
And the UDOO should boot as normal, but from the eSATA drive.
Note that there can be errors with eSATA / USB3.0 casings. I initially chose one which uses the Prolific PL2773, which implements the attachment as a USB Bulk-Only Mass Storage Class. Unfortunately this storage class doesn’t have the capability to pass TRIM commands.
But, although the attachment for the SSD doesn’t have TRIM capability, the SSD reports that it does have this capability, via eSATA, and this confuses the Kernel.
Errors are caused by the Kernel calling for TRIM on the swap space during the boot process.
How to fix this? Well the simplest way is to throw away the disk casing and connect the SSD drive directly. So, this is what I did. The disk performance also increases markedly too!
UDOO SSD speed testing
The UDOO SATA port doesn’t achieve quite the same throughput as the amd64 desktop does over USB3. But the speed increase over the uSD card is significant, and is very noticeable in use. Worth doing, in any case.
After removing the SSD drive from the housing, and driving it directly, the performance increase can be seen. The average read rate has doubled to over 110MB/s and the access time has decreased by a third making it about the same speed as on the amd64 desktop.
In practice the desktop feels even smoother. Great result!


Comments