


Hardware components | ||||||
 |
| × | 1 | |||
 |
| × | 1 | |||
 |
| × | 1 | |||
 |
| × | 5 | |||
 |
| × | 5 | |||
 |
| × | 5 | |||
 |
| × | 5 | |||
 |
| × | 1 | |||
Software apps and online services | ||||||
 |
| |||||
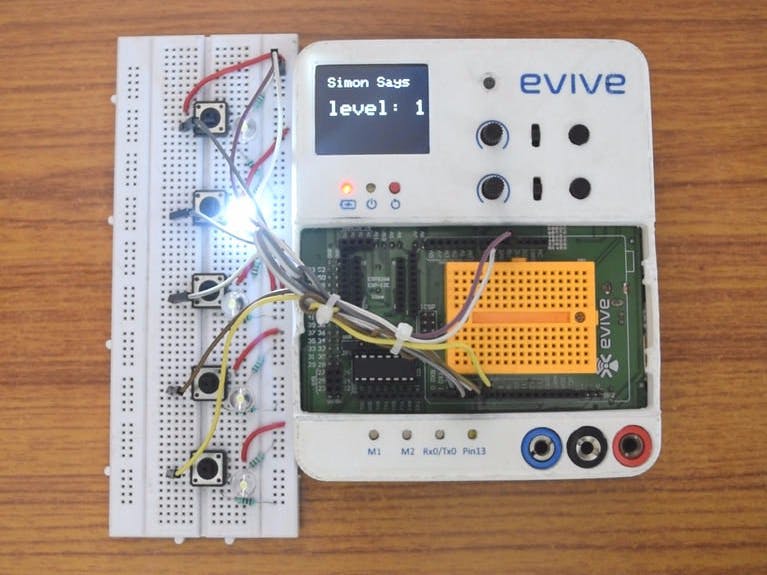
How fun it will be, to first make a DIY game and then play it with your friends! So here we will make a game. Its called Simon Says. We have made this game using evive. The codes are developed in very simple fashion in Arduino IDE. The objective of the game is simple: there are five LEDs/bulbs and five corresponding switches. The bulbs light up in a random order generated every time. You then have to press the buttons in the exact same order. If the sequence is correct, a 'correct' sequence of lights starts and you will progress to the next level. The current level number will be displayed on the TFT screen of evive. Otherwise, an 'incorrect' sequence lights up. A "Game Over" is displayed on the screen.
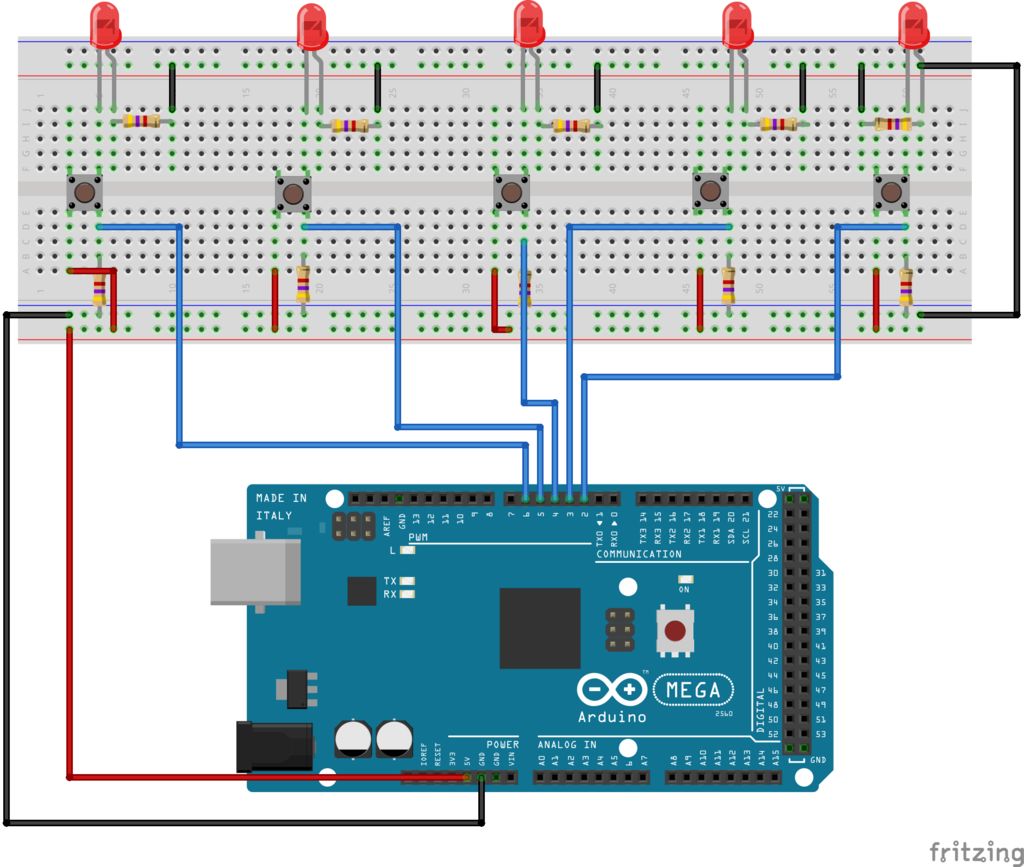
First, we make the first bulb- push-button set.
- Place a push-button on the breadboard.
- Now, above the right side of the button, insert the positive terminal of the led (the longer one) and the negative terminal into the hole right to it. Now, ground the negative terminal through a 220 ohm resistor.
- Make the left side of the push-button positive.
- Now, connect the other side of the push-button to a digital pin of the evive (pin2).
- Also, ground this through a 1 kilo ohm resistor (pulling down the switch)
Now we just have to repeat the above process 4 more times. Connect these to pins 3,4,5 and 6. For more info you can see the circuit diagram.
Notice that at this point, any push-button you press will light up the corresponding bulb. Take care not to inter- connect two different bulb- push-button sets.
Evive has in-built 1.8" TFT screen with SPI interface. You can check the internal wiring diagram here.
Step 2: Coding the gameWe are using same pins i.e. 2, 3, 4, 5 and 6 as both input and output.
Initially, we declare all the pins connected to bulbs as OUTPUT. This will enable them to glow (for the showing of the sequence). After the showing of the sequence, the pins are declared as INPUT (for getting input from the push-button response)
The basic motive is to determine which button is being pressed. Since only one push-button will be pressed at a given time, it is fine to check if any of the input pins is HIGH in an 'or' statement. Then we can check which of the buttons was pressed individually.
The target sequence (shown initially) is generated by using the pseudo-random number generator of the Arduino IDE. After the input response is registered, it will be compared with the target sequence.
You can view and download the code at our git repository.
Step 3: Displaying text on the TFTEvive uses ST7735 SPI 1.8" colored TFT screen and the library for this screen is available on Adafruit. This is a hardware level library. You can download the library from Github https://github.com/adafruit/Adafruit-ST7735-Library
Some examples are also included in the Github repository above.
To display text, we basically need these three functions:
setTextColor(textcolor, textbackgroundcolor)
setCursor(x-coordinate, y-coordinate)
setTextSize(size)
The screen is cleared by setBackgroundColor(backgroundcolor)
.
We have set some levels also, actually it has 10 levels. As you approach the next level the time delay for which the LED is on is reduced. In level 1 it is about 500 milliseconds, after each level it gets reduced by 50 milliseconds.
Step 5: Finally, play the game made by YOU with evive using Arduino IDENow it is ready to play. Show it to your friends and enjoy playing with them. And lets watch who reaches to maximum level.
You can check out more about evive. Its a ONE-STOP solution for all your DIY projects.


_3u05Tpwasz.png?auto=compress%2Cformat&w=40&h=40&fit=fillmax&bg=fff&dpr=2)

Comments