


Hardware components | ||||||
| × | 1 | ||||
| × | 1 | ||||
| × | 1 | ||||
| × | 1 | ||||
| × | 1 | ||||
 |
| × | 1 | |||
Software apps and online services | ||||||
| ||||||
A new version of the 3D Printed Toyota 4Runner-Style RC car is available here:
What if you could build an RC car almost entirely out of plastic? No aluminum, no steel gears, no fancy parts—just 3D-printed components, electronics, screws, and a whole lot of optimism. That’s the challenge I set for myself: design and assemble a fully 3D-printable RC car with only one fundamental constraint—my printer’s bed size.
And on paper, it sounded simple.But reality had other plans.
Traditionally, this article is available in video:
💡 The Philosophy: Cheap, Printable, AwesomeRC cars usually involve expensive brushless motors, metal differentials, rubber tires, and metal suspension. But I wanted to start from the opposite end: brushed motor, cheap electronics, TPU wheels, and entirely 3D-printed mechanics—all as affordable and accessible as possible.
The mission: make it awesome without breaking the bank.
⚙️ Step One: The Differential SagaIf you’ve ever built an RC drivetrain, you know why a differential matters. Without it, your car skids in turns. So I started by designing a planetary-style differential in Fusion 360.
The first version looked impressive—until it melted. Literally.
I printed it in PLA, watched it spin for ten seconds… then heard a soft click. The pinion gear froze. The case deformed. The shaft fused into the body. Game over.
PETG? Same result.
Heat + friction = molten sadness.
Fix Attempt #2: BearingsNext, I added tiny bearings to reduce friction.
I even made observation holes in the case to sneak in a camera and watch for deformation.
And guess what? It worked… as long as those holes were there.
Seal the case, and the heat came back.
Eventually, more bearings solved the issue—kind of.
I printed version after version, burning through over ten iterations. I even switched to performance nylon filament.
Good enough? Maybe.Time to move on.
🛞 The Wheels: TPU and Airless DesignI modeled Michelin-style airless tires and printed them in TPU. They turned out beautiful—and massive. Each one took an entire day to print, and they’re nearly 6 inches in diameter.
To improve performance, I added bearings right from the start. Lesson learned.
No metal allowed (except screws), so traditional springs were out. Instead, I created flexible shock absorbers out of stacked TPU disks with vertical bars in between. Add a piston and some ball joints—and boom—fully plastic suspension.
Surprisingly effective. For a while.
🔋 Motor, Mounts, and Power ProblemsThe motor: a classic brushed 775-size unit. Mounted at 45° to make space for the battery, which—let’s be honest—is huge.
Why? Because cheap RC batteries only last a few minutes. Mine? Good for over an hour of joy. Worth it? Absolutely.
For steering, I used a servo motor connected to a gear and rack system. Simple and reliable.
I even added a tilting joint to the front chassis, hoping it would absorb rough impacts.
The entire mechanical system was built and re-assembled more times than I can count. Front section, rear frame, electronics mount—all 3D printed, cleaned, and fitted with heat-set inserts.
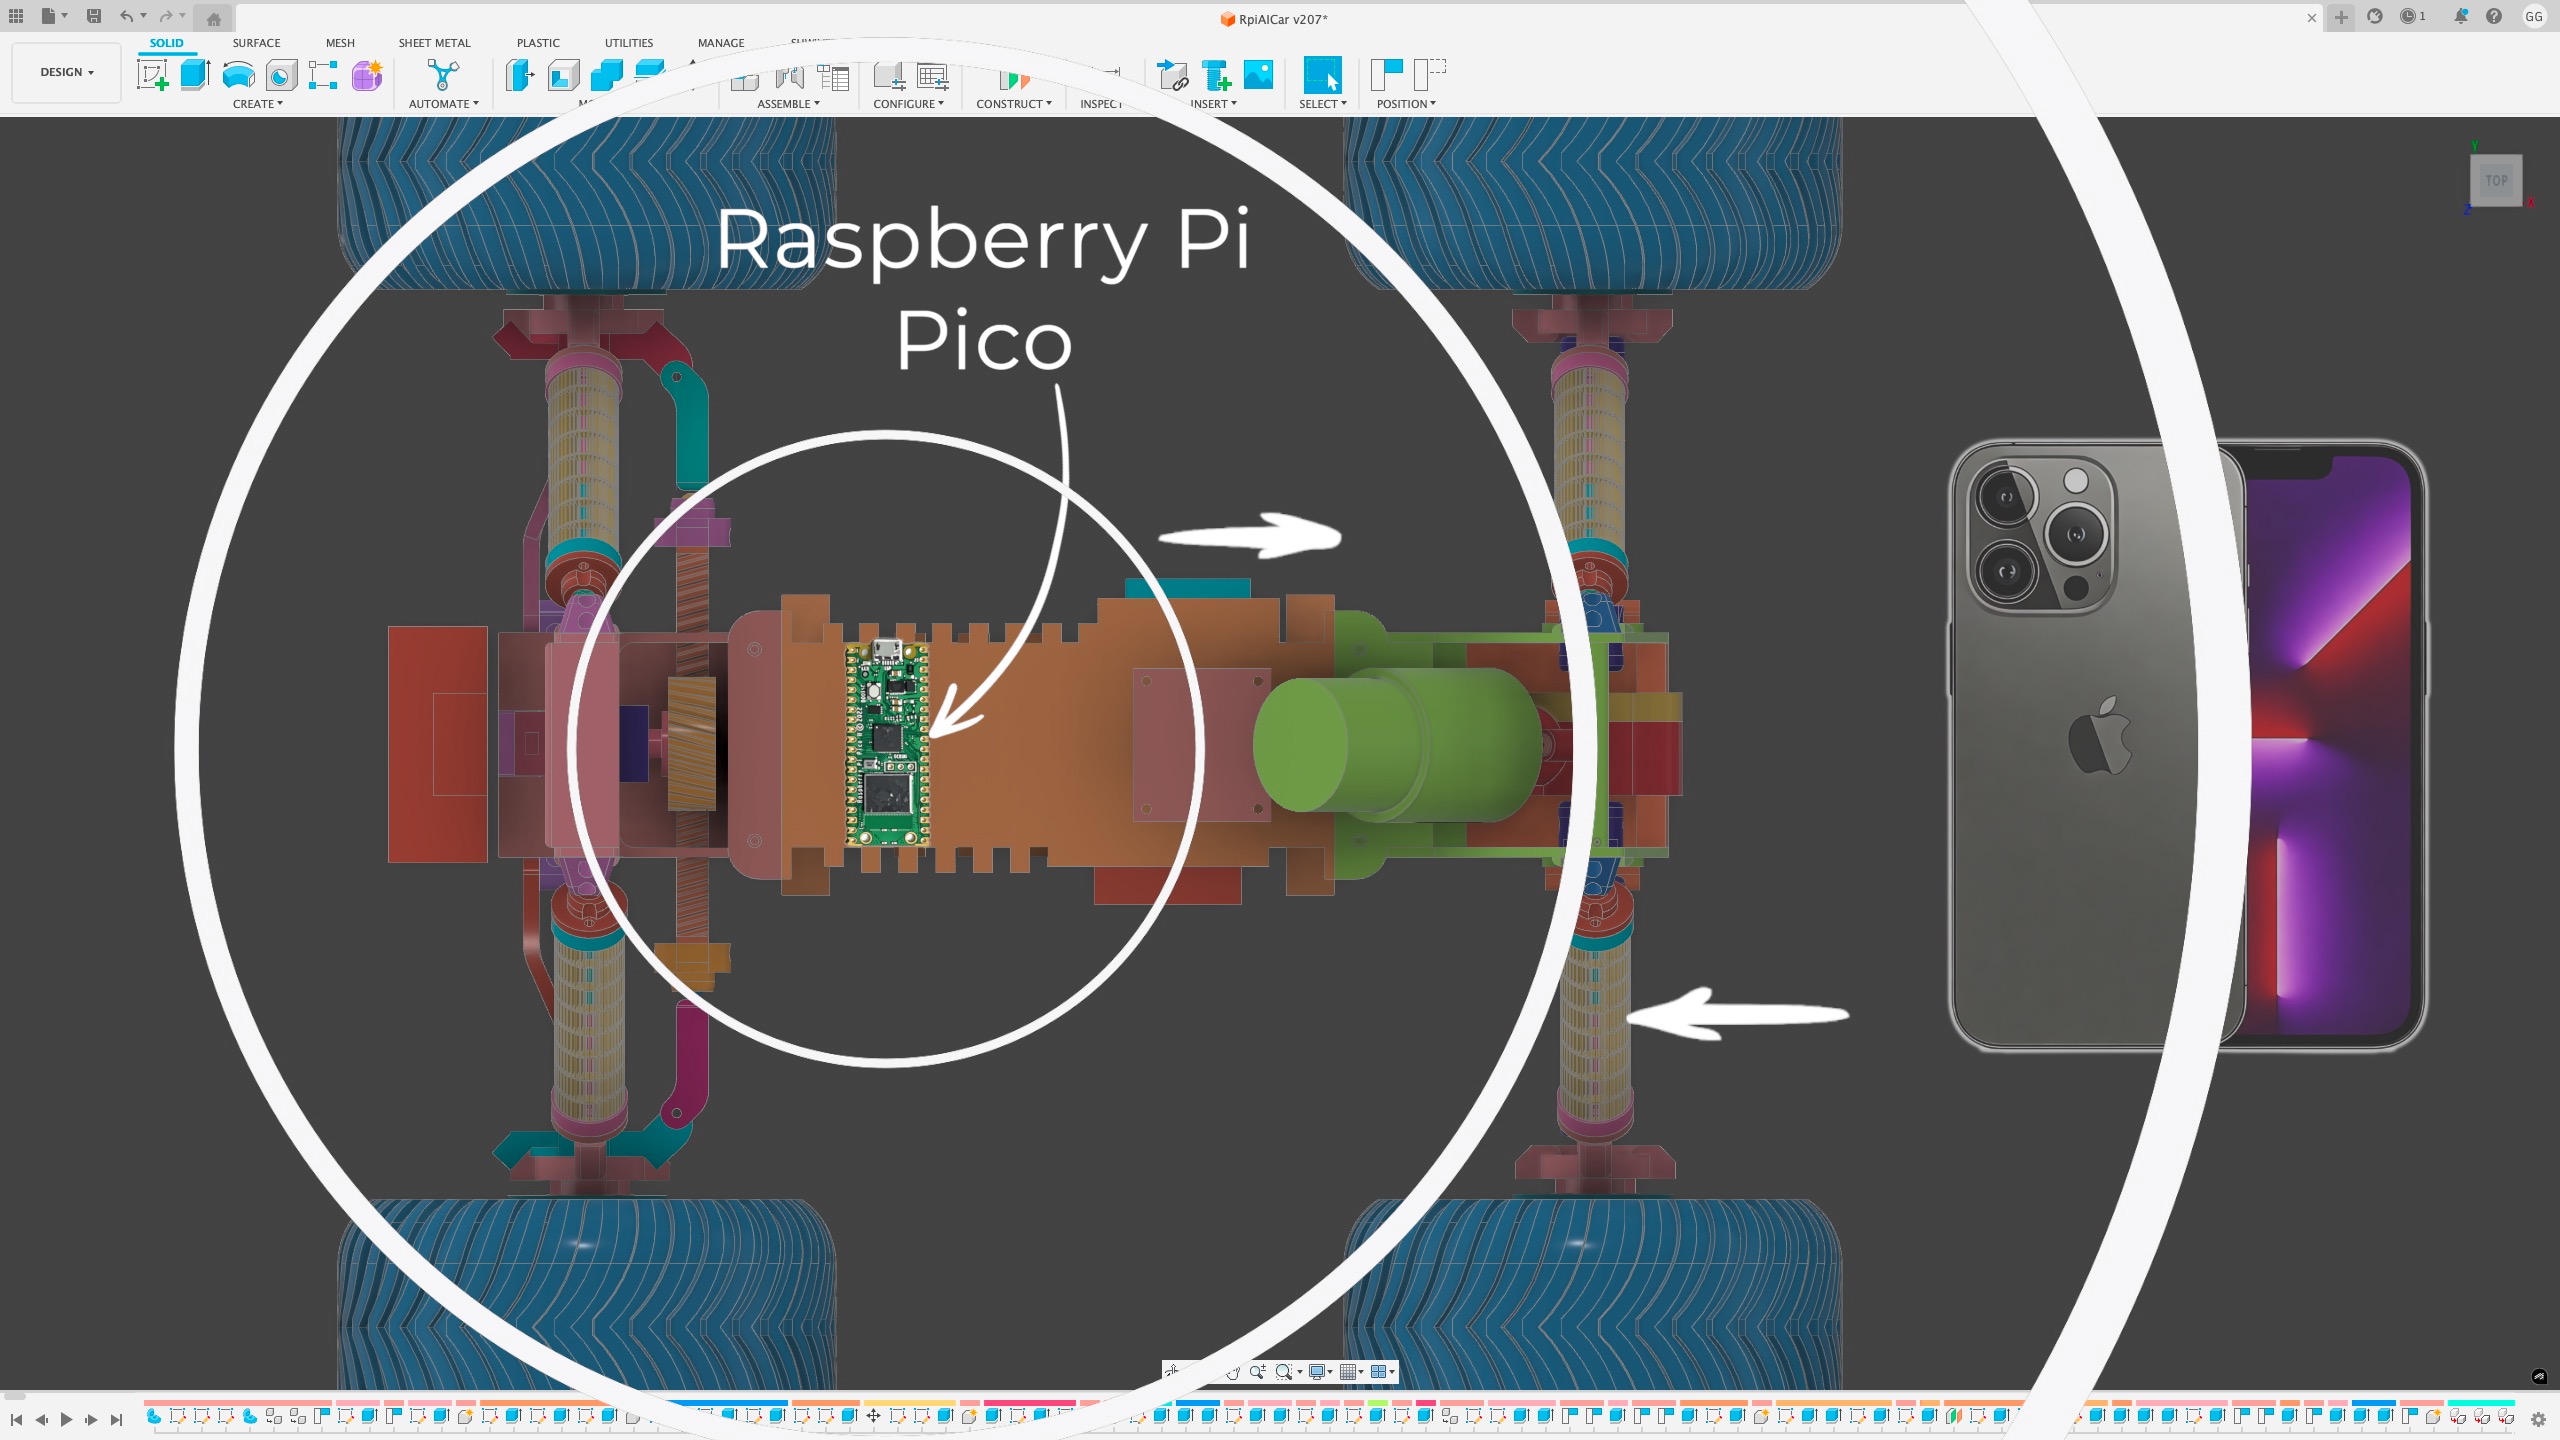
Controlling the RC car is a Raspberry Pi Pico 2W, chosen for its dual-core power and Wi-Fi.
I created a simple mobile app that connects directly to the Pico. A single joystick controls throttle and steering.
The Pico sends PWM signals to an H-Bridge for motor control and to the servo for steering.
Or at least… it was supposed to.
On the first test, the car didn’t move. The motor barely turned. And then came the smell.
Boom. The H-Bridge exploded.
It looks better in the video:
So I replaced it. Boom. Again.
Turns out this model lacked any overcurrent or thermal protection. My solution? Go big. I bought a massive motor controller and redesigned the mount to fit it.
It worked. The drivetrain finally came alive.
🧪 Outdoor Testing: Fail, Fix, RepeatWith the car assembled and electronics ready, it was time to test. First up: snow.
It looked incredible. Eventually, I lost control of the RC car, and it flew straight from a deck to the ground, resulting in a broken wheel arm.
Next? I printed a stronger wheel arm using PETG.
It held up better.
Until the pinion gear lost a few teeth.
It wasn't a problem because I could re-print the differential using even stronger NYLON filament:
Unfortunately, it didn't help. The differential exploded again—both ring and pinion shredded under stress.
“Building a plastic differential... what could possibly go wrong?”
Back to Fusion 360.
🔄 Planetary Gears to the RescueThis time, I ditched the differential and went for a planetary gear reduction. The goal: increase torque, reduce speed, and eliminate some failure points.
To distribute force evenly across the rear wheels, I temporarily linked them directly—no differential.
It wasn’t perfect. But it worked.
🔧 Fixing the Final Weak LinkAfter a few more tests, a wheel stopped again.
The culprit?My old enemy: the U-joint.
So I swapped it for a Constant Velocity joint, just like in real cars. Stronger, smoother, and way more durable.
A few more hours in Fusion 360, another round of printing, and another final reassembly.
🎥 Final Thoughts: A Successful DisasterDid it work?
You tell me:
My opinion - Yes.
But also… no.
The car drove. It spun. It flew. It crashed: Gears shredded.
It lasted around 30 minutes.
But every failure was followed by a fix.
This project was a beautiful mess of trial and error, and I loved every minute of it.
💬 What's Next?This was just version one. The next version will be stronger, smarter, and even more fun.
If you're interested in building your own fully 3D-printable RC car, let me know in the comments. If there’s enough support, I’ll release all the STL files, schematics, and code.
Until then, stay curious—and stay printing.


_t9PF3orMPd.png?auto=compress%2Cformat&w=40&h=40&fit=fillmax&bg=fff&dpr=2)
Comments