

Part 1: Arduino Shield
This part of the project was more difficult than I expected. Soldering the LEDs and the resistors was straightforward, and I got those to work.
Adding the header for the servo was where it all went wrong. The first attempt failed; at first I thought it was a circuitry issue, I definitely learned the lesson of testing the circuitry on a breadboard prior to soldering. But later I found that it must have been a soldering issue. So I soldered it again, and got it to work. Taking the shield off the Arduino is hard to do, and dealing with soldering really hurts my fingers. This part took way longer than I thought it would; guess I should expect to spend more time soldering.
Part 2: Drawing Machine
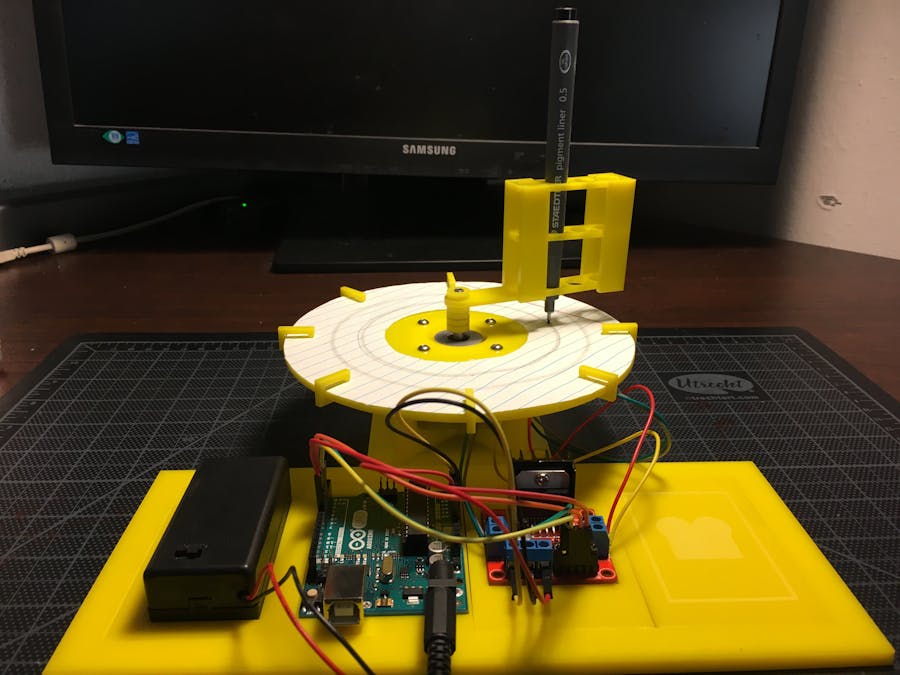
My drawing machine is simple: it draws circles on a built-in table by spinning a writing utensil cartridge with a stepper motor.
My initial ideas were pretty far-flung, and my most promising idea was to have a huge wheel spin around and leave an ink trail.
However, I couldn't think of a way to make this idea work. So I went with a simpler idea.
The first prototype worked, so I expanded the idea to include a base to holder the electronics.
Here's the full piece diagram:
Cutting out the pieces was straightforward, however, applying adhesive wasn't. CITRIS wasn't open on Saturday, and Jacobs doesn't have any acrylic adhesive beyond hot glue, so I went to ACE to buy acrylic cement. I don't know how this happened to me again, but I ended up buying "contact cement", which I discovered was more like rubber cement, which I have plenty of experience with :/ Later I got epoxy, and that worked well. Adhering the "cartridge" part was the most challenging, and I had to glue small tabs on it so it didn't completely tip over on the D-shaft. In the end, it turned out pretty well.

Comments