

Hardware components | ||||||
_ztBMuBhMHo.jpg?auto=compress%2Cformat&w=48&h=48&fit=fill&bg=ffffff) |
| × | 1 | |||
 |
| × | 1 | |||
 |
| × | 1 | |||
 |
| × | 1 | |||
 |
| × | 1 | |||
 |
| × | 1 | |||
Software apps and online services | ||||||
 |
| |||||
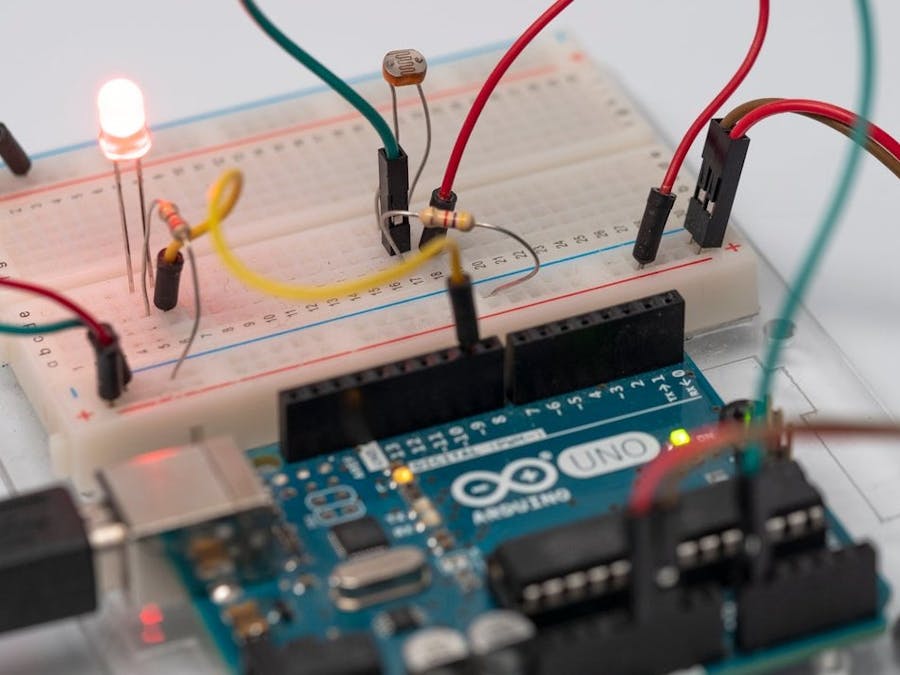
Working of the circuit : Basically when there is darkness the led will glow and when there is sufficient light led will stop glowing. This a simple circuit for of interface Arduino uno with LDR sensor.
First of all we need to knw what is LDR sensor and how it works ?
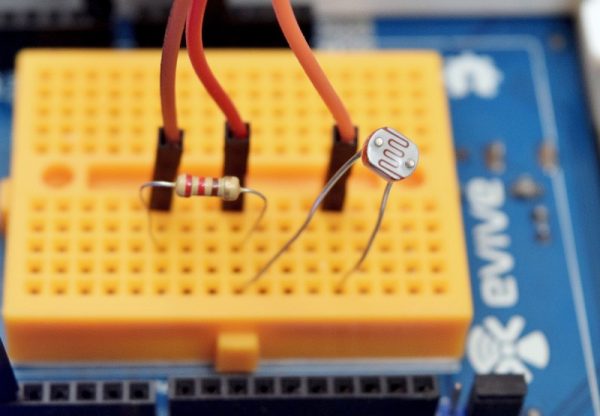
LDR ( light dependent resistor ) also called photoresistors are responsive to light. Photoresistors are used to indicate the intensity or the presence or the absence of light. When there is darkness the resistance of photoresistor increases and when there is sufficient light it dramatically decreases.
LDR ( light dependent resistor ) which has two terminals. Terminal one is the signal pin which should be connected according to the code. Another terminal is considered as the ground pin which should be connected to the ground of the system.
Arduino Uno : The Arduino Uno is a microcontroller board based on the ATmega328. It has 20 digital input/output pins (of which 6 can be used as PWM outputs and 6 can be used as analog inputs), a 16 MHz resonator, a USB connection, a power jack, an in-circuit system programming (ICSP) header, and a reset button.
In the simplest terms, a light-emitting diode (LED) is a semiconductor device that emits light when an electric current is passed through it. Light is produced when the particles that carry the current (known as electrons and holes) combine together within the semiconductor material. Led has two terminals : positive and negative.
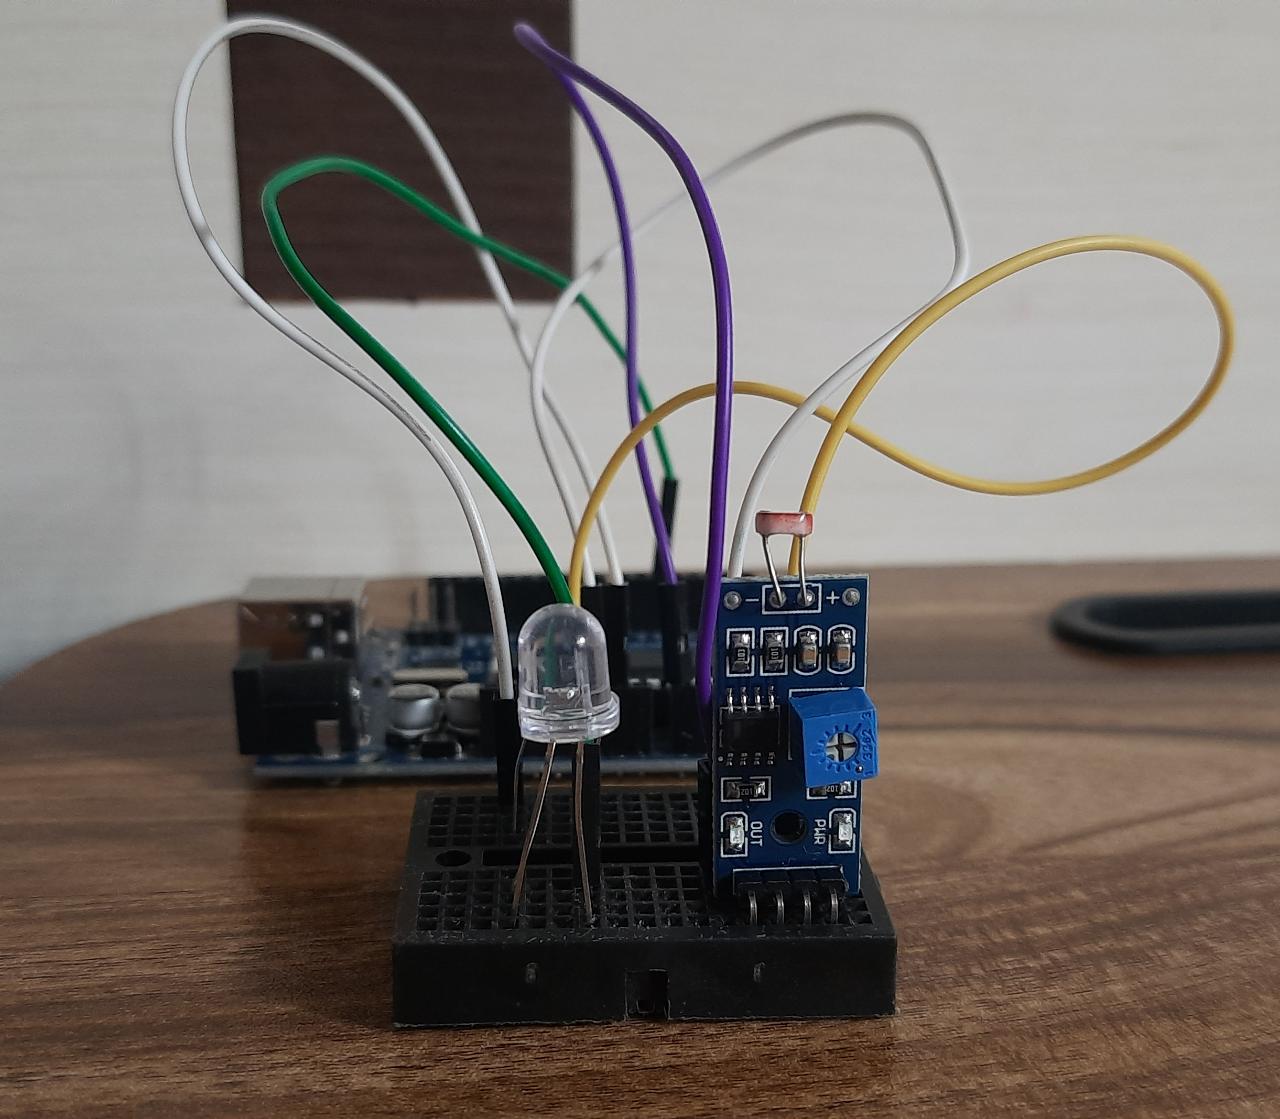
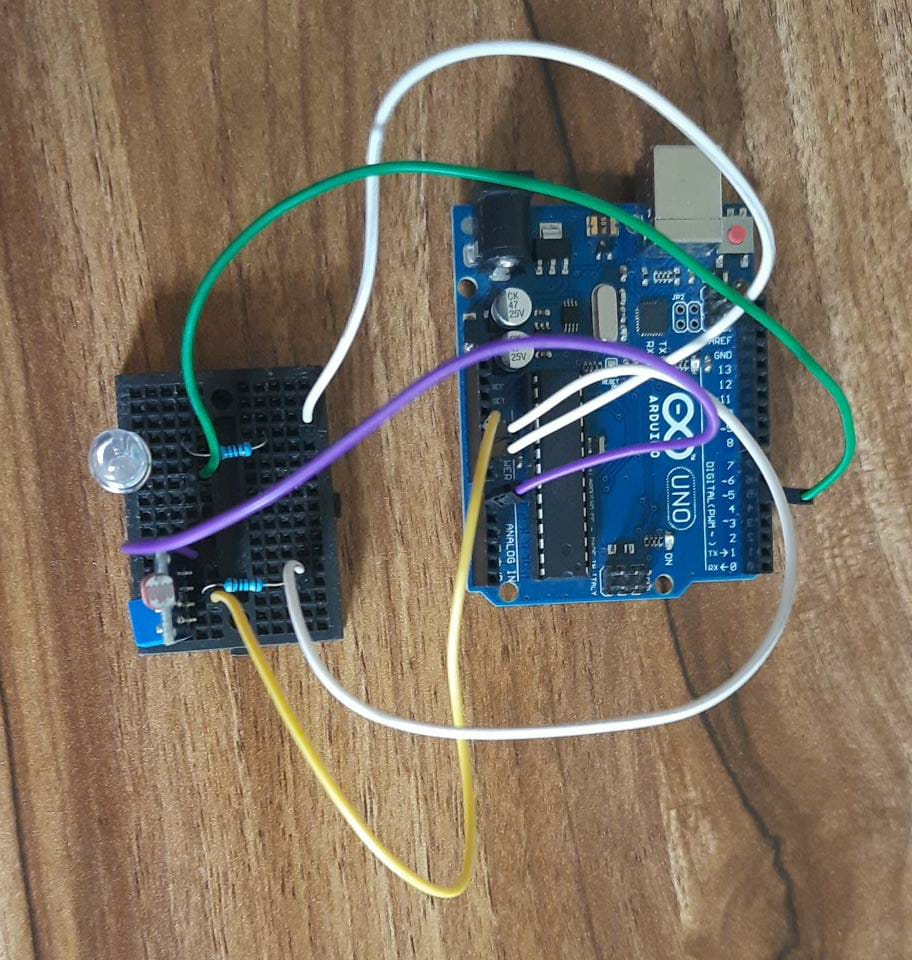
Now as we now what is meant by LDR and how it works we can start working on the connections :
Connections of LDR sensor : First terminal should be connected to analog pin 0 (A0) of Arduino. Second terminal should be connected any one led pf the resistor. Another leg of resistor should be connected to Gnd of Arduino.
Led connections : Positive pin should be connected to digital pin 5 of Arduino. Negative pin should be connected any one led pf the resistor. Another leg of resistor should be connected to Gnd of Arduino.
Here is the code :
// Interfacing Arduino uno with LDR sensor
const int ledPin = 5; // digital pin 5
const int ldrPin = A0; // analog pin 0
void setup() { // The setup() function will only run once, after each powerup or reset of the Arduino board.
Serial.begin(9600);
pinMode(ledPin, OUTPUT); // Here LED is determined as an output or an indicator.
pinMode(ldrPin, INPUT); // Here LDR sensor is determined as input.
}
void loop() { // Void loop is ran again and again and contains main code.
int ldrStatus = analogRead(ldrPin);
if (ldrStatus <= 200) {digitalWrite(ledPin, HIGH); // If LDR senses darkness led pin high that means led will glow.
Serial.print("Darkness over here,turn on the LED :");
Serial.println(ldrStatus);
} else {
digitalWrite(ledPin, LOW); // If LDR senses light led pin low that means led will stop glowing.
Serial.print("There is sufficient light , turn off the LED : ");
Serial.println(ldrStatus);
}
}
_WAnfg8YZGy.png)


_WAnfg8YZGy.png)
Comments