

Hardware components | ||||||
 |
| × | 3 | |||
 |
| × | 1 | |||
 |
| × | 1 | |||
 |
| × | 3 | |||
 |
| × | 1 | |||
 |
| × | 3 | |||
Software apps and online services | ||||||
 |
| |||||
IntroductionModern electronic devices are rapidly moving towards touch-based interfaces, replacing traditional mechanical buttons. From smartphones to home appliances, touch technology provides a sleek, reliable, and futuristic user experience.
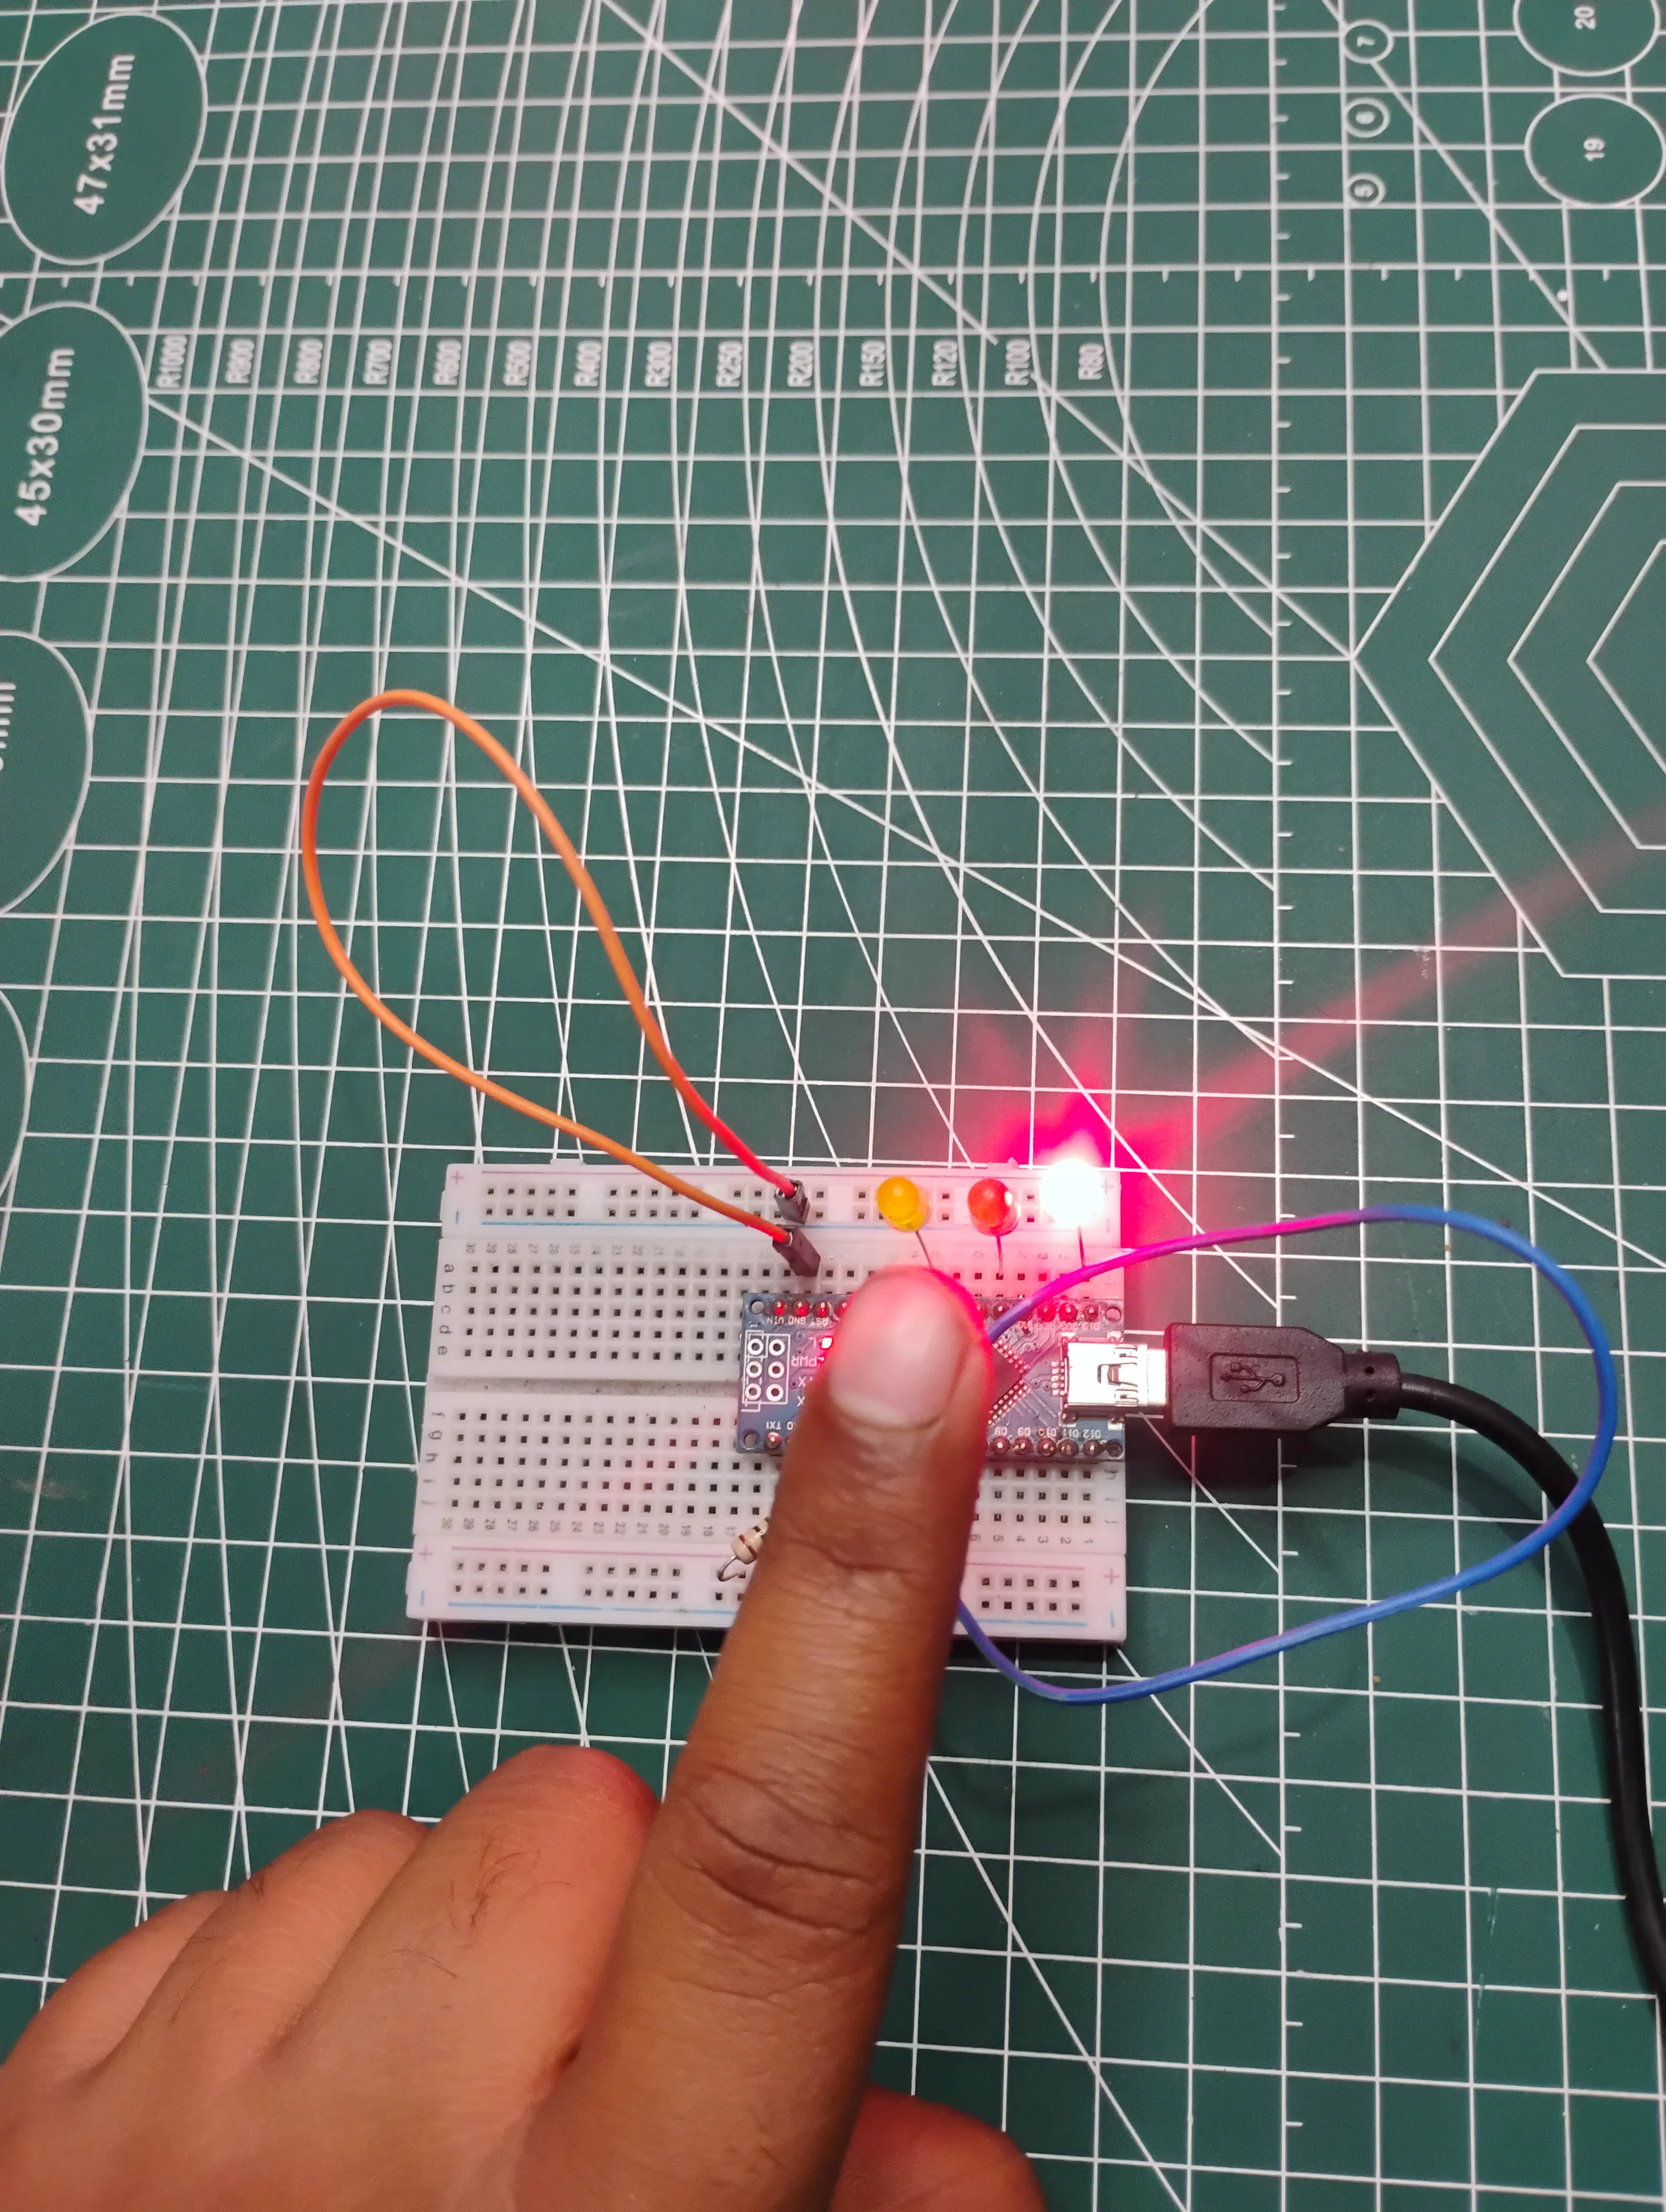
In this project, I built a capacitive touch control panel using Arduino Nano, which can detect human touch and control multiple outputs without any physical buttons.
Idea Behind the ProjectThe goal of this project was to understand how touch sensing works and to create a simple system that mimics real-world touch panels.
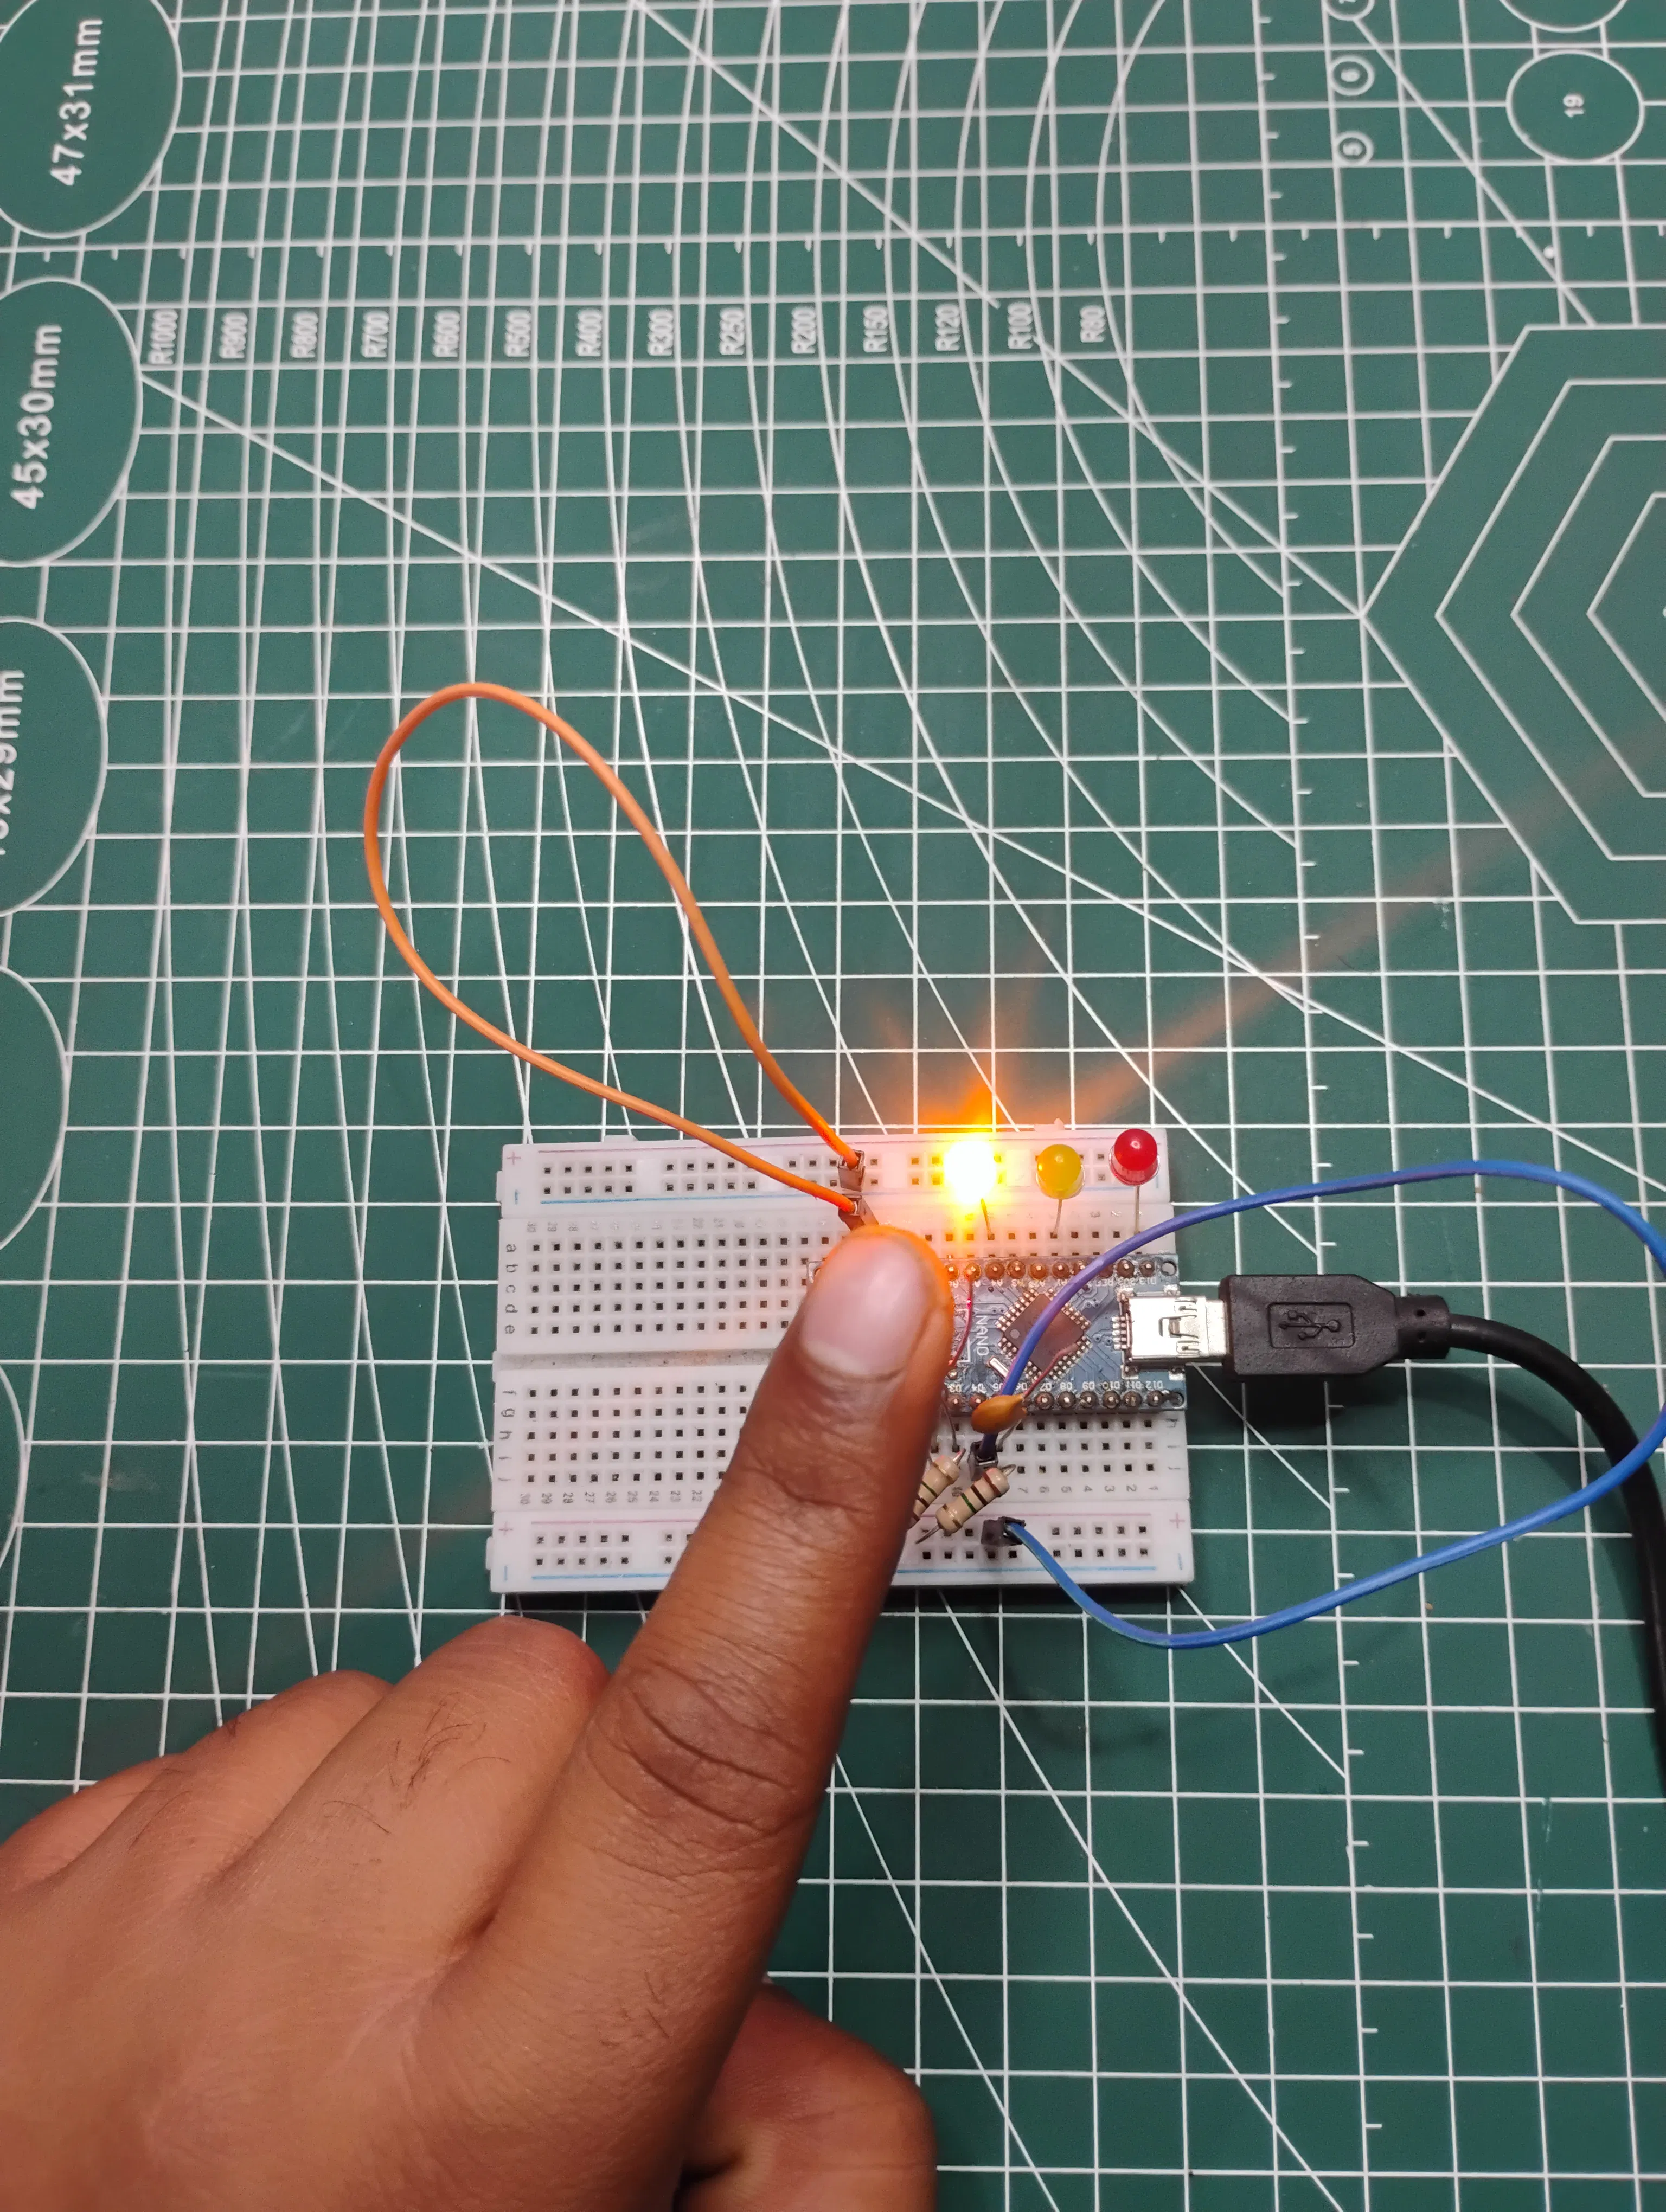
Instead of using push buttons, I used capacitive sensing, where the human body interacts with an electric field and changes its properties. This change is detected by the microcontroller.
How It WorksThe system uses the CapacitiveSensor library to measure the change in capacitance.
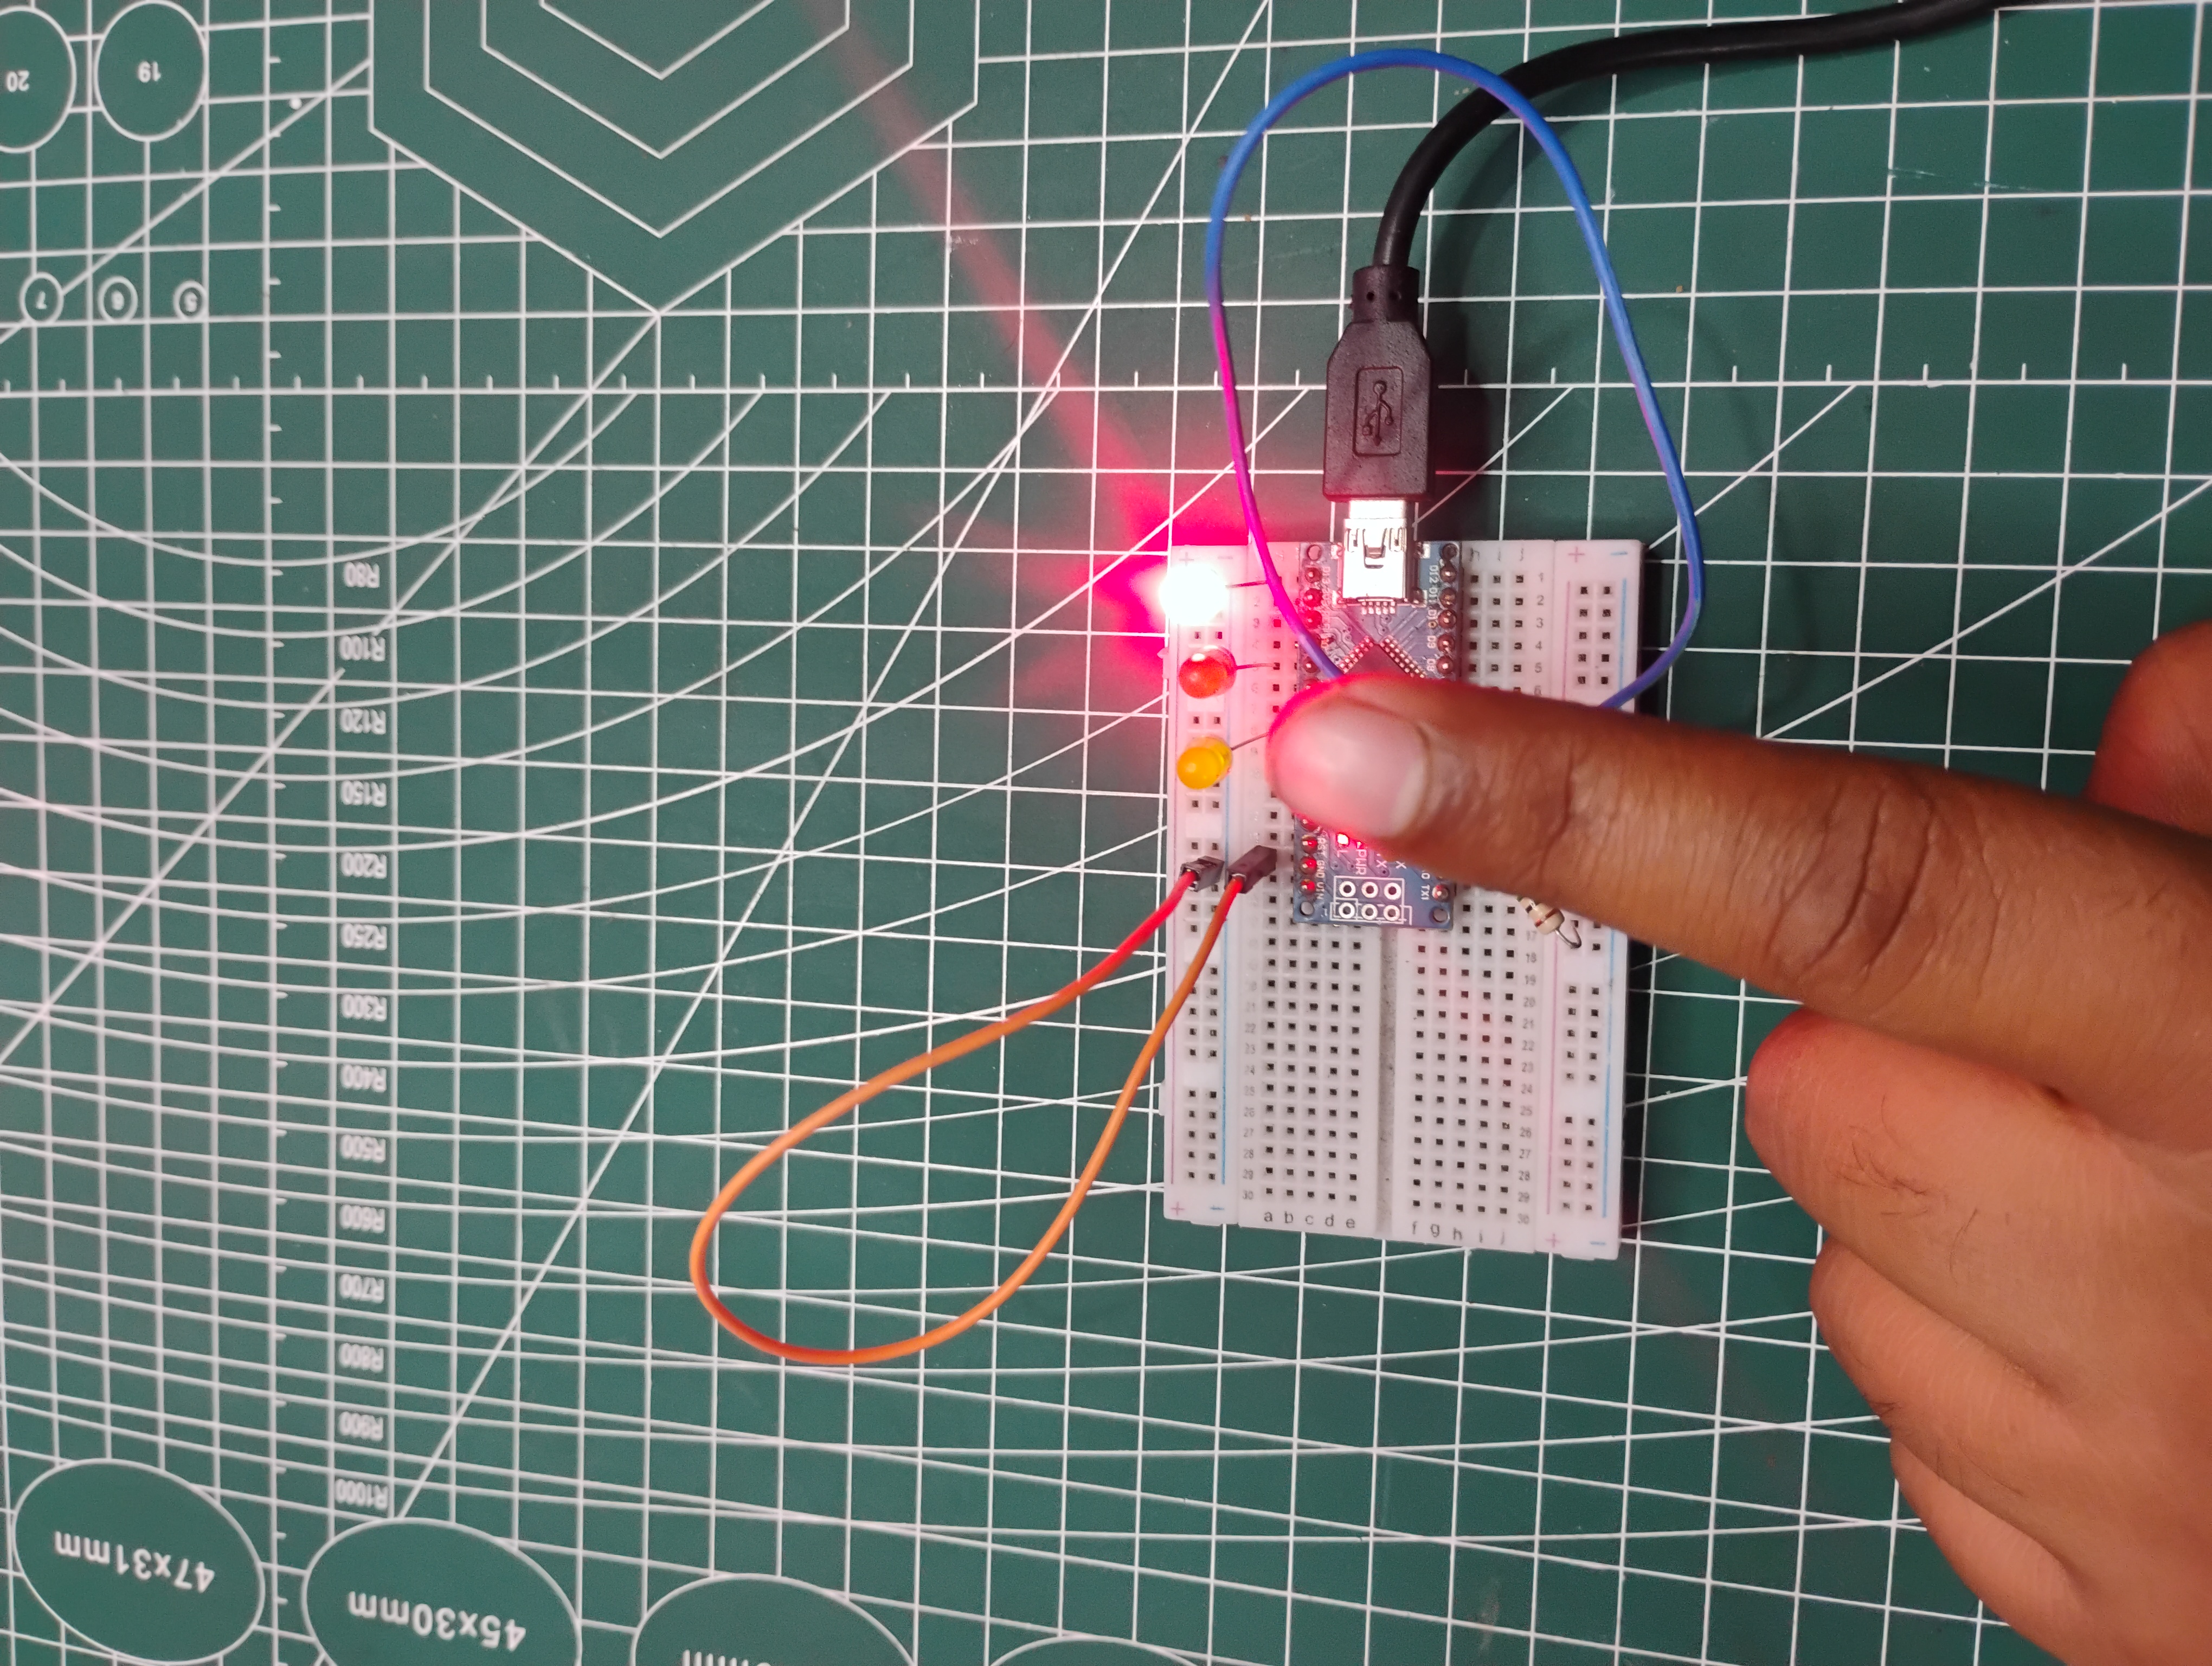
A signal is sent from one pinAnother pin receives the signal through a high-value resistorWhen a finger touches the conductive pad, the capacitance increasesThe Arduino detects this change and triggers an output
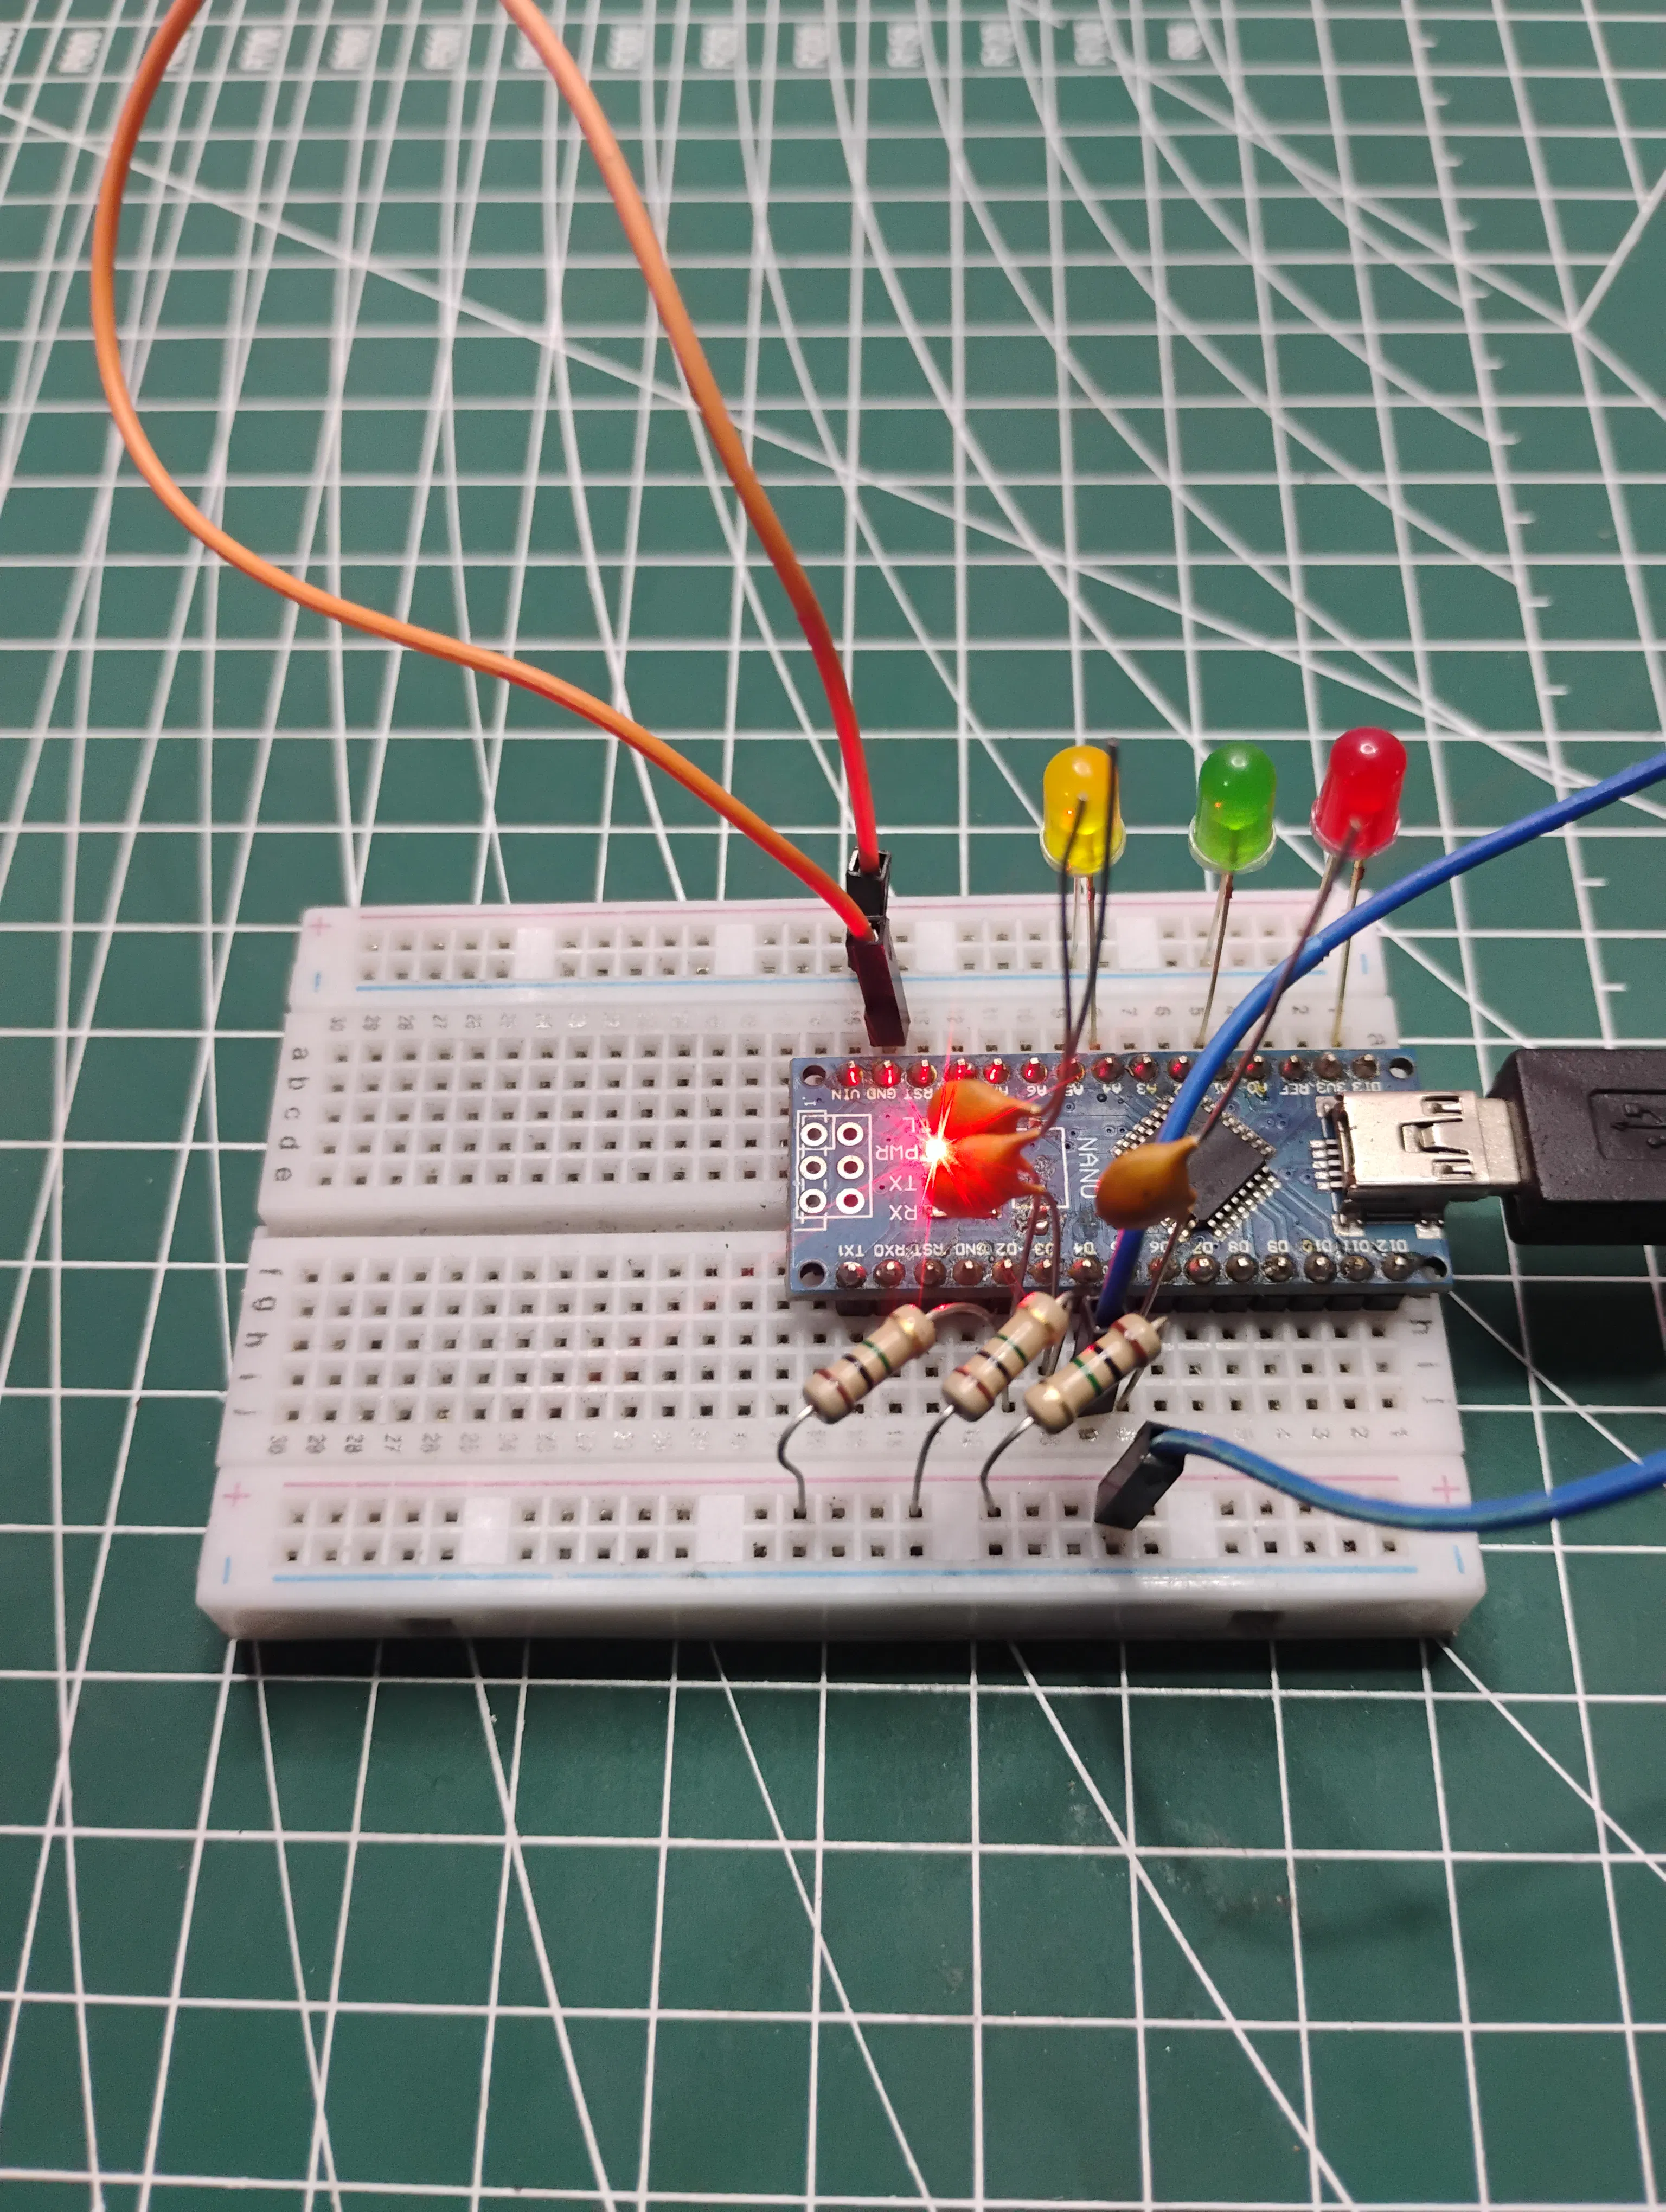
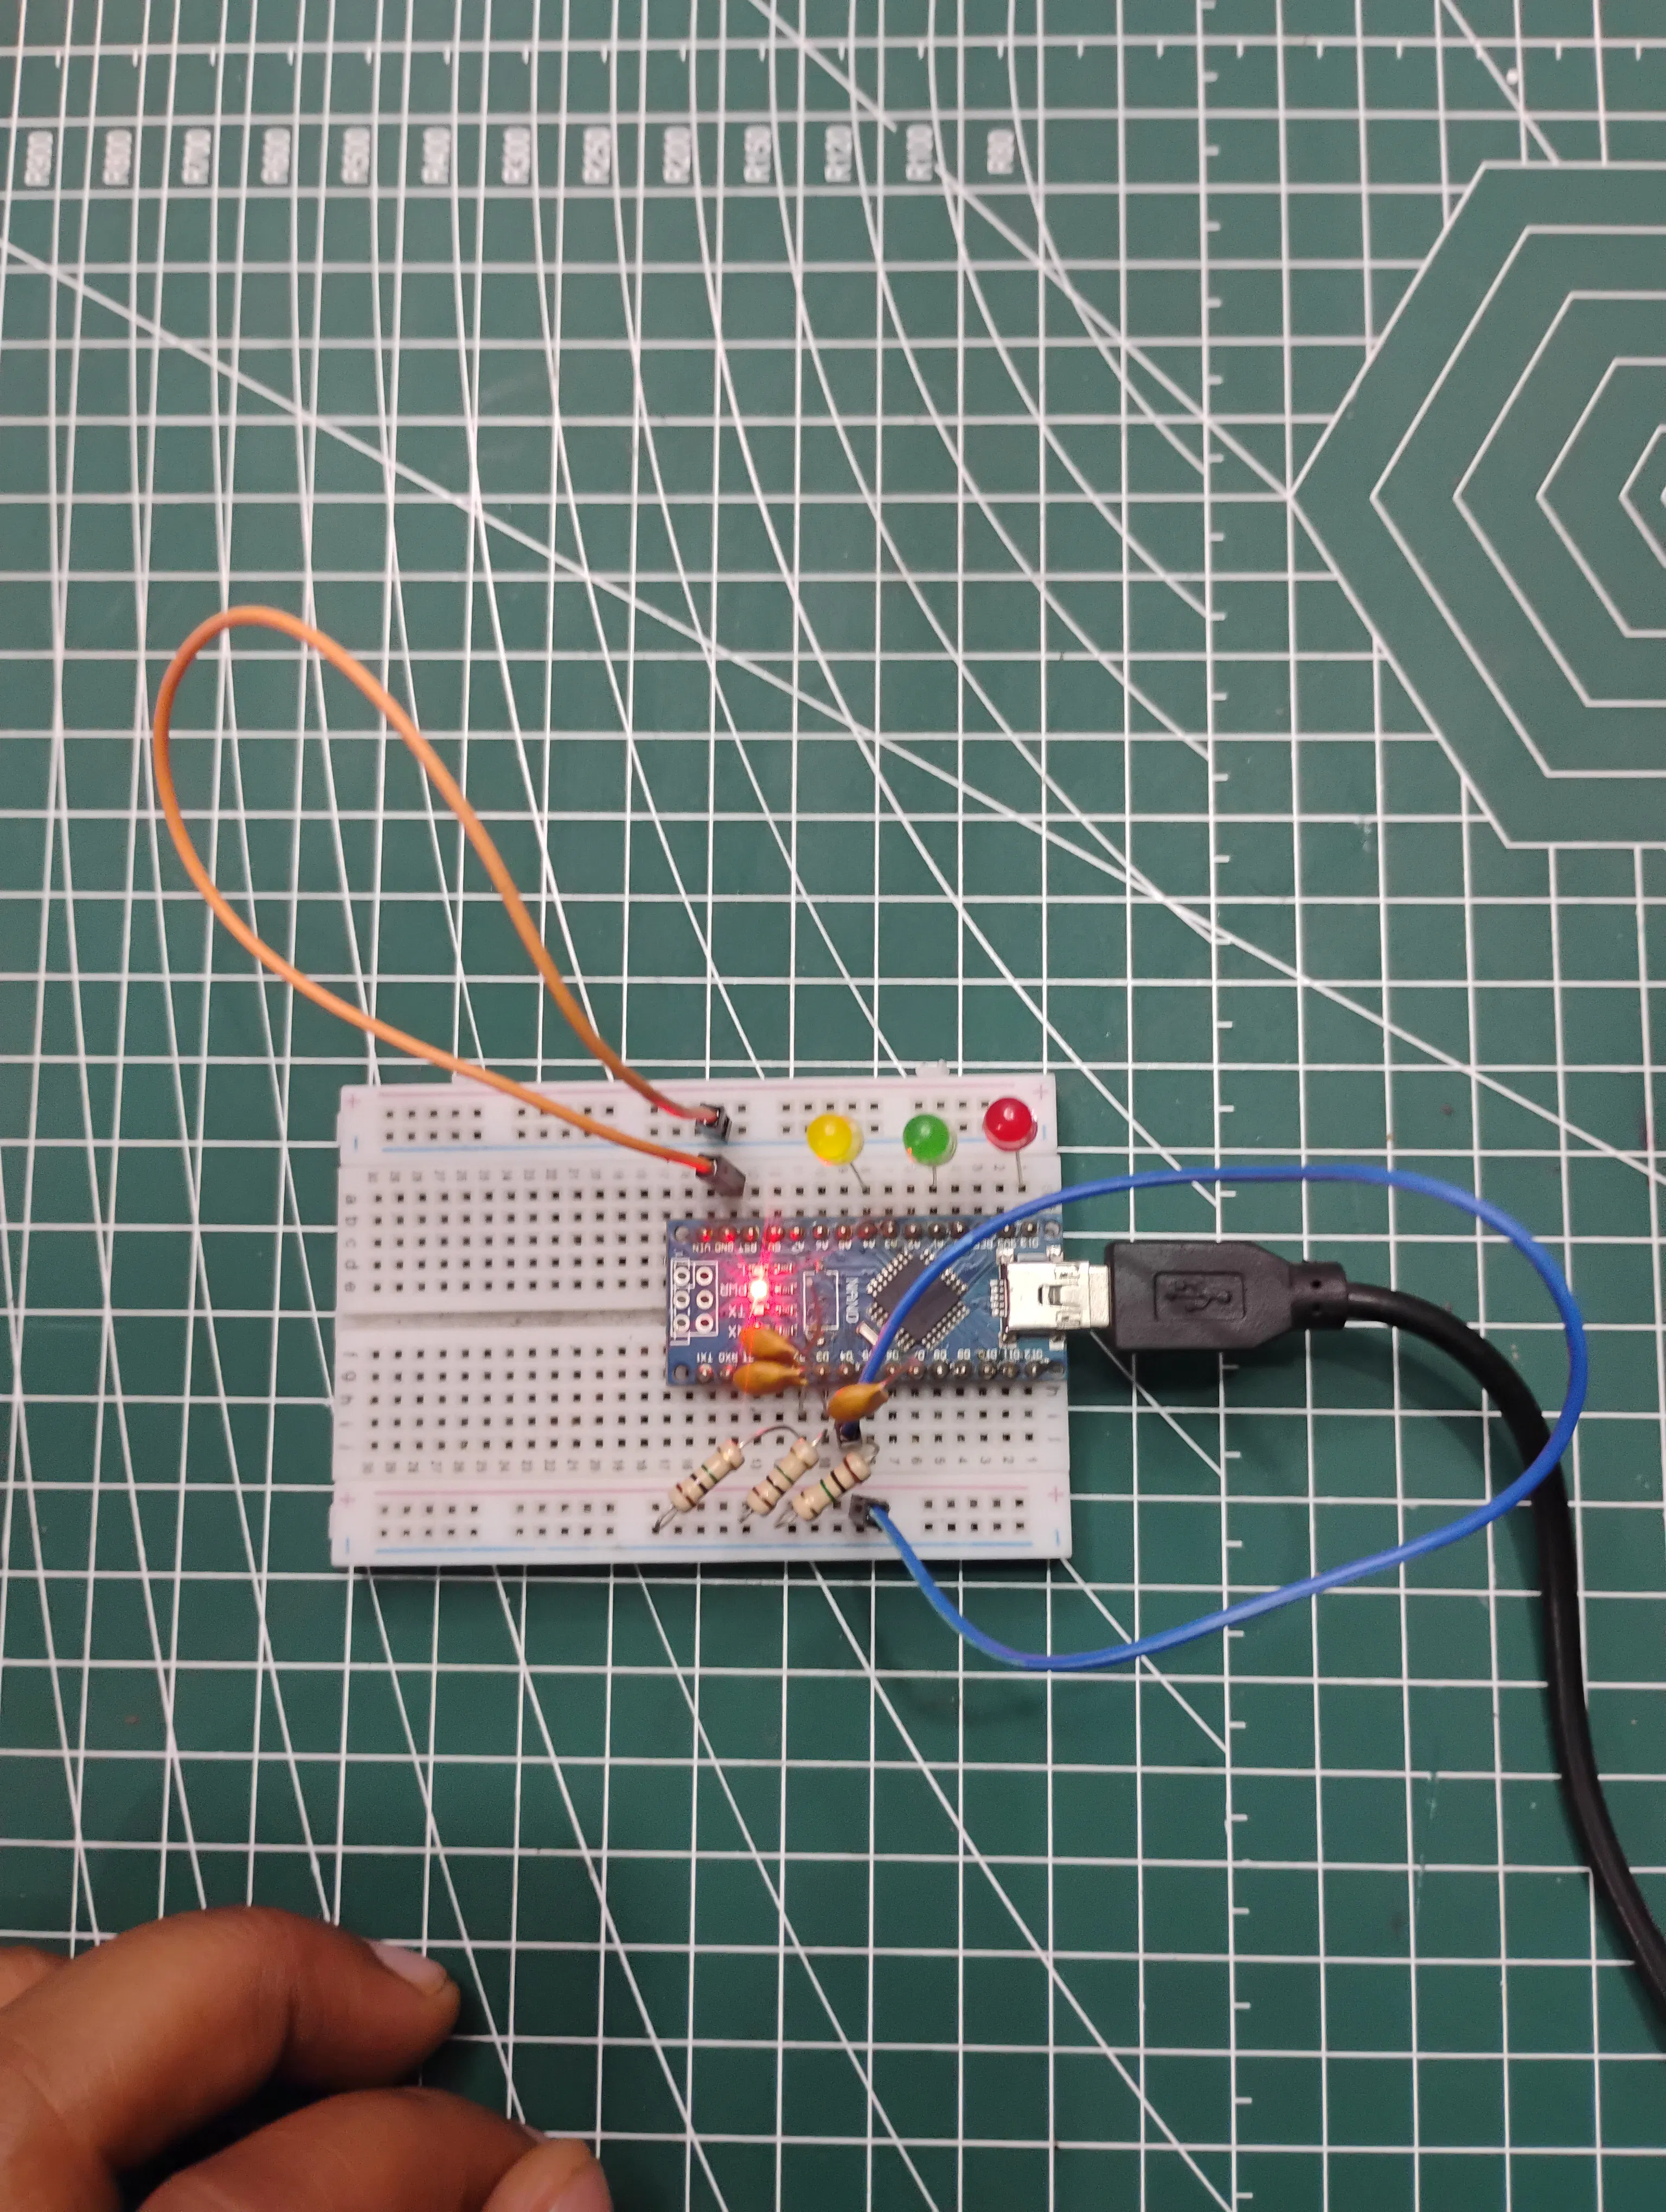
Each touch input is connected to an LED:Touch Pad 1 → LED 1Touch Pad 2 → LED 2Touch Pad 3 → LED 3
Hardware SetupThe circuit is simple and requires minimal components:
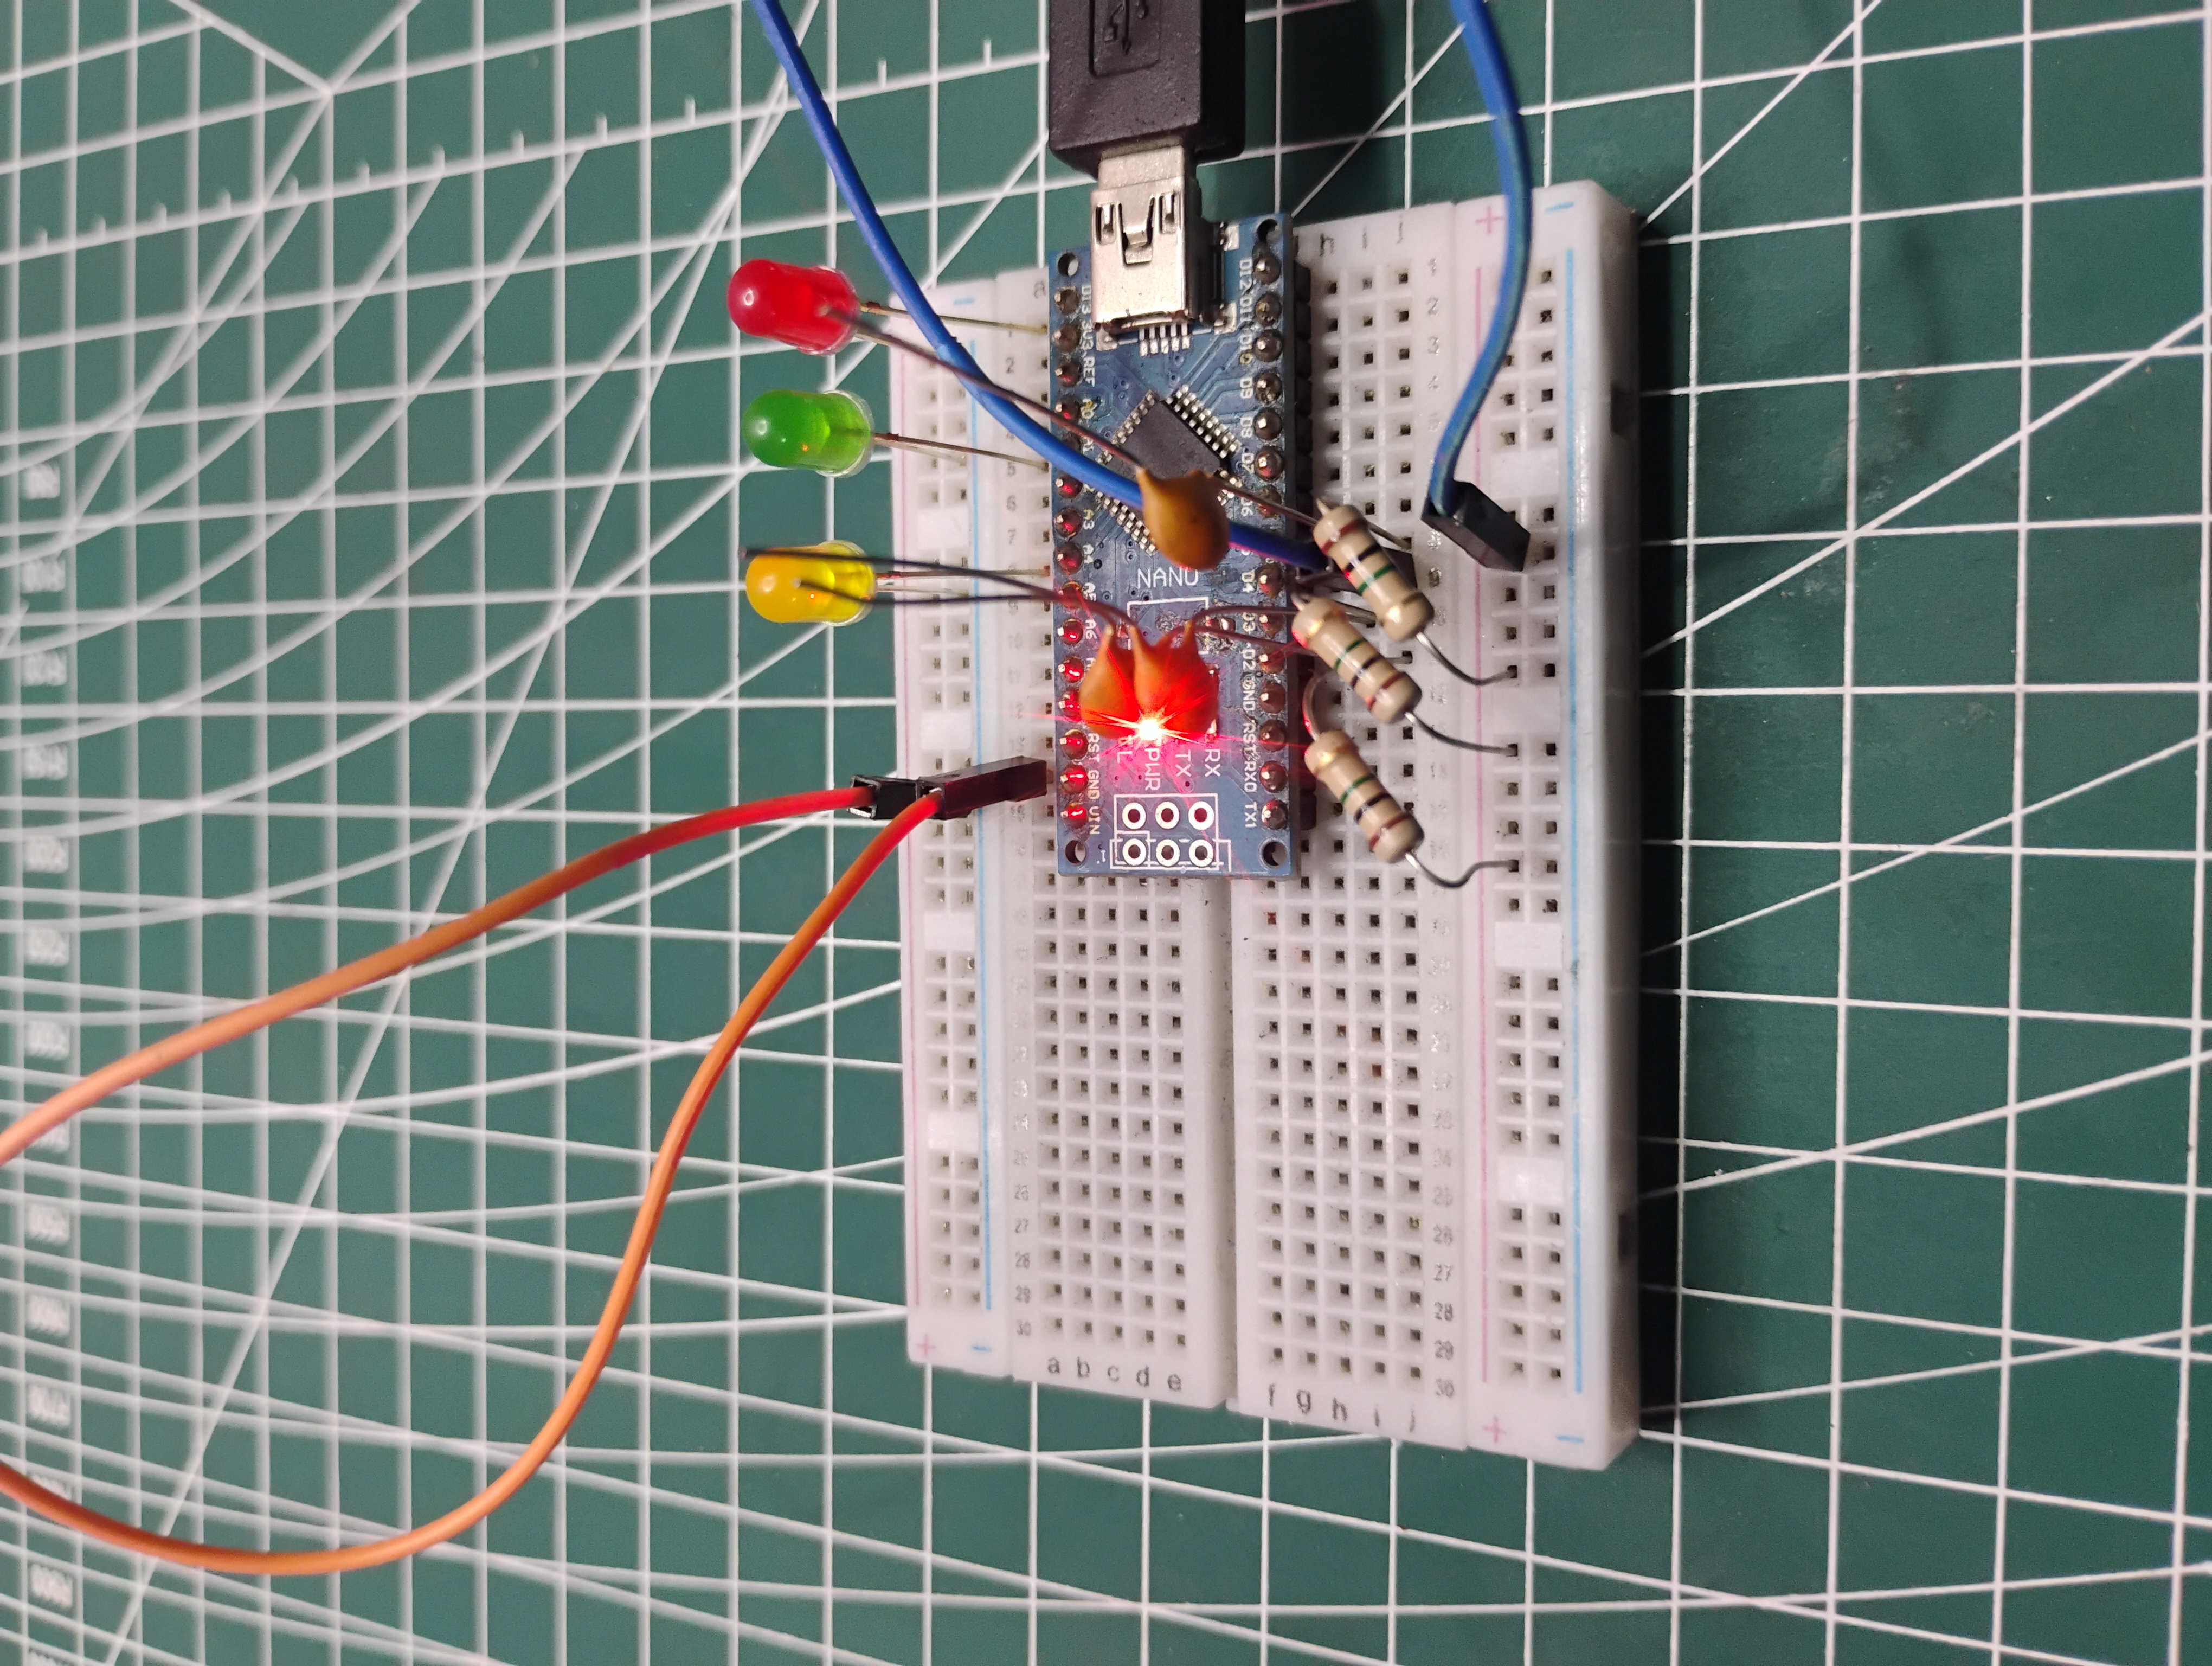
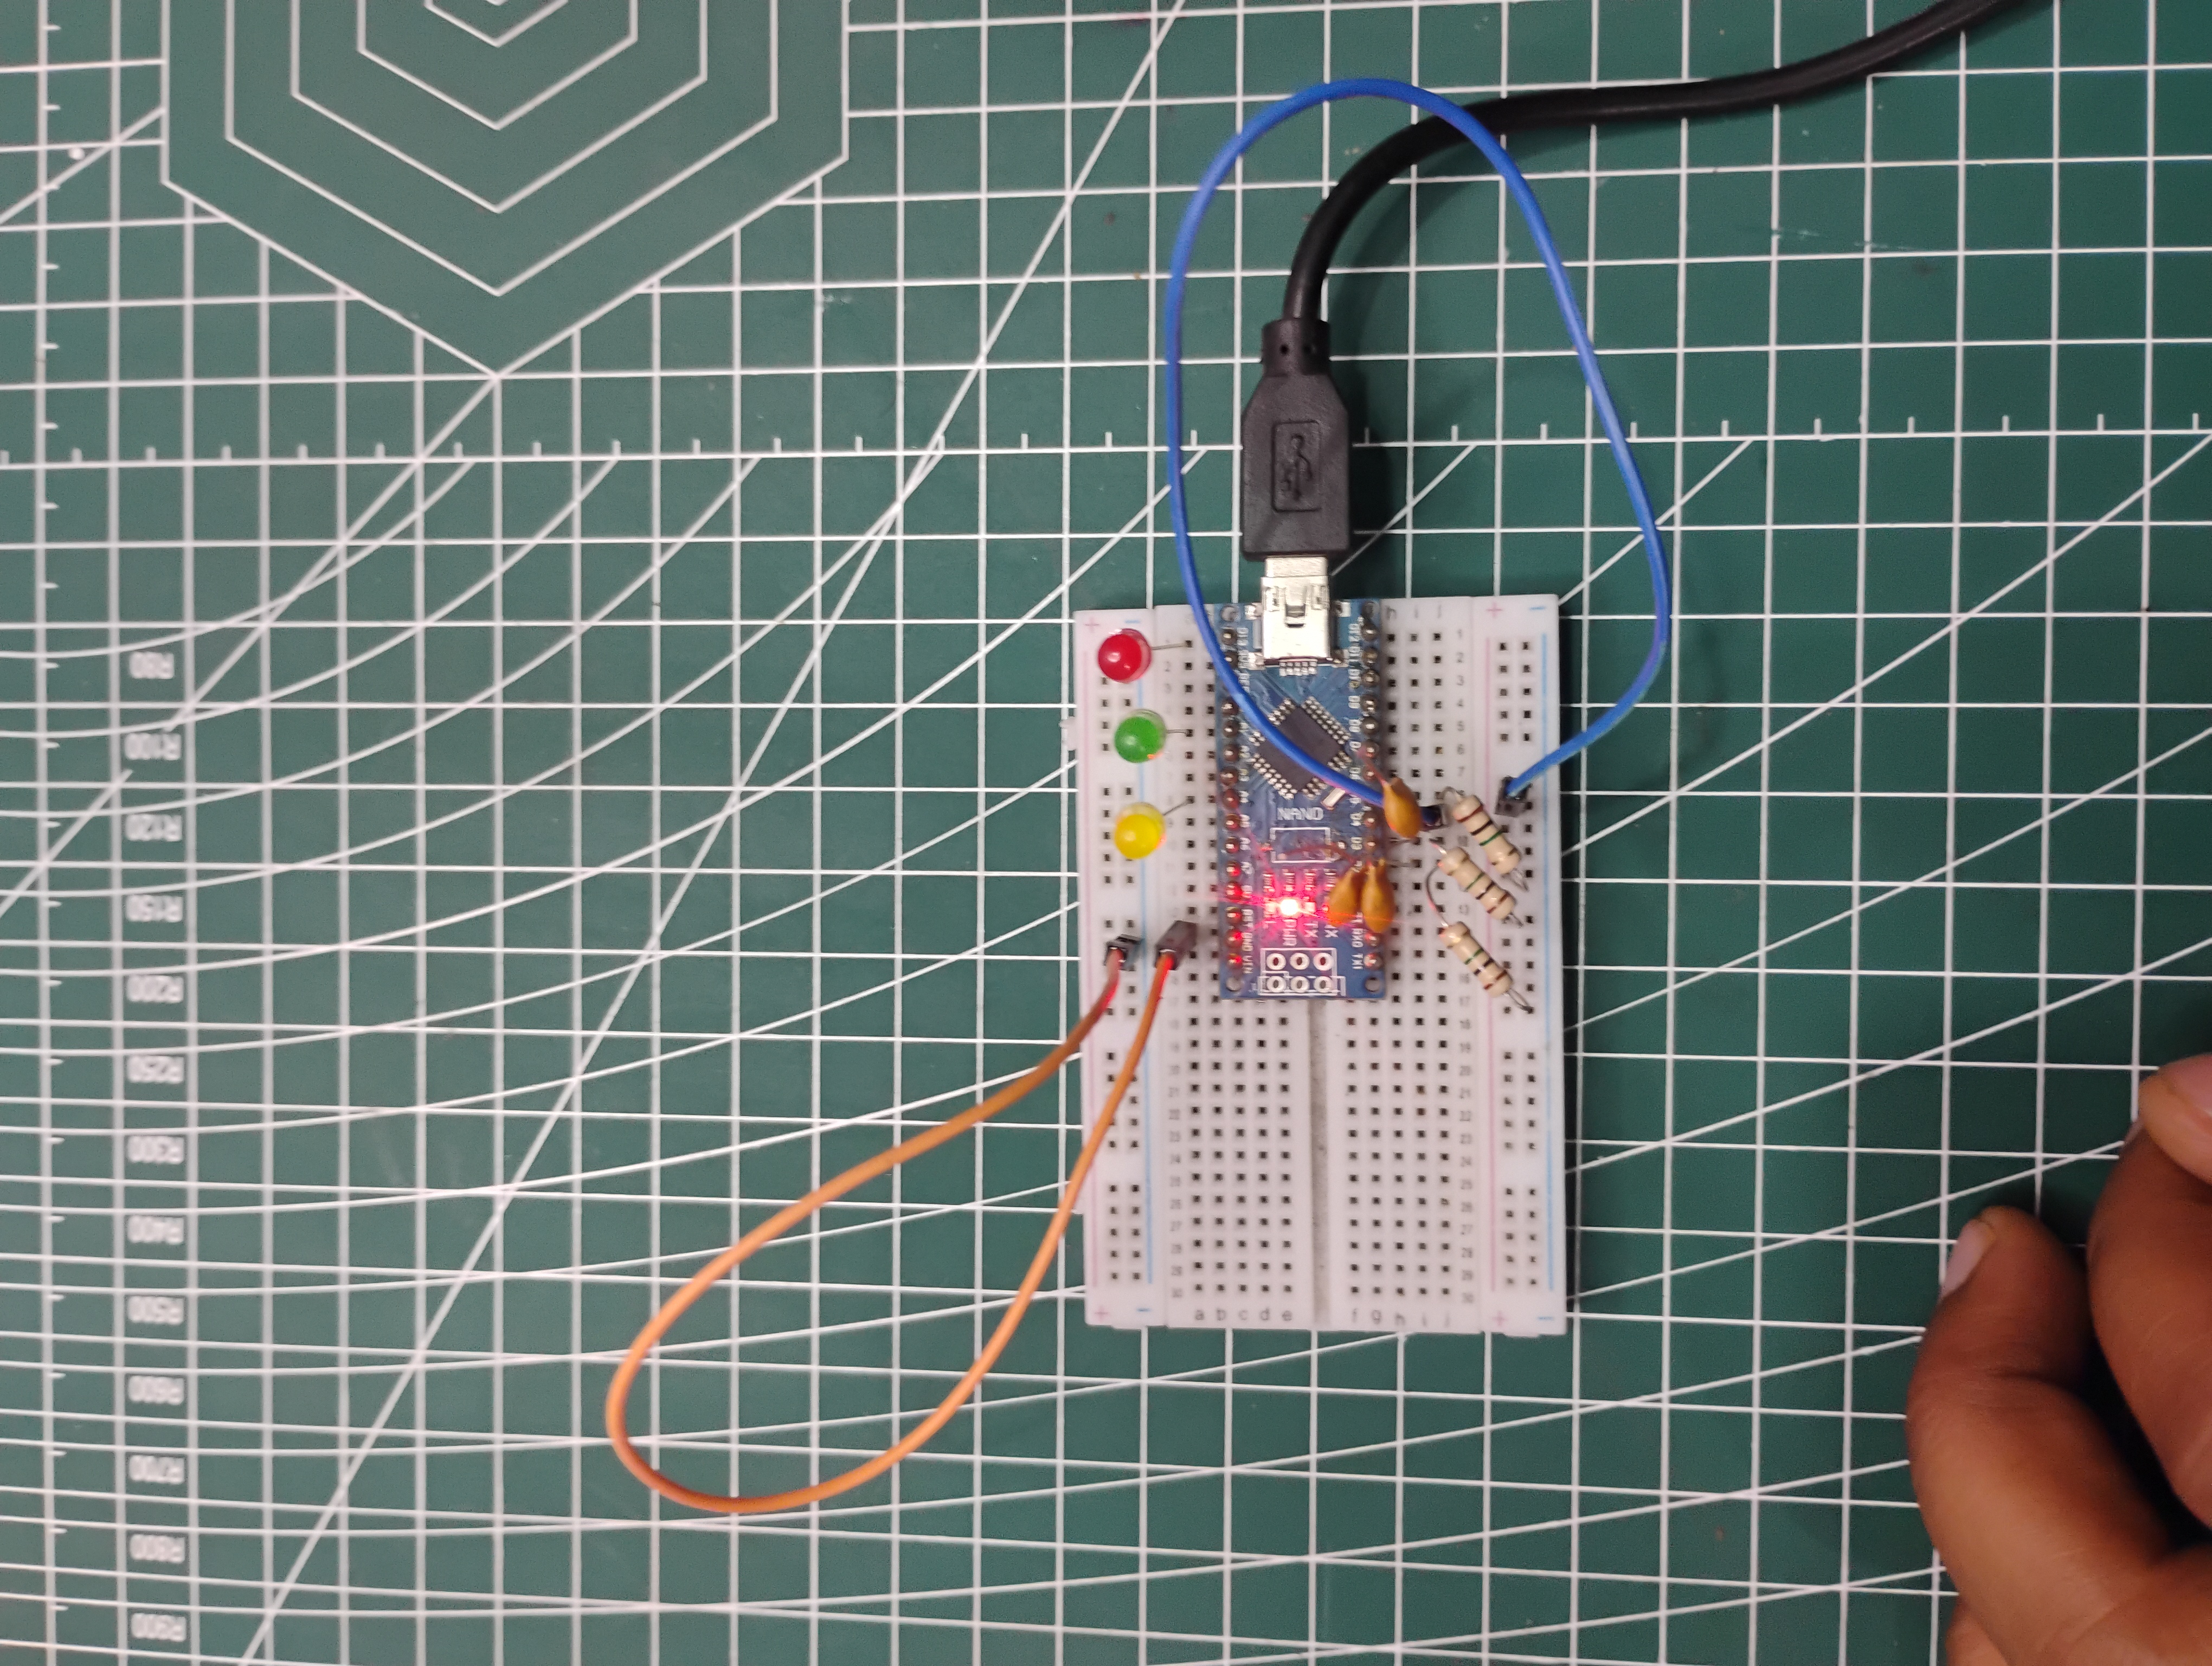
Arduino Nano as the main controller3 touch input pads (copper/aluminum)3 high-value resistors (1MΩ)3 LEDs with current-limiting resistors
All touch inputs share a common send pin, making the design efficient and scalable.
FeaturesTouch-based control (no mechanical buttons)Multiple input channelsReal-time responseLow-cost and easy to buildScalable for more inputs
Challenges FacedWhile building this project, I faced some common issues:Noise in readings due to long wiresSensitivity tuning using resistor valuesFinding the correct threshold for touch detection
These were solved by optimizing wiring and adjusting the threshold value.
Future ImprovementsThis project can be extended further by:Adding relays to control appliancesDesigning a PCB-based touch panelCreating a glass-based touch interfaceIntegrating with IoT systems
ConclusionThis project demonstrates how capacitive touch sensing can be implemented in a simple and effective way using Arduino. It opens the door to building modern, touch-based control systems for various applications.Video Link : https://youtube.com/shorts/l6eLJlqidks?si=6Z8ikYxtDBEadzb4
Main Project Image 1
Main Project Image 2
Main Project Image 3


Comments