



Hardware components | ||||||
 |
| × | 1 | |||
| × | 1 | ||||
| × | 1 | ||||
 |
| × | 1 | |||
 |
| × | 8 | |||
 |
| × | 2 | |||
 |
| × | 2 | |||
| × | 1 | ||||
 |
| × | 1 | |||
Hand tools and fabrication machines | ||||||
 |
| |||||
 |
| |||||
Video Tutorial :
I have completely rebuilt my ESP32 NES Emulator from scratch using Espressif-IDF (ESP-IDF) to unlock the pure power of the standard ESP32! Moving away from the Arduino IDE allowed me to squeeze incredible performance out of a standard, budget-friendly ESP32 WROOM module (with only 4MB Flash and absolutely no PSRAM).The results are incredible: a smooth 60 FPS gameplay experience with zero frame skipping, crisp I2S audio support, and an automated game saving feature!
To make this project accessible to everyone, no complex coding, IDE setups, or library installations are required. I created an ultra-simple Web Flasher Tool so you can flash the ready-to-go binary directly onto your board through your browser. I also put together a complete video tutorial to guide you through the process step-by-step!
Key FeaturesButtery-Smooth 60 FPS: Full-speed gameplay without any dropped frames or lags.
High-Quality Audio: Crystal-clear retro sounds using a dedicated I2S audio amplifier.
Massive Game Library Storage: Store and list up to 300 of your favorite classic NES games directly from a micro SD card.
Auto-Save Function: Never lose progress! The emulator automatically saves your game state to the SD card every 3 seconds.
Handheld Features: Includes a hardware-friendly battery indicator, display brightness control, and volume adjustments.
Build GuideStep 1: Hardware & WiringTo push performance to the absolute limit, the SD Card module and the ST7789 display run on completely separate SPI buses.
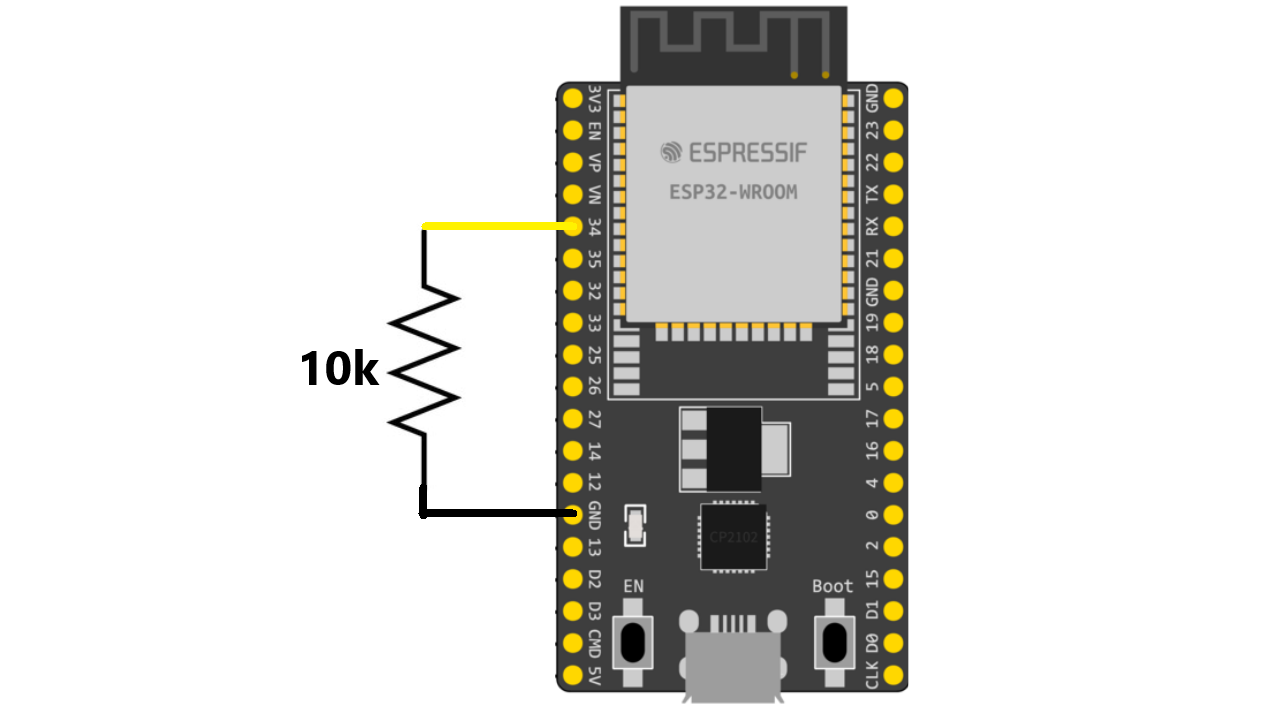
Important SD Card Note: Ensure your SD card reader's VCC is connected to the 5V pin (if using a module with an AMS voltage regulator). Format your card to FAT32 and place all your games as .nes files directly in the root directory.We are running close to the edge of usable pins, pins 34 through 39 on the ESP32 are input-only and do not support software pull-ups. Make sure to connect your B and SELECT buttons to 3.3V using external 10k pull-up resistors. As soon as possible Full split schematics are available on the project GitHub page.
Forget about troubleshooting Arduino IDE compile errors. You can flash your module instantly:
- Open my Web Flasher Tool in a compatible browser.
- Connect your ESP32 board to your computer via USB.
- Click "Pair Device" and select your module. (Note: If your board doesn't connect automatically, hold down the GPIO 0/BOOT button to ground, then release when it establishes a connection).
- Click Flash Firmware. Once complete, hit the reset button, and your emulator is ready!
Check out the full build video below to see the project running live at 60 FPS, listen to the upgraded sound support, and follow along with the wiring walkthrough!
If you enjoyed building your own retro console, don't forget to subscribe to the channel to help our community grow and stay updated on upcoming features!
Channel : https://www.youtube.com/@DsnIndustries/
Github : https://github.com/derdacavga
Web Flasher : https://derdacavga.github.io/Esp32-Nes-Emulator/


Comments