


Hardware components | ||||||
 |
| × | 1 | |||
| × | 1 | ||||
Software apps and online services | ||||||
 |
| |||||
Remote Control Over Web
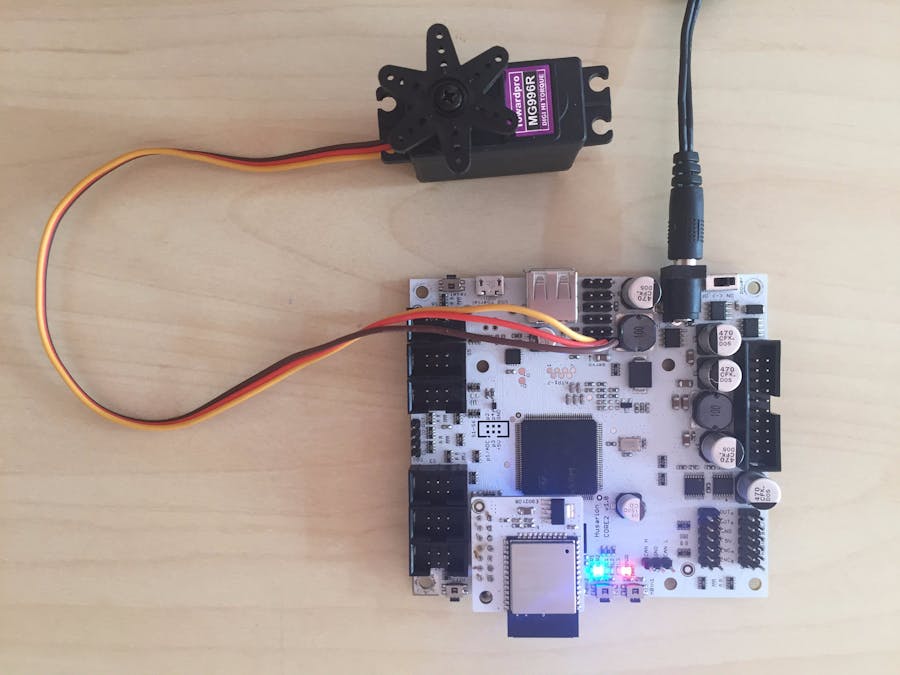
Read moreBuilding web-controlled devices with Husarion CORE2 is very easy.
In this project, I'll show you how to control a servo from a web UI in the web browser through the Internet.
Take a look at the movie showing how to program CORE2 using a servo example provided on https://cloud.husarion.com.
Steps- Open a web browser and log into https://cloud.husarion.com/
- Open web IDE and create a new project based on "5. servo control (CORE2)" template:
- Click a button to build & upload code to the CORE2, wait 30 seconds
- Go back to main screen of Husarion cloud, and click your device name to open it's web UI
That's all. :) It's only a very simple demo showing how easy it is controlling things with CORE2.
Codemain.cpp
#include "hFramework.h"
#include "hCloudClient.h"
void cfgHandler()
{
	platform.ui.loadHtml({Resource::URL, "/ui.html"});
}
void hMain()
{
	platform.begin(&RPi);
	platform.ui.setProjectId("@@@PROJECT_ID@@@");
	platform.ui.configHandler = cfgHandler;
	auto lb1 = platform.ui.label("l1");
	hServoModule.enablePower();
	platform.ui.onButtonEvent = [](hId id, ButtonEventType type) {
		static int cnt = 0;
		UiButton b = platform.ui.button("btn1");
		if (id == "btn1") {
			if (type == ButtonEventType::Pressed) {
			    hServoModule.servo1.setWidth(1700);
				b.setText("pressed %u", cnt++);
			} else {
			    hServoModule.servo1.setWidth(2200);
				b.setText("released %u", cnt++);
			}
			LED3.toggle();
		}
	};
	while (1) {
		sys.delay(500);
		LED1.toggle();
		lb1.setText("uptime %u [ms]", sys.getRefTime());
	}
}
ui.html
<!doctype html>
<html>
<head>
   <script src="/static/robocore.js"></script>
   <link href="ui.css" rel="stylesheet">
</head>
<body>
   <label id="l1">label1</label>
   <button type-active id="btn1">click to rotate servo</button>
</body>
</html>


Comments